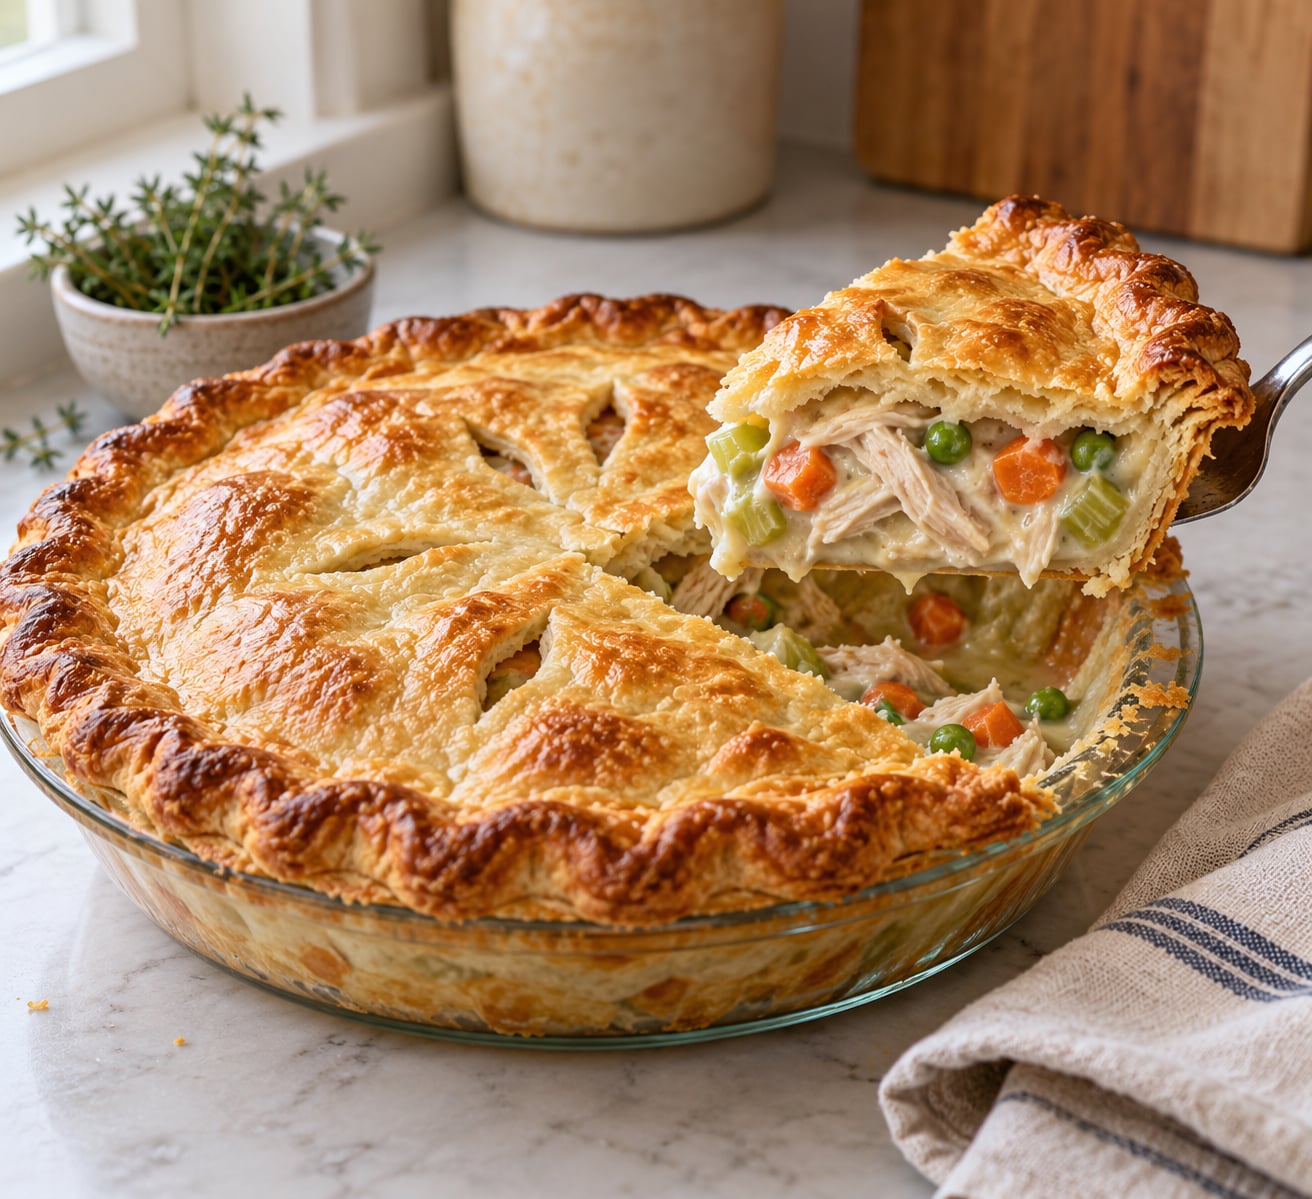
Learning how to make chicken pot pie from scratch takes about 1 hour 20 minutes of hands-on work, plus chilling and a 20 minute rest before you slice it. The whole thing comes down to two things: a flaky double pie crust you make yourself, and a filling thickened with a cooked butter-and-flour roux instead of a can of soup. Do those two parts right and the filling stays put, the bottom crust stays crisp, and you get the version people describe as legendary rather than the version that pools on the plate.
I make this several times a year, usually when the weather turns and there is leftover roast chicken on the counter. It serves six to eight, feeds a Sunday table, and travels well enough to take to a friend’s door. Difficulty is moderate, and the part people dread most, pie dough, is honestly the simplest thing here once you stop touching it. Updated for October 2026.
Table of Contents
- What You Need
- Step-by-Step: How to Make Chicken Pot Pie From Scratch
- How to Make the Flaky Pie Dough
- How to Cook the Chicken and Vegetable Filling
- How to Assemble and Bake the Pot Pie
- Common Mistakes
- Frequently Asked Questions
- What are the essential pot pie ingredients?
- What is the sauce made of in chicken pot pie?
- Is chicken pot pie filling supposed to be runny?
- How do I keep the bottom crust of chicken pot pie from getting soggy?
- How do I know when chicken pot pie is done?
- Can I make chicken pot pie ahead of time?
What You Need
Chicken pot pie is a double-crust savory pie: shredded chicken, carrots, celery and peas held in a creamy white gravy, baked between two layers of pastry. The gravy is what keeps the filling from running out when you cut into it, and it comes from a roux, which is simply flour cooked into butter until it smells toasty. That single idea is the whole trick of the recipe.
Equipment
- 9-inch deep pie dish, 1.5 to 2 inches deep, glass or metal
- Rimmed baking sheet
- Rolling pin
- Whisk
- Pastry brush
- Instant-read thermometer
- Cutting board and knife
- Wide skillet with a lid, plus a separate saucepan for the filling
For the pie crust
- 2 cups (250 g) all-purpose flour
- 1 teaspoon fine salt
- 1 cup (225 g) cold unsalted butter, cut into 1/2-inch cubes
- 1/3 cup (80 ml) ice water, plus a couple more tablespoons if needed
- 1 tablespoon white vinegar (optional, it makes the dough tender)
For the roux and filling
- 4 tablespoons (60 g) unsalted butter
- 1 small yellow onion, diced (about 1 cup)
- 2 carrots, peeled and sliced 1/4-inch thick (about 1 cup)
- 2 celery stalks, sliced 1/4-inch thick (about 1 cup)
- 6 tablespoons (45 g) all-purpose flour
- 2 cups (480 ml) reduced-sodium chicken broth
- 1 cup (240 ml) half-and-half or whole milk
- 1 teaspoon chicken bouillon paste
- 1 teaspoon dried thyme, or 4 fresh thyme sprigs
- 1/2 teaspoon celery seed (optional, it adds a warm, savory note)
- Kosher salt and freshly ground black pepper to taste
For the pie
- 2 pounds (900 g) boneless skinless chicken breasts, or 3 cups shredded cooked chicken
- 1 cup (140 g) frozen peas
- 1 egg plus 1 tablespoon milk, for the egg wash
If you are poaching raw chicken, cook it to an internal temperature of 165 F (74 C) and verify with an instant-read thermometer. That is the food safety floor for poultry, and there is no reason to guess at it.
Substitutions that work well: rotisserie or leftover roast chicken in place of raw breasts, turkey after a holiday meal, half-and-half or whole milk for the cream, and a mix of frozen peas and diced frozen carrots. Skip low-fat or skim milk for the filling, because the gravy ends up thin and leaks. A 9-inch dish holds this amount; for a bigger crowd, use a deep 10-inch dish and add roughly 25 percent more filling, or bake two pies.
Step-by-Step: How to Make Chicken Pot Pie From Scratch
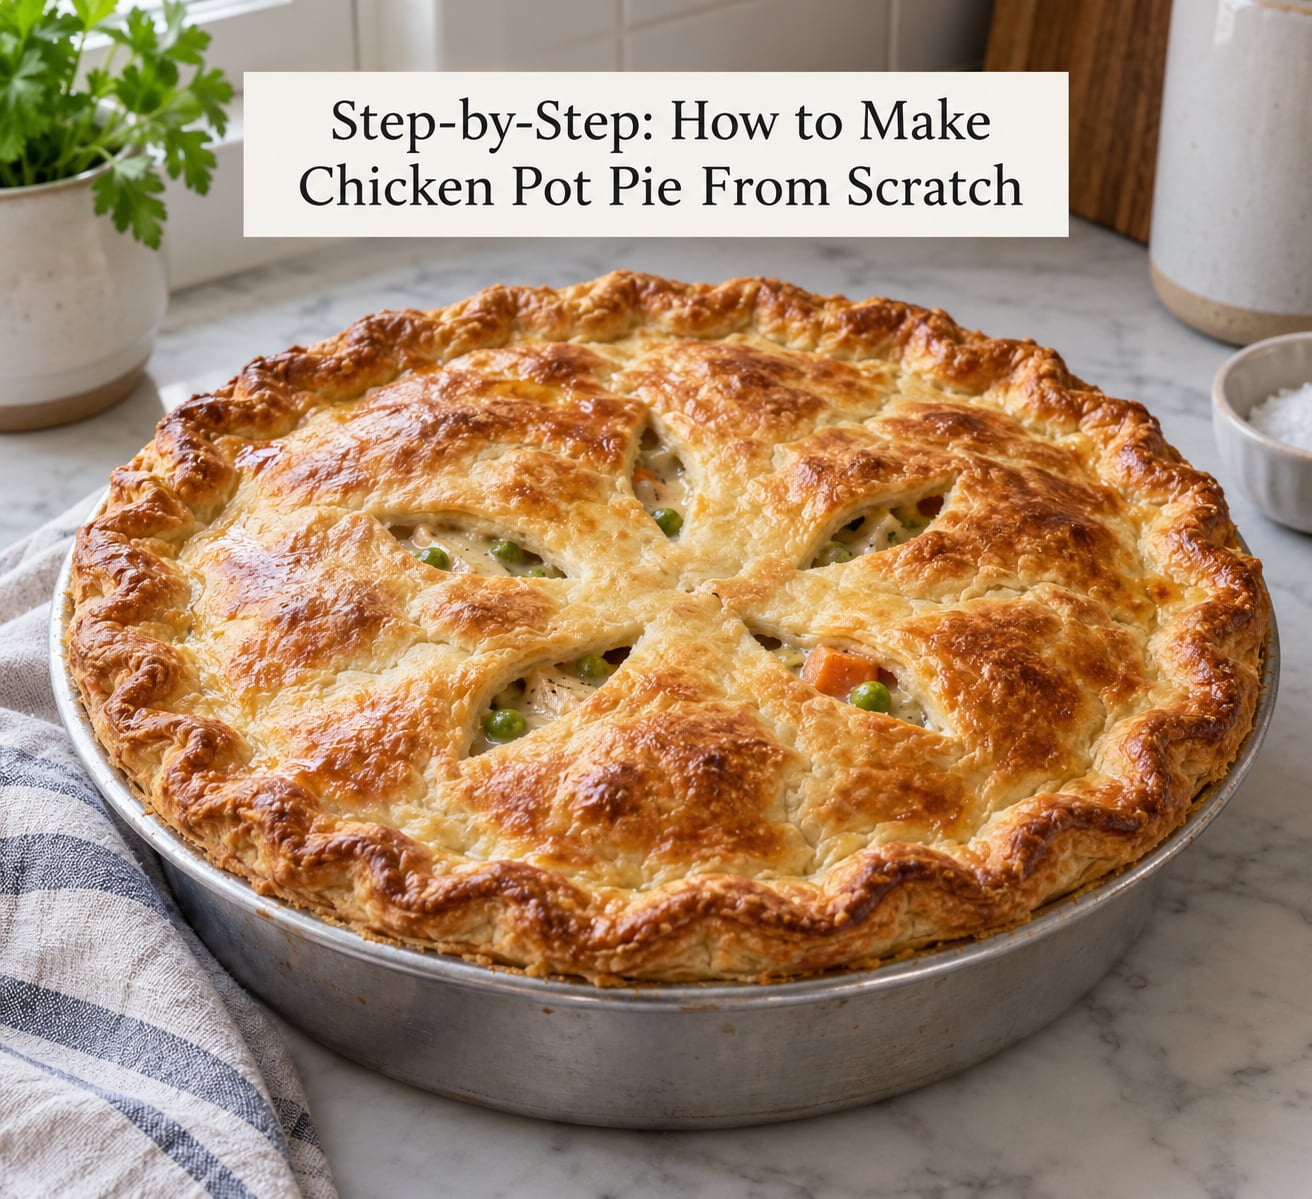
The method runs in four stages: make the dough, cook the chicken and vegetables, build the roux gravy, then assemble and bake. The order matters, because the dough needs to chill while you work on the filling.
How to Make the Flaky Pie Dough
Cold butter and cold water make a flaky crust, and the single biggest mistake is warming the dough with your hands. Work in a cool kitchen, handle the butter as little as possible, and chill the dough twice.
- Cut the butter into the flour. Combine the flour and salt in a large bowl, then work the cold butter in with a pastry cutter or your fingertips until you have a mix of pea-sized butter lumps and flour. Some butter should still be visible at this stage, and that is exactly what you want.
- Add the water. Pour in the ice water and vinegar, stir with a fork just until the dough holds together, then squeeze a handful. It should look messy and slightly shaggy. That is correct, and you should not knead it smooth.
- Chill, 1 hour or overnight. Flatten the dough into a disk, wrap it, and refrigerate. It can also sit in the fridge up to five days ahead, which is a genuinely useful fact for anyone cooking on a weeknight. Overnight chilling is what gives you a crust that holds its shape in the oven instead of slumping into the dish.
- Roll out the bottom round. On a well-floured surface, roll the dough into a 12-inch circle, 1/8-inch thick. Lift it by its edge and let it unroll over the dish, easing it into the corners rather than stretching it in. Stretched dough shrinks; eased dough does not. Press any cracks closed from underneath.
- Crimp and blind bake the shell. Roll the dough back so the edge overhangs the rim by an inch, then fold it under and crimp against the rim with your thumb and forefinger. Dock the bottom all over with a fork, line it with foil, and bake at 425 F for 15 minutes with a set of pie weights or dry beans on top. Remove the foil and weights and give it another 5 to 7 minutes so the bottom is dry and pale golden. That pre-bake is the single best insurance against a soggy base.
To keep the dough from sticking, flour the surface generously rather than adding more oil, and dust the counter with a light layer of flour every couple of rolls. If the dough cracks at the edge while rolling, patch it with a small piece of trimmings rather than rolling harder.
How to Cook the Chicken and Vegetable Filling
Cook the chicken first, then the vegetables, then the roux, and cool the finished filling for 20 minutes before it goes in the shell. That cool-down is not a suggestion, and I will explain why in the mistakes section.
- Cook the chicken. Season the breasts with salt and pepper. Sear them in a skillet over medium-high heat, 5 to 6 minutes per side, until the juices run clear. Transfer them to a plate, let them rest 5 minutes, then shred with two forks. Or skip all of that and use 3 cups of cooked rotisserie or roast chicken. Either way, verify 165 F if you cooked it from raw.
- Sweat the vegetables, do not brown them. Melt 4 tablespoons of butter in a wide skillet or saucepan over medium heat. Add the onion, carrots and celery, and cook 6 to 8 minutes until soft and translucent. This mixture is called a mirepoix, and it is the aromatic base of the filling. You want it soft, not colored, because browning the vegetables makes the final gravy taste flat.
- Cook the roux. Stir in the 6 tablespoons of flour and keep stirring for 2 full minutes. The flour-butter paste will darken from white to a peanut color and smell like biscuits rather than raw flour. Those two minutes are what make the gravy taste homemade, and they are the step most shortcuts skip. If it looks dry and pasty, that is exactly where you should be.
- Add warm liquid gradually. Turn the heat to medium-low. Slowly whisk in 1 cup of the chicken broth, stirring until the roux loosens into a smooth paste with no lumps, then pour in the remaining broth and the half-and-half. Warm broth dissolves the roux far more smoothly than cold liquid, which is where lumpy gravy comes from.
- Thicken. Simmer, stirring often, for 5 to 6 minutes until the sauce coats the back of a spoon and leaves a clean line when you drag a finger through it. Stir in the bouillon paste, thyme, celery seed, and salt and pepper. The sauce should be thick enough to hold a shape, closer to thick cream than to milk.
- Add the chicken and peas, then cool. Fold in the shredded chicken and the frozen peas, and cook 2 minutes more until the peas are bright green. Then off the heat, cool the filling for about 20 minutes before you assemble. Fresh out of the skillet, it is too hot and too loose for a shell.
How to Assemble and Bake the Pot Pie
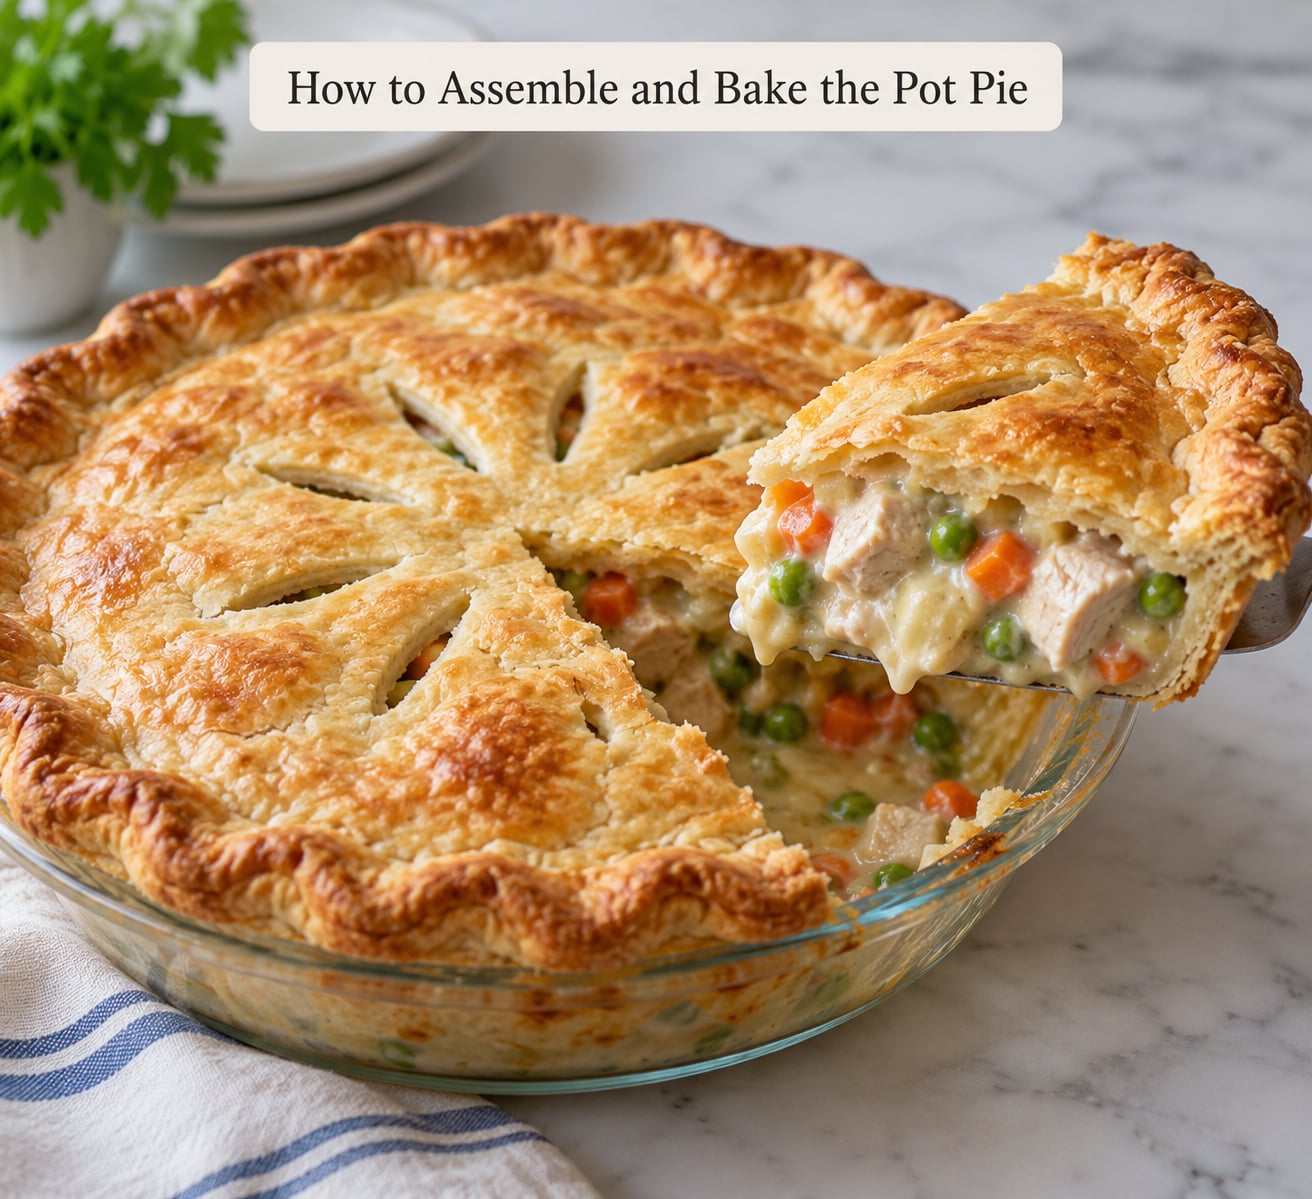
Assemble the pie with the shell already chilled and the filling already cooled, then bake it hot until the crust is deep golden brown and the filling reads 165 F.
- Fill the shell. Spoon the cooled filling into the chilled bottom crust. Spread it level, but keep the liquid from sitting on bare dough by spooning the gravy over the solids first and letting it seep down rather than pouring straight onto the crust.
- Add the top crust. Roll the second dough disk to a 12-inch circle, drape it over the filling, tuck the edges down inside the dish, and crimp firmly around the rim so no gaps remain. A loose seal lets steam escape through the sides and dries out the filling.
- Cut the vents. Cut four or five 1-inch slits in a star pattern or a simple row over the center. Vents let steam out, which keeps the crust from puffing up like a dome and bursting, and they are how you watch for bubbling filling to tell you the center is hot through.
- Egg wash. Beat 1 egg with 1 tablespoon of milk and brush it over the top crust with a pastry brush. It adds a little aroma and gives you the glossy, deeply browned finish that a plain egg-free crust never reaches.
- Bake at 425 F for 35 to 45 minutes. Put the pie on a rimmed baking sheet, on the bottom third rack so the underside crisps, and bake until the crust is deep golden brown and the filling bubbles up through the vents. Check the center with an instant-read thermometer inserted through a vent; it should read 165 F (74 C). If the crust edges darken before the center is hot, tent loosely with foil.
- Rest 15 to 20 minutes before slicing. Straight from the oven the filling is still loose and will run. Those 20 minutes let it set, and the slices will come out holding their shape on the plate. Most home cooks skip this and then blame the recipe.
Common Mistakes
Nearly every disappointing pot pie traces back to one of a handful of things. Here is what to look for, why it happened, and what to change next time.
- Soggy bottom crust. Usually hot filling poured onto a shell, or a shell that was never pre-baked. Cool the filling 20 minutes, pre-bake the bottom crust 15 minutes at 425 F, and bake the whole pie on the bottom third rack.
- Runny filling that spills out when sliced. Not enough simmer time on the roux, or the pie was cut straight from the oven. Simmer the gravy until it coats a spoon, then rest the pie 15 to 20 minutes before cutting.
- Watery or thin gravy. Low-fat milk, or broth added in one dump instead of gradually. Use whole milk or half-and-half and whisk in the broth a cup at a time over low heat.
- Lumpy sauce. Cold liquid added to the roux all at once. Warm the broth first and whisk constantly; if lumps do form, whisk hard off the heat or blend it smooth.
- Pale or doughy top crust. Pulled out too early, or the egg wash was skipped. Bake until deep golden brown, not tan, and brush with the egg and milk mix before it goes in.
- Crust shrank away from the dish or slumped. The dough was stretched instead of eased in, or it was not chilled long enough. Chill the disk a full hour, ease the dough into the dish without pulling, and press cracks closed from underneath.
- Crust edges burning before the center is hot. A thin pie dish, or a high oven with no shield. Use a glass or metal dish and tent the edges with foil once they darken; drop to 350 F for the last 20 minutes if you need to.
- Overcooked, dry chicken. The chicken was cooked in the filling instead of separately. Cook, shred, and fold it in at the end so it only warms through.
One note on the cool-down, since it comes up more than anything else. Hot filling sits on butter-rich dough, and the heat melts the butter in the shell before the oven can set the crust, so the pastry goes slack and greasy from underneath. Twenty minutes on the counter lets that butter firm back up, and the shell bakes like dough again instead of melting into a puddle.
Storage and reheating. Keep the covered pie in the fridge for up to 3 to 4 days. Reheat a whole pie at 350 F for 20 to 25 minutes, or a slice for 3 to 4 minutes, and skip the microwave if you can, because it makes the crust leathery. It reheats well, and the filling only gets a little firmer each day.
Freezing. Assemble the pie, do not bake it, and wrap it tightly in two layers of plastic wrap plus foil. Freeze for up to 3 months, then thaw in the fridge overnight and bake at 425 F, adding 10 to 15 minutes. Bakes straight from frozen work too, with about 15 extra minutes. Readers bake these a day ahead and refrigerate unbaked more often than not, and it is the easiest way to feed a crowd without cooking twice.
A few other questions come up constantly, so they are answered in full below: whether the filling should look runny, what the sauce is actually made of, and how to tell when the pie is done. The short version is that pot pie is forgiving about almost everything except undercooking the chicken and under-thickening the gravy.
Frequently Asked Questions
What are the essential pot pie ingredients?
Shredded chicken, carrots, celery, and peas are the filling, bound in a gravy made from butter, all-purpose flour, chicken broth, and milk. The pie needs a double crust of flour, cold butter, salt, and ice water, plus an egg wash for color. Seasoning comes from thyme, chicken bouillon, salt, pepper, and optional celery seed. That is the whole list, and every part has a job.
What is the sauce made of in chicken pot pie?
The sauce is a roux-based white gravy. You cook 6 tablespoons of all-purpose flour into 4 tablespoons of butter for two minutes, then whisk in chicken broth and milk and simmer until it coats a spoon. That cooked flour-and-butter paste is what thickens the filling so it stays in place instead of running out when you slice. Skipping it leaves you with soup.
Is chicken pot pie filling supposed to be runny?
It should look loose and creamy, not pourable, and it thickens as it cools. If a spoonful holds its shape for a second before slumping, that is right. If the sauce runs off the spoon like milk, simmer it two more minutes before it goes in the shell. Fresh from the skillet it always looks thinner than it will be once baked and rested.
How do I keep the bottom crust of chicken pot pie from getting soggy?
Cool the filling for 20 minutes, pre-bake the bottom crust at 425 F for 15 minutes, bake the whole pie on the bottom third rack, and use a glass or metal dish instead of ceramic. Pour the gravy over the solid filling rather than onto bare dough so it seeps down instead of pooling. Ceramic dishes also heat unevenly at 425 F, which is a common reason the base stays pale.
How do I know when chicken pot pie is done?
The crust should be deep golden brown, not tan, and the filling should bubble up through the vents. Push an instant-read thermometer through one of the slits until it hits 165 F (74 C) in the center, which also confirms the chicken is safely cooked. Then rest the pie 15 to 20 minutes. Pale crust is the most common sign that it went out too early.
Can I make chicken pot pie ahead of time?
Yes, and it is the best part of the recipe. Assemble the pie, refrigerate it unbaked for up to 2 days, and bake it cold, adding 10 to 15 minutes to the 425 F time. The dough can also be made and chilled up to 5 days ahead. Cooked pies keep in the fridge 3 to 4 days, and unbaked ones freeze for up to 3 months.
Start with the dough and put it in the fridge for an hour. While it chills, cook the chicken, sweat the vegetables, and give the roux its full two minutes, then let the filling cool before it meets the shell. Bake at 425 F until the crust is deep golden brown, wait 20 minutes, and cut into it. That order is the whole difference between a pot pie that holds its shape and one that puddles.