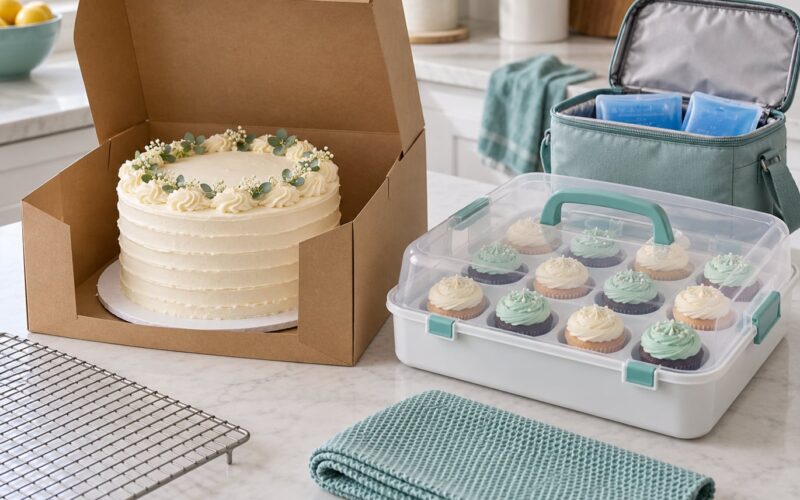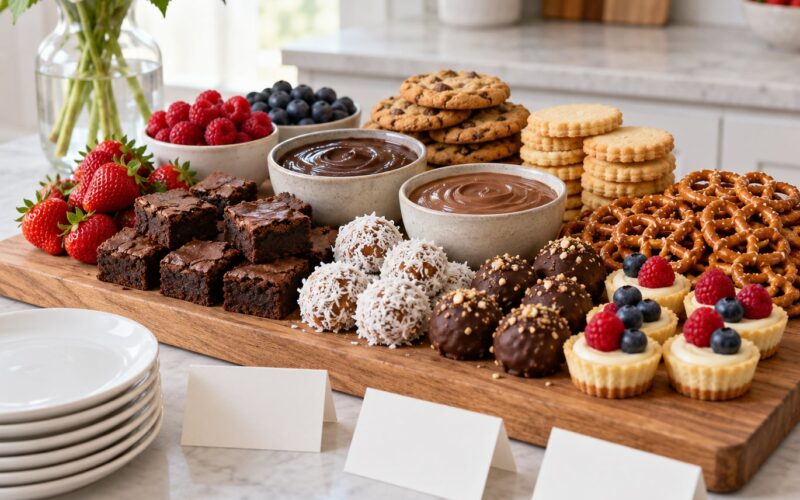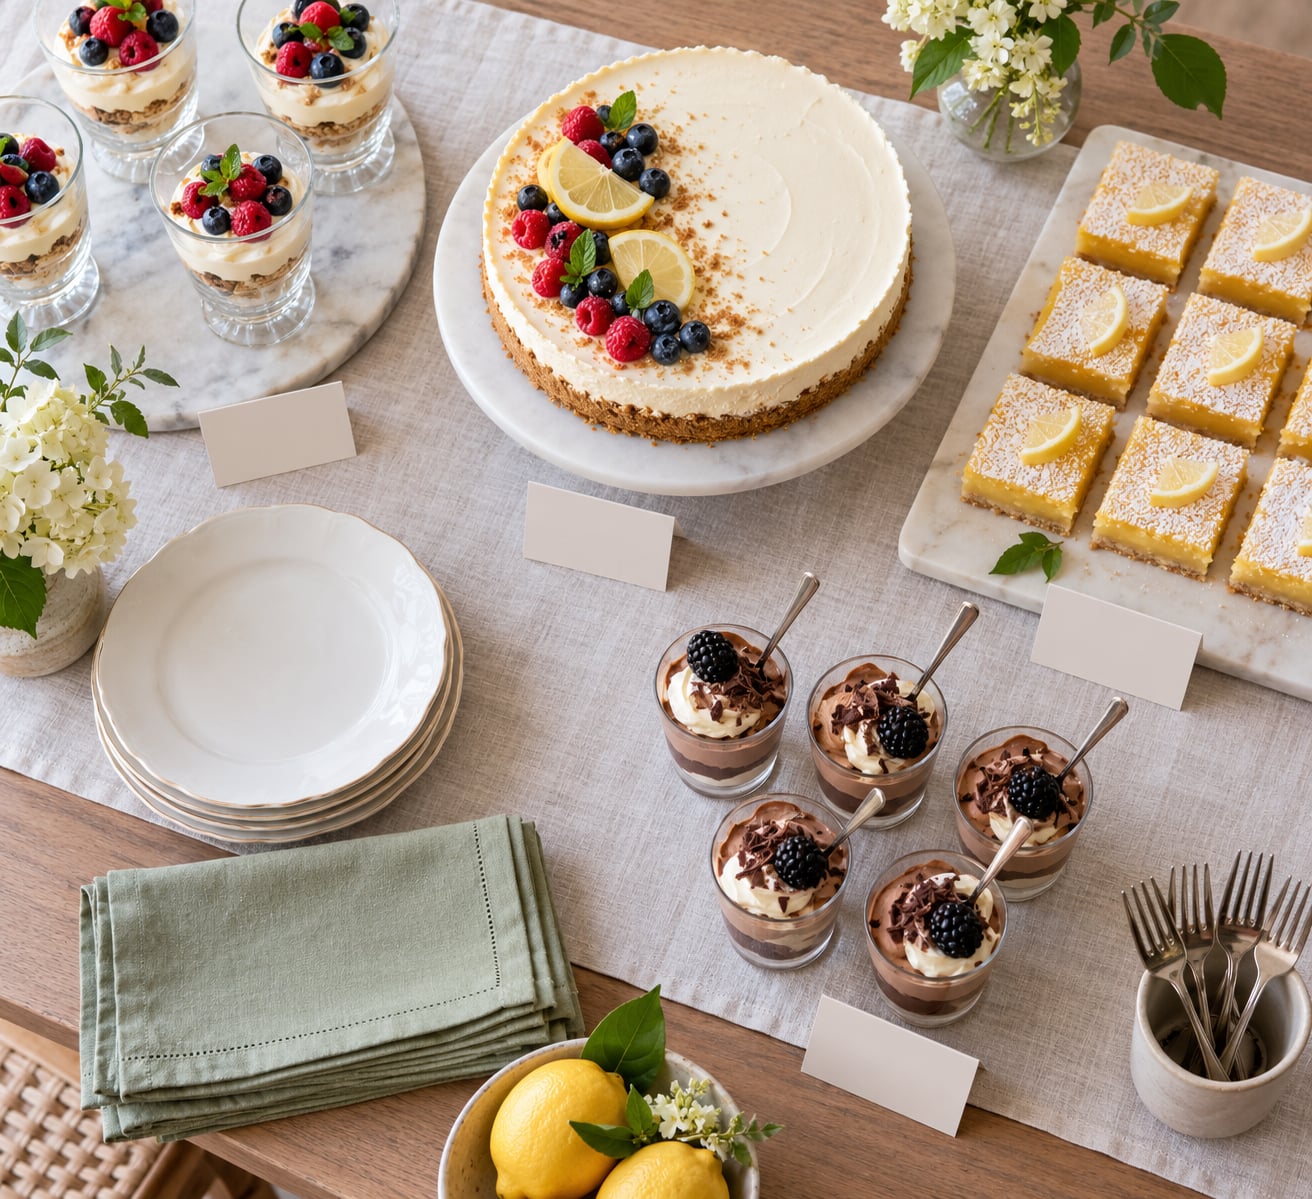
How to make no bake desserts for a party comes down to three numbers: your guest count, how long each dessert needs to chill, and how long it can sit out before it stops being worth eating. Pick three desserts with different textures, schedule their chill times backwards from your serving time, and label everything. That is genuinely all the planning a no-bake dessert table needs.
Most of the work happens the day or two before. A no-bake cheesecake that needs four hours in the fridge costs you about twenty minutes of effort, then nothing but waiting. That trade is why no-bake desserts suit party hosting so well: the oven is off, the kitchen is clean before guests arrive, and the leftovers are forgiving.
This guide covers what to have on hand, a six-step process from headcount math to serving, the failures that trip people up most often, and realistic storage guidance for food-safety reasons. Pick the section that matches the stage you are at.
Table of Contents
- What You Need to Make No-Bake Desserts for a Party
- Equipment
- Pantry basics that carry most recipes
- Serveware
- Step-by-Step
- 1. Plan a Mix of Small, Medium, and Large Sweets
- 2. Set Up and Chill the Serving Space
- 3. Choose a Base for Every Dessert
- 4. How to Make No Bake Desserts for a Party
- 5. Portion for Easy Serving
- 6. Chill, Transport, and Serve
- Common Mistakes
- Party-Ready Tips
- Frequently Asked Questions
- How far in advance can I make no-bake desserts for a party?
- Can I freeze no-bake desserts ahead of time?
- What no-bake desserts travel best to a party?
- How do I accommodate guests with dietary restrictions?
- How much dessert should I make for each person?
- Conclusion
What You Need to Make No-Bake Desserts for a Party
No-bake desserts need almost no equipment, but they do need enough containers to keep each dessert separate and enough cold space to chill them all at once. Shop for the night before if you have to, but nothing here is specialised.
Equipment
- A 9-inch springform pan or a deep 9×13-inch baking dish for bar-style desserts
- A food processor or rolling pin and zip bag for crumb bases
- Clear cups, small glasses or mini jars for individual servings
- A rubber spatula, a whisk, and at least one spare mixing bowl
- Sheet pans that fit your refrigerator, so desserts chill without being stacked
Pantry basics that carry most recipes
- Two or three kinds of crumbs: graham crackers, chocolate sandwich cookies, plain biscuits, or a cereal for a crunchier base
- Butter, or a neutral oil if someone in the house is dairy-free
- Full-fat cream cheese, heavy cream, and sweetened condensed milk
- Cocoa powder, vanilla extract, and a pinch of salt, which sharpens almost anything sweet
- One or two fresh fruits, plus a can of cherries or berries in syrup
Serveware
Small plates beat one big platter. Set out dessert forks, napkins, a small knife for bars, and a spatula or cake server. Blank labels or tent cards matter more than most hosts expect: one dessert with nuts in it and one without is a guessing game without them.
Step-by-Step
1. Plan a Mix of Small, Medium, and Large Sweets
Start with your guest count and divide by what people actually eat. Most hosts overshoot on volume and undershoot on choice, so favour three or four small options over one large one. A single dessert at a party gets sampled by everyone and finished by three people.
Do the arithmetic before you shop. A 9-inch springform pan cut into eight slices serves about eight. A 9×13-inch pan of dessert bars cut into twenty-four reasonable squares serves twenty-four. A single jar parfait serves one. Twelve standard cupcakes serve twelve, so the rule holds across formats.
As a working plan, give each guest three to four small pieces, or two larger pieces. For twenty guests that means roughly sixty small bites spread across your spread, not one tray per guest.
Then balance the spread. Pair something rich and creamy with something sharp and fruity so the palate gets a reset. Peanut butter bars and a lemon curd dessert hit very different notes; two cheesecakes do not. Watch for texture too, since guests notice crunch through cream far more than they notice one fruit against another.
If you are hosting a big crowd, aim for one substantial sweet, one fruit-based dessert, and one chilled bar. That trio covers adults, kids, and anyone who eats dessert lightly, and it scales without new techniques.
2. Set Up and Chill the Serving Space
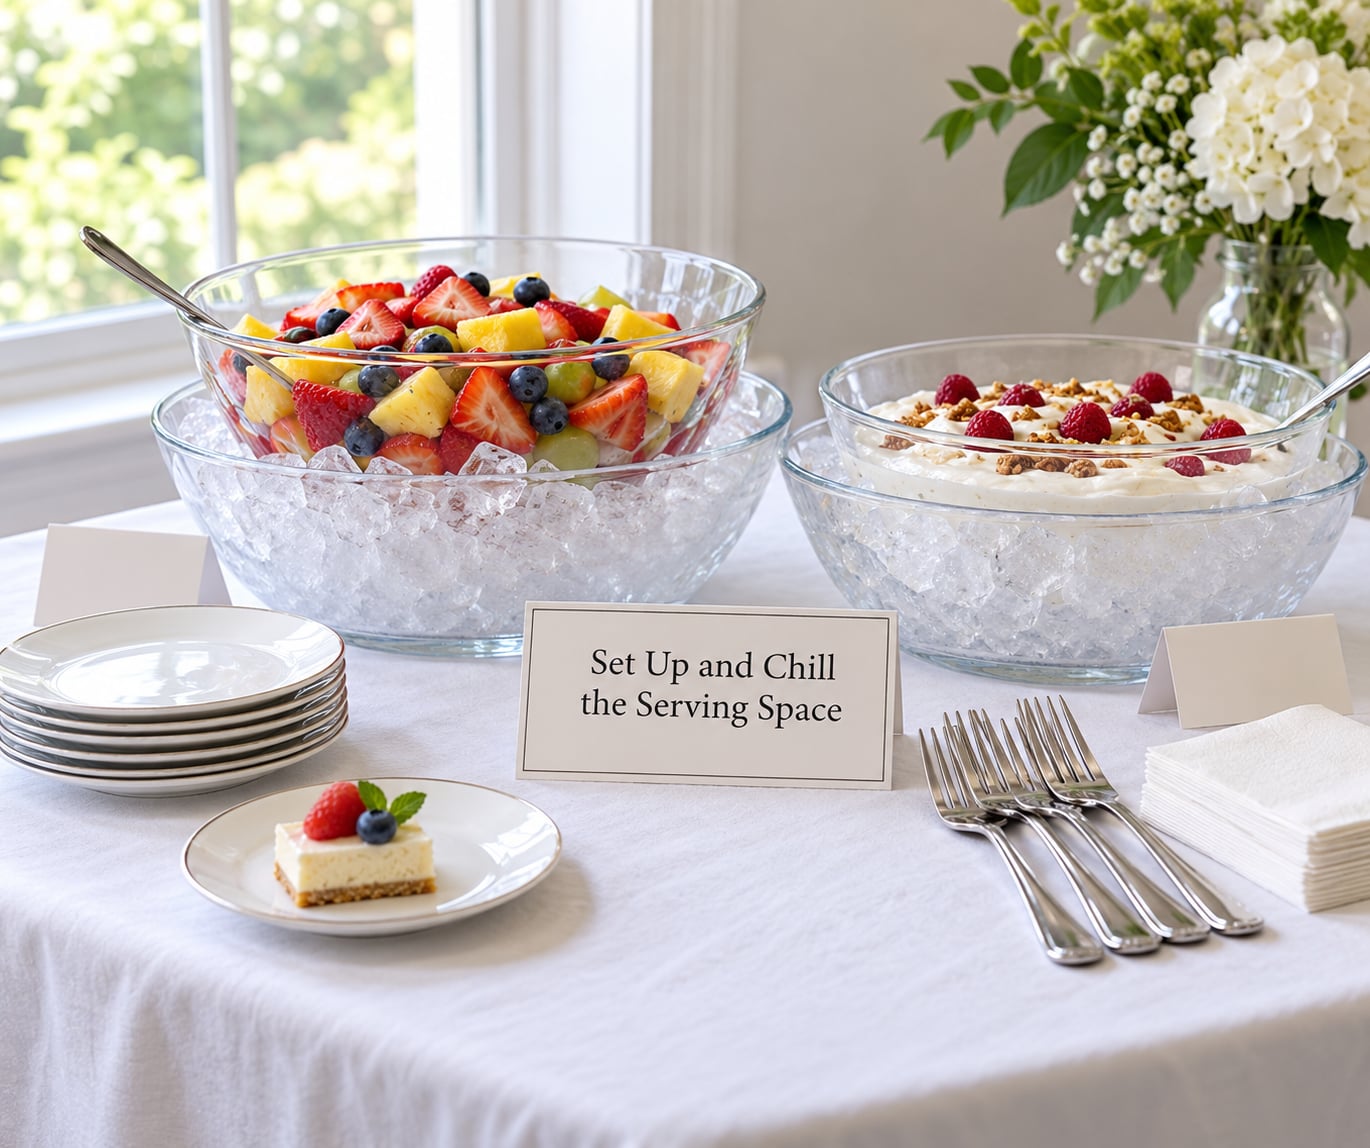
Set the table before you make anything, not while the fridge fills up. Lay out where each dessert will sit, put the plates and forks within reach of the dessert end, and place the labels next to where the dish will stand rather than in a pile on the counter.
Chill the serving pieces too. If you can stack glass dishes and trays in the fridge or freezer the day before, do it and pull them out shortly before serving. Cold plates help frozen and creamy desserts hold their texture through the first hour of the party, which is when most of them get eaten anyway.
Leave space between dishes. A crowded table reads as a baking sale, and people cannot reach the back of a platter without shoving the front one.
3. Choose a Base for Every Dessert
The base does the structural work, so pick it before you pick the filling. Every base below needs the same treatment: combine crumbs with melted butter or a small splash of liquid, press firmly into the pan, and chill before adding anything wet. Skipping that chill step is the single most common reason a no-bake pie goes soggy at the bottom.
- Cereal crumbs make a coarse, crumbly base that stays distinct through freezing. Good under a thick, sweet filling.
- Graham crackers are the classic cheesecake base and hold their texture well.
- Chocolate sandwich cookies give a deeper flavour that stands up to coffee or dark chocolate fillings.
- Meringue needs baking or a very specific stovetop method, so it is the exception rather than the rule.
- Chocolate or nut crusts set firmly and can go straight into the freezer for a faster firm-up.
- No base at all works for layered puddings, parfaits and trifles served in glasses.
A pressed crust needs about fifteen minutes in the fridge before filling, or twenty in the freezer. It should feel solid to the touch when you press the centre.
4. How to Make No Bake Desserts for a Party
Almost every party dessert follows the same formula: a crumb or cereal base, a creamy filling, a topping, a portion size, and a chill time. Once you know the formula, you can build a dessert for any guest count without a recipe card.
Five examples that cover most situations:
- Peanut butter dessert bars. Crunchy peanut butter crust, a layer of cream cheese and condensed milk filling, a thin chocolate top, four hours to set, cut into twenty-four squares from a 9×13-inch pan.
- Lemon bars. Shortbread-style crumb base, lemon curd filling, a light whipped cream or meringue top. Four hours minimum, and overnight is better if the filling is set before it travels.
- Chocolate pudding cups. Store-bought or homemade chocolate pudding in small glasses, finished with whipped cream and a cocoa dusting just before serving. Two hours to firm, and they travel in a cooler.
- Fruit parfaits. Crushed cookies, fruit, and a whipped cream or yoghurt layer in jars, assembled the day before and topped with fresh fruit on the day so nothing weeps. One hour to chill.
- Frozen bars. A thin crust, a chocolate or yoghurt filling, and a two-hour freeze. Best for hot-weather parties and the dessert that travels with ice packs.
Whip cream only as the last step before serving, or add stabilised whipped cream if you must go further ahead. Plain whipped cream starts weeping within a few hours in the fridge, and you end up with a puddle on the plate.
5. Portion for Easy Serving
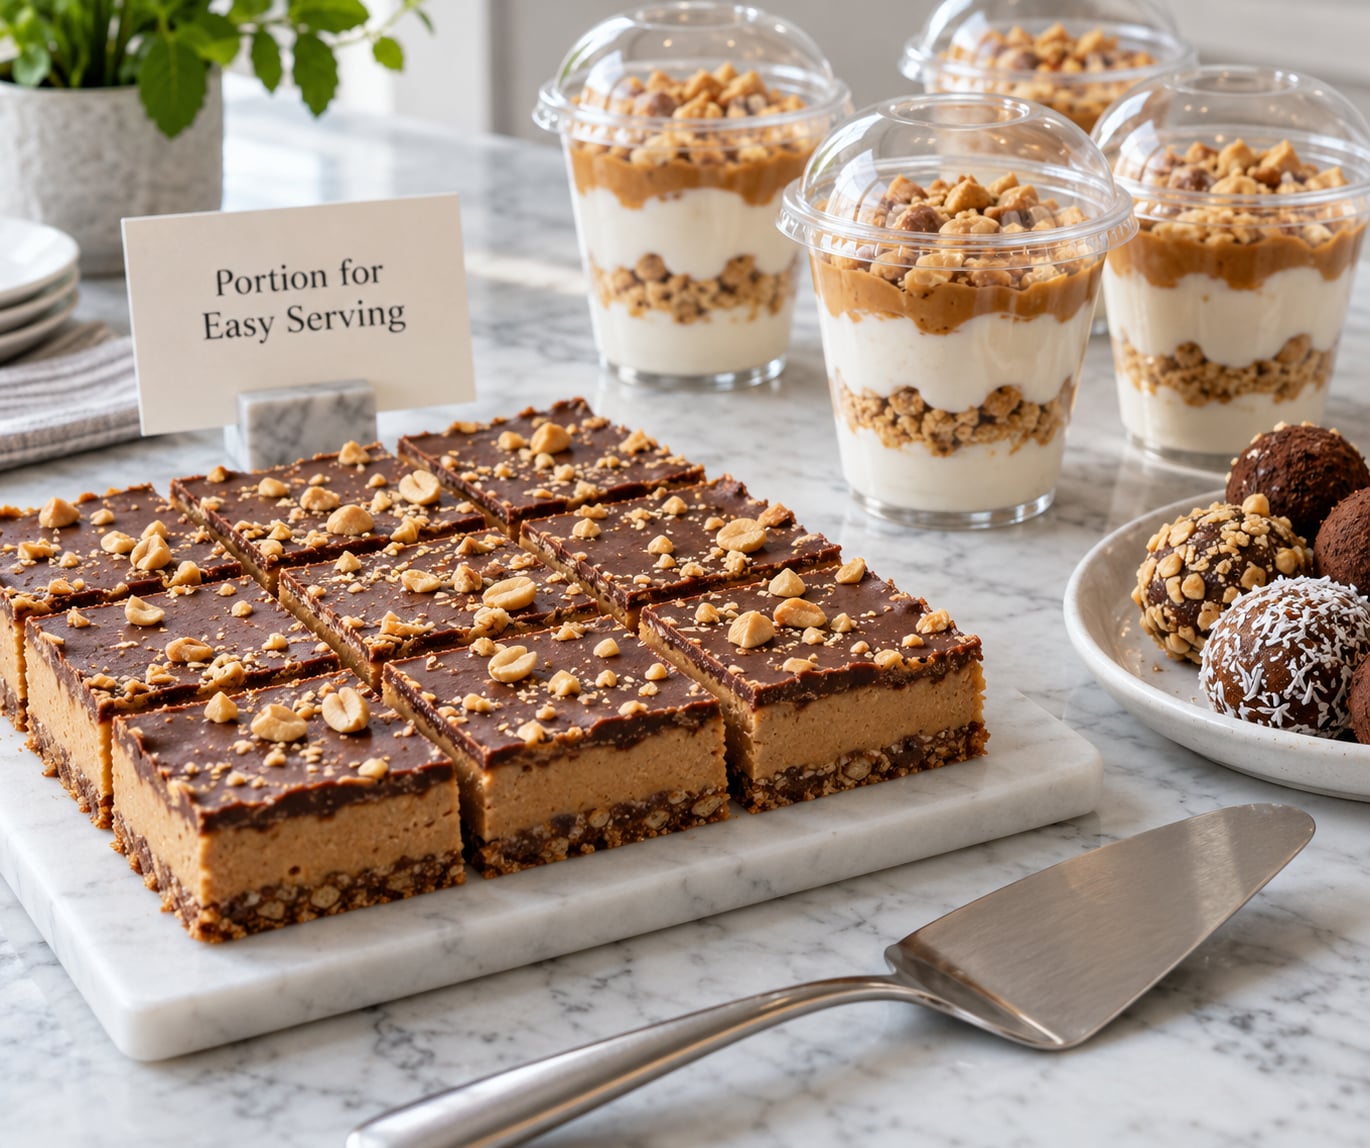
Portion while the dessert is still firm and cold. Wipe a long knife between every few cuts, and dip it in hot water and dry it for cake-style slices so you do not drag the filling out of shape.
Leave roughly a finger-width between cut pieces on the tray. Desserts that touch each other merge, and people take one piece instead of two when they are clearly separate.
For glasses and cups, count them instead of cutting. Twelve standard cups in a tray is a nice number because it matches how people carry food, one in each hand while holding a drink. Truffles and cookies benefit from a glass dome or a cake stand because guests take fewer of them when they can see the whole pile at once.
6. Chill, Transport, and Serve
Work backwards from your serving time. A dessert that needs four hours of chilling and must be cold on the table needs to go in at least five hours before guests arrive, which usually means the night before.
Transport is where most no-bake plans fail. Take frozen desserts in a cooler with ice packs and put them straight in a freezer or the coldest part of the party space on arrival. Cream-based puddings and mousses soften in about two hours at warm room temperature, so keep them in their chill bags until you are ready to set the table.
For food safety, keep perishable no-bake desserts at 40°F (4°C) or below while they are not being served, and refrigerate cream cheese, whipped cream, custard, and mousse desserts within two hours of taking them out. Cream-based puddings made at home keep about one to two days in the refrigerator; frozen bars usually stay usable for two to three months in the freezer if wrapped well.
Bring two desserts out first and leave the rest in the fridge. It keeps everything sharp and lets you top up the table rather than have a half-empty spread sitting out for three hours.
Common Mistakes
Setting the crust too early. A base chilled for many hours before serving picks up moisture in the fridge and goes soft underneath. Press the base, chill it briefly, then fill and refrigerate the whole thing once.
Making portions too large. Big squares disappear before most guests have taken one. Cut smaller than feels generous and put the extras on a separate plate.
Going heavy on flavour. Two intensely chocolatey or two very sweet desserts on one table exhausts people fast. Balance a rich filling with a sharp fruit dessert rather than doubling the richness.
Skipping labels. With eggs, nuts, dairy, and gluten in play, unlabelled food puts a host in an awkward conversation at the worst possible moment. Small cards cost almost nothing.
Filling trays too high. Bars need two fingers of space around the edge for the filling to set without spilling, and jars need headroom for toppings or they overflow in transit.
Serving at the wrong temperature. A cheesecake straight from the fridge is fine; a no-bake bar served at room temperature after sitting out is usually too soft to cut. Frozen desserts need ten minutes out of the freezer, not thirty.
Whipping cream too early. Whipped topping holds its shape for hours, hand-whipped cream does not. Whip close to serving unless the recipe uses a stabiliser.
Party-Ready Tips
Label for the common restrictions rather than waiting for someone to ask. Eggless, nut-free, gluten-free, dairy-free, and alcohol-free are the requests that come up most often, and each one takes about five minutes of planning.
- Vegan: use coconut cream or a plant-based cream cheese in place of dairy, and a coconut biscuit base.
- Gluten-free: almond flour or oat biscuit crumbs, checking that the cookies you crush are certified gluten-free.
- Eggless: most cream cheese fillings never use egg to begin with, so check the ingredients rather than assuming.
- Nut-free: sunflower seed or pumpkin seed crumbs replace nut crusts, and keep toppings separate from anything with nuts.
- Alcohol-free: a no-bake tiramisu built with instant coffee and a splash of non-alcoholic coffee liqueur keeps the flavour profile with none of the alcohol.
Build one dessert that travels, one that can sit out for two hours, and one that must stay cold. That covers an outdoor party, a buffet, and a heat-wave afternoon without improvising.
Keep one backup in reserve. A classic tiramisu holds beautifully for a day or two in the fridge, so making a spare is cheap insurance when someone arrives with four extra people.
Frequently Asked Questions
How far in advance can I make no-bake desserts for a party?
Most no-bake desserts can be made one to two days ahead. Crust-based cheesecakes and puddings need at least four hours of chilling, so an overnight rest is ideal. Fruit parfaits can be layered a day ahead with fruit added on the day. Frozen bars can be made weeks in advance and kept in the freezer until the party.
Can I freeze no-bake desserts ahead of time?
Yes, and frozen bars are the best candidates because they freeze cleanly. Freeze in a covered pan for the first few hours, then wrap well to stop freezer burn. Thaw in the refrigerator for several hours rather than on the counter, and plan for the texture to soften slightly compared with dessert made fresh.
What no-bake desserts travel best to a party?
Frozen bars, whole cheesecakes, and puddings sealed in cups with lids travel best, especially in a cooler with ice packs. Layered trifles and open-faced parfaits are riskier, since shifting in transit ruins the layers. If you must take a fragile dessert, carry it in a dish secured on a flat tray and chill it at the destination first.
How do I accommodate guests with dietary restrictions?
Ask in advance rather than guessing, then make one dessert that covers the most common restriction. Swap coconut cream for dairy, almond or oat crumbs for gluten, and sunflower seed crumbs for nuts. Keep nut toppings in separate containers and use small labels on every dish so nobody has to ask mid-party.
How much dessert should I make for each person?
Plan three to four small bites per guest, or two larger pieces, and spread them across three or four desserts rather than one tray. A 9-inch springform serves eight, a 9×13-inch pan of bars cut into twenty-four squares serves twenty-four, and one jar parfait serves a single person.
Conclusion
Start with one chilled bar, one fruit-based dessert, and one substantial sweet, then count three to four small bites per guest across the spread. Write each dessert’s chill time down and schedule them backwards from serving, chilling the crust separately only long enough to set it.
Set out the table first, label every dish, and keep perishable desserts at 40°F (4°C) or below until the moment you want them eaten. That is a complete plan, and most of it happens before the party.