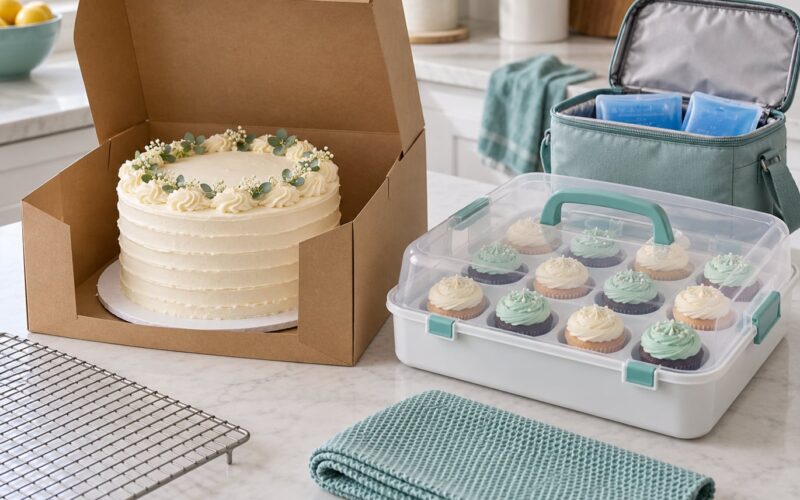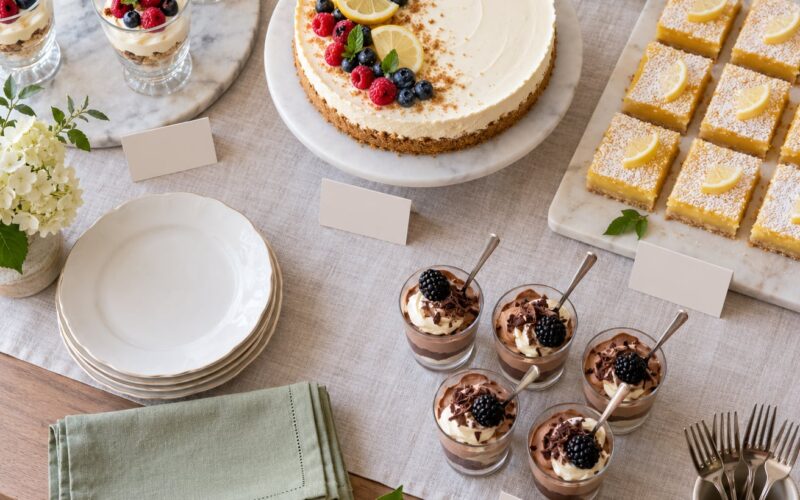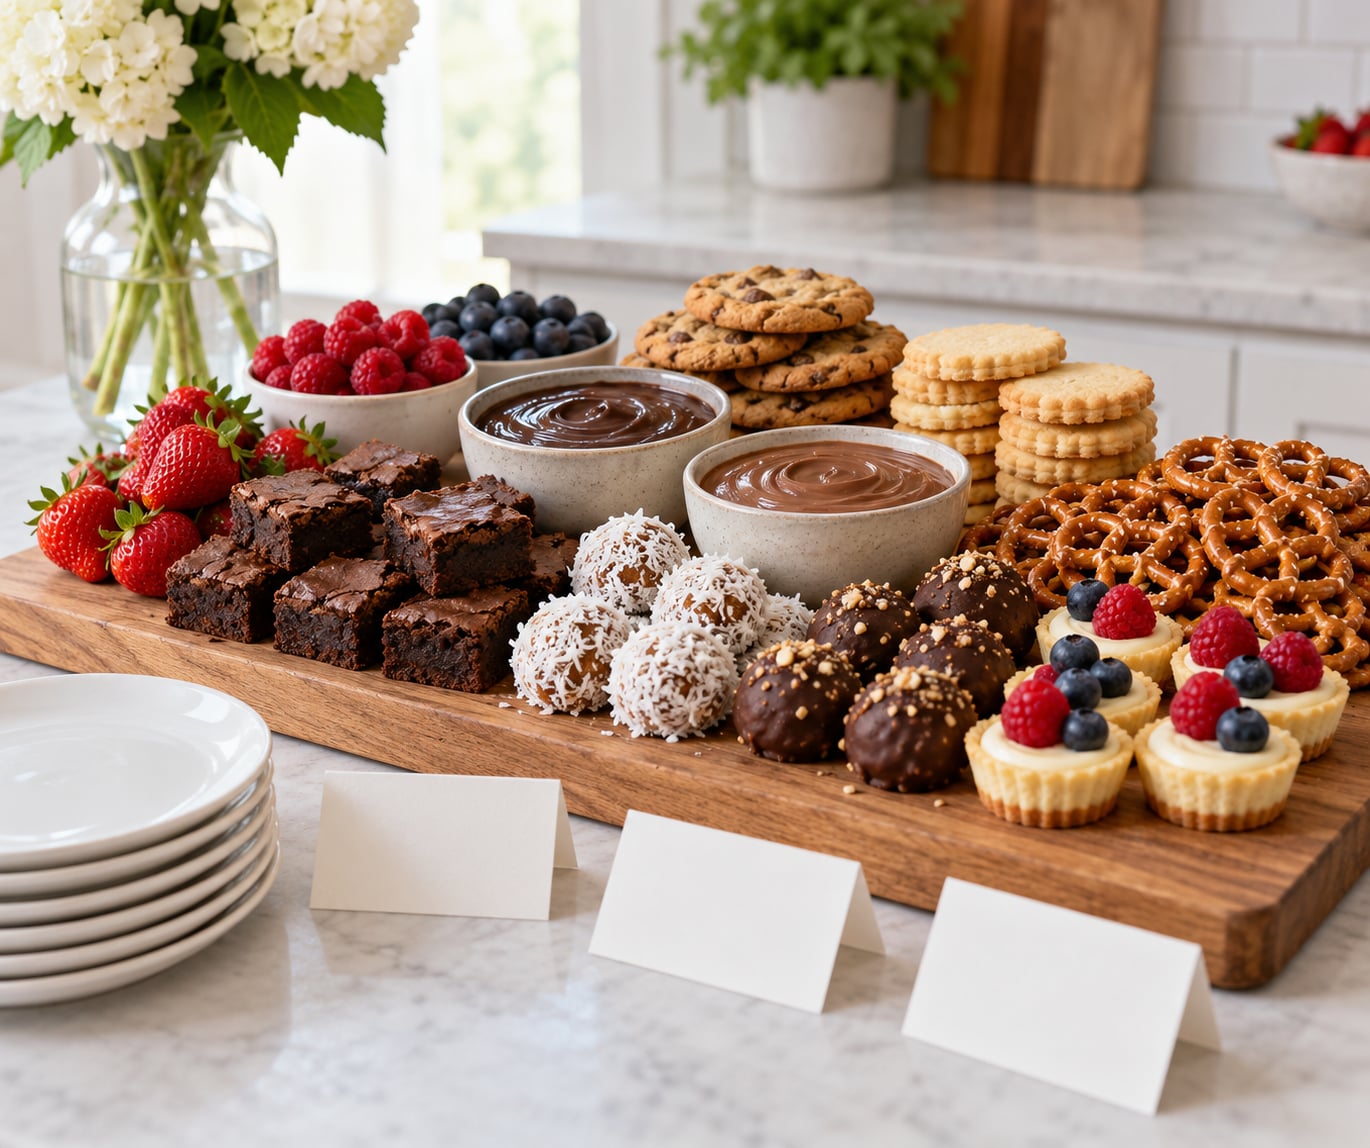
A dessert board is a platter or wooden board covered with bite-sized sweets, dips, fresh fruit, nuts and garnishes so guests serve themselves instead of waiting on a tray. Learning how to make a dessert board for guests takes about 20 minutes to assemble once the components are ready, and the same layout scales from an eight-person dinner to a 50-guest grazing table.
That last part is the reason boards have taken over party hosting. There is no plating, no timed dessert course, and nothing to run to the kitchen once everyone has eaten. You build it, put it out, and refill it when the gaps start showing.
The trick is portion math and build order. Most “sparse dessert board” problems I have seen trace back to one of two things: too few items, or the big items placed first and the small ones crammed in around them. Get the quantities and the order right and the board looks abundant on the first try, even with six components.
Table of Contents
- What You Need
- Step-by-Step: How to Make a Dessert Board for Guests
- Choose the Right Dessert Mix
- Arrange the Board for Easy Serving
- Add Labels, Garnishes, and Final Touches
- How Much Dessert to Make Per Guest
- Common Mistakes
- Frequently Asked Questions
- How many desserts should I put on a dessert board for guests?
- What are the easiest desserts to serve on a party board?
- How do I keep a dessert board neat and easy to serve?
- How long can a dessert board sit out at a party?
- What can I use instead of a large dessert board?
- How should I handle guests with dietary restrictions?
- Start With One Theme and Five Components
What You Need
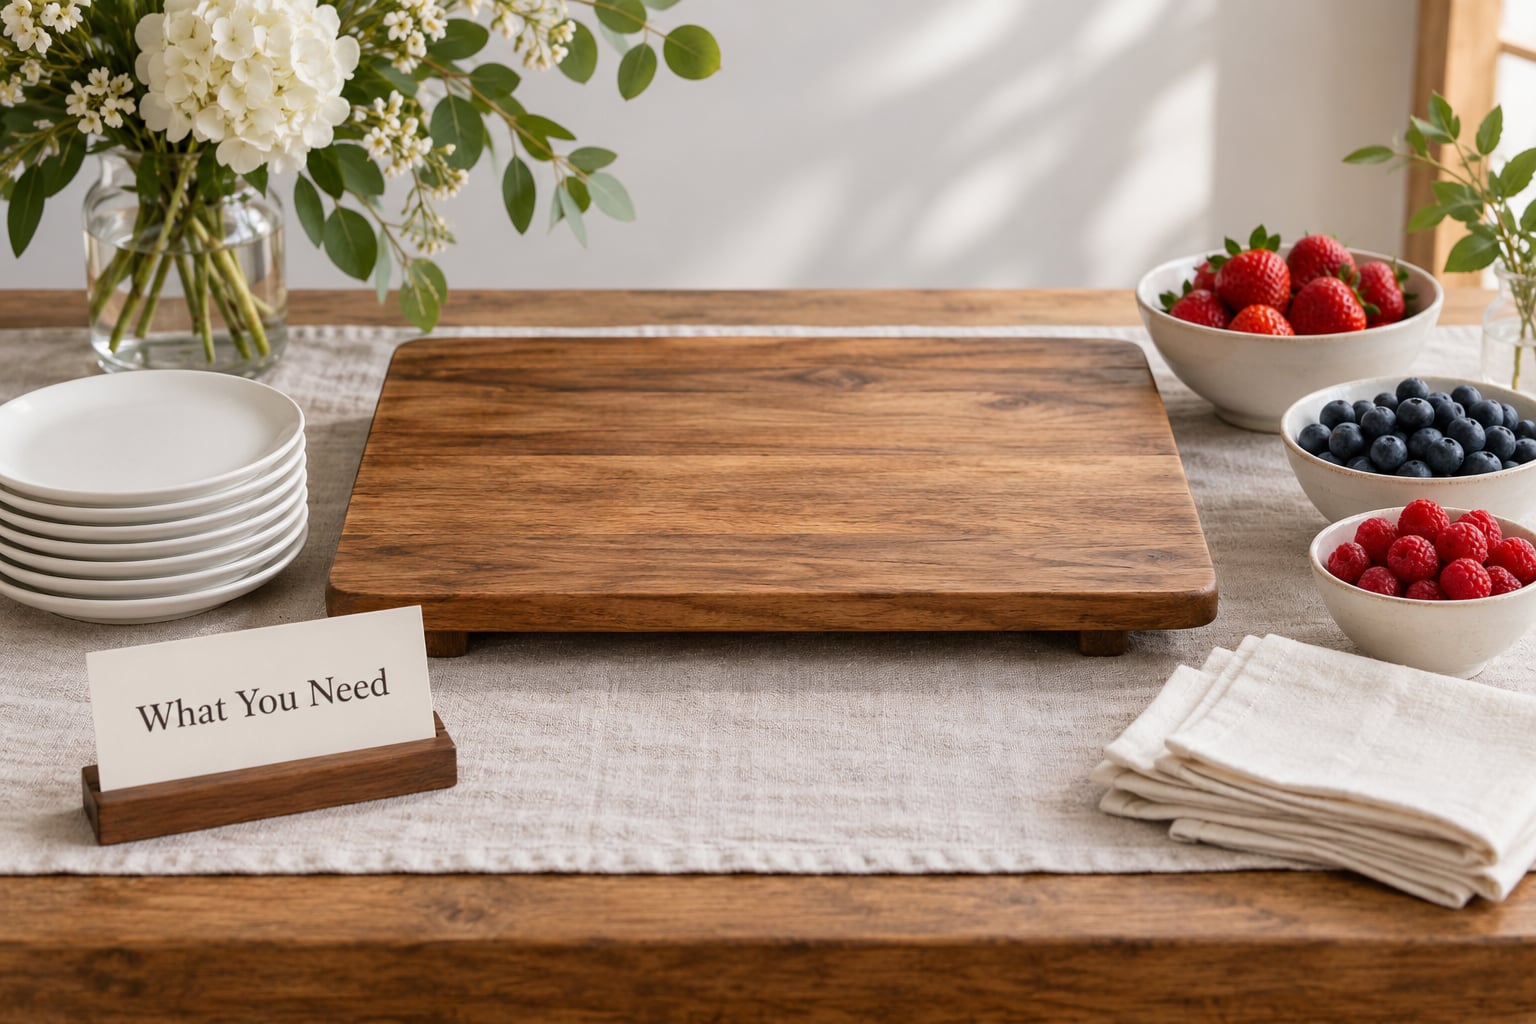
Gather the hardware first. You need something to build on, several small bowls to act as anchors, and enough utensils and plates that nobody has to touch a dessert twice.
- A base: one large wooden board, a platter, a sheet pan lined with parchment, or a marble counter section. A 12 by 18 inch board comfortably serves six to eight guests.
- Small bowls, three to five of them: for dips, spreads, ganache or nut clusters. Bowls also give the layout height and stop everything reading as one flat layer.
- Tongs and small spoons: one utensil per bowl, plus a separate pair for anything containing nuts or dairy if a guest has an allergy.
- Plates, napkins and forks: stack six to eight per ten guests on a side table so the main surface stays clear.
- Small labels or tent cards: index cards and a pen are fine. Flag anything with nuts, dairy, gluten or eggs.
- Parchment or small squares of baking paper: for lining baskets and for separating sticky items like bark or candied nuts from the wood.
Then pick the food in five loose groups rather than shopping item by item. Baked or baked-goods sweets, dips and spreads, fresh and dried fruit, nuts and candies, and a few garnishes or palate cleansers. I write each group on a separate sticky note and shop from the notes, which is faster and stops the board turning into seven kinds of cookie.
Step-by-Step: How to Make a Dessert Board for Guests
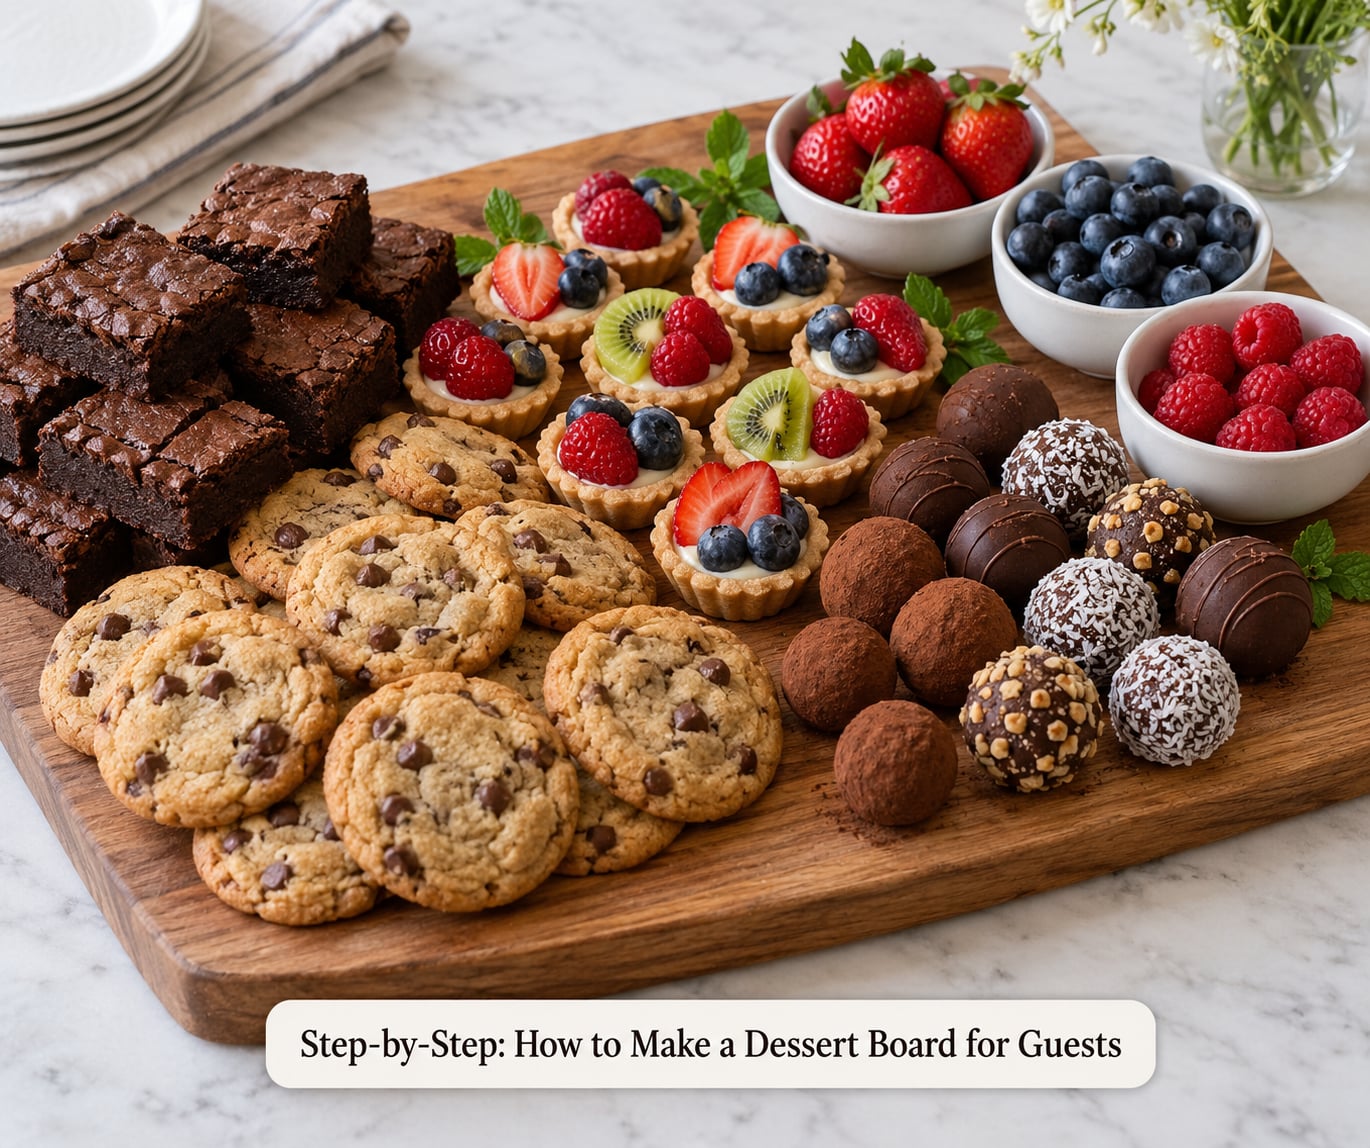
Build in this order and you will not have to rearrange anything at the end.
- Measure the surface and mark your zones. Decide how many guests you are feeding, pick a base that fits, and mentally divide it into five or six sections. Space them out with an inch or two of bare wood between them so each item reads as its own thing.
- Place the bowls first. Empty bowls, or bowls holding only a spoon, claim their spots before anything else goes down. They are your anchors and they stop the heaviest items rolling into a pile in the middle.
- Add the largest items next. Brownies, whole cookies, mini tarts, marshmallows, pretzel rods. Set them in their zones as one grouped mound rather than spreading them evenly, because repetition in one spot looks deliberate while a single cookie in five places looks like a mistake.
- Cluster dips and spreads next. Fill the bowls now, adding a drizzle, a dusting of cocoa or a few chopped nuts on top. A plain brown surface in a bowl reads as unfinished from across the room.
- Tuck in fruit, nuts and candies. Fill the curved gaps along the edges and the corners with loose items. Strawberries, grapes, dried mango slices, candy-coated chocolates and candied nuts are the ones that fill space cheaply and add color.
- Fill the last gaps, add height, then serve. Small items go into any remaining holes. Stand something upright, like a small stack of bark shards or a few cookie sticks, so the board is not one flat plane. Set out plates, forks and napkins, and put the whole thing out about 15 minutes before guests eat.
Choose the Right Dessert Mix
A board reads as generous or skimpy based on contrast, not on quantity. Aim for one item from each of four families: rich, fruity, creamy and crunchy. If you have two rich items, swap one for something acidic or fresh.
Rich and chocolatey items are brownies, chocolate bark, truffles, chocolate salami and fudge. Fruity means strawberries, raspberries, sliced pears, dried mango, cherries or a berry compote. Creamy covers ganache, caramel sauce, cookie dough dip, whipped mascarpone and mousse. Crunchy is pretzel rods, shortbread, almond crisps, toffee bits and toasted nuts.
Then add the salty and acidic notes that keep a dessert board from being exhausting. A small bowl of salted pretzels, some candied ginger, a drizzle of olive oil over brie-style spread, or citrus segments cut into wedges with the membrane still on will wake up a board that is all sugar and fat. Guests eat three or four sweet bites before they want something sharp.
For guests with preferences, keep one clearly non-dessert option on the board. Pretzels, cheese crisps or salted popcorn in a small bowl let the person who skipped dessert join in without asking you for anything.
Arrange the Board for Easy Serving
Self-service only works when the board is not crowded and every item can be picked up in one motion. Cut everything into bite-size pieces ahead of time. A brownie that needs a knife at a party will sit there untouched while the rest of the board disappears.
Leave negative space on purpose. A board with small gaps between sections looks deliberate and generous; a board packed edge to edge looks like leftovers arranged on a tray. If you fill every gap you lose the shape of the layout, so hold back roughly a fifth of your filler items and top up after the first hour.
Vary the height. Bowls give one level, stacked cookies or bark shards give another, and a small ramekin turned upside down under a stack adds a third. Guests notice this more than they notice individual items.
For anything past about twelve people, do not rely on one board. Use two, set them at opposite ends of the table or in different rooms. Crowding is what makes a dessert table run out early and look picked-over by the halfway mark. On a buffet line, place the heaviest, least fragile items at the front so nothing gets knocked off the edge.
Add Labels, Garnishes, and Final Touches
Labels are not decoration, they are the thing that lets a guest with an allergy relax. Use tent cards or folded index cards and name the item plainly: “Pistachio brittle, contains nuts,” “Cookie dough dip, contains wheat and dairy.” Covering the board with generic “contains nuts” cards tells guests nothing useful when only one bowl has them.
Garnish with restraint. A few fresh berries, a dusting of cocoa, a small mint sprig, a light scatter of flaked sea salt over a caramel or ganache bowl. If every item already has color, extra garnish just muddies it.
For holding it through the party, treat dips and spreads as perishable. Keep them cold until about 15 minutes before serving, then set them out. Per the two-hour rule, discard communal dips, soft cheeses and anything with dairy or fresh cream that has been at room temperature for more than two hours. If the party runs longer, refill those bowls with fresh cold portions instead of topping up the old ones. Dry items like cookies, bark and nuts can stay out much longer.
One practical trick: keep the refrigerated half of the board in a lidded container in the fridge and bring it out in waves. It doubles your spread space without any extra cooking.
How Much Dessert to Make Per Guest
This is where most boards fail. Guests take one of each item, not a serving of each item, so a board with six components needs roughly three to four bites per person across the whole spread.
- Dessert board after dinner, nothing else served: 5 to 7 bite-size pieces per adult, 3 to 4 per child.
- Dessert table alongside other food: 2 to 3 pieces per adult, about 2 per child.
- Standing grazing board for two hours or more: add roughly 25% to the appetizer-style amount, for adults and kids alike.
Kids count as roughly half portions, and hungry guests count as full ones plus 10%. If drinks are flowing all evening, add more dry items like pretzels and crackers-style sweets because people eat more of the salty, sharable stuff.
Four worked examples, assuming an after-dinner dessert board with six components:
- 10 guests: 60 to 70 pieces total. That is roughly a dozen cookies, 20 brownie bites, 20 fruit pieces, a small bowl of nuts, a bowl of dip and about 15 truffles or candies.
- 20 guests: 120 to 140 pieces. This is where I move to two boards rather than one, and I add a savory anchor such as salted pretzels so people are not eating only sugar.
- 30 guests: 180 to 210 pieces. Buy or bake two of your star item, never one, because the single hero item is what runs out first and people remember that.
- 50 guests or more: This is a grazing table, not a board. Expect 8 to 10 inches of platter space per 6 guests, use three or four boards at different heights, and replenish twice during the event.
As a space check, 20 guests means you need roughly 30 inches of combined board. That is one very large platter or, more practically, two 18 by 12 inch boards. Two boards also look less formal, which suits most home hosting.
Common Mistakes
Everything is sweet. A board with only sugar hits people hard after four pieces. Add a salty bowl, some citrus, and at least one fresh fruit item so guests have somewhere to go.
Too many of one thing. Three kinds of cookie reads as “I baked the same thing three ways.” Swap two of them for a dip and a fruit item, and keep the item count at five or six.
Dietary needs ignored. Ask about allergies when you set the date, not when the board is full. Then either leave out the problem item entirely or put it on a separate small tray far enough from the main board that nobody scoops across, and label both.
Fragile things placed first. Truffles, tarts and bark shards go on last, after everything heavy is down. Anything that needs a knife gets cut before guests arrive.
No plan for the second hour. Hold back a portion of every component in the fridge and bring it out later. Also stash parchment and an extra bowl so you can refill without rebuilding the layout.
The board is oversized for the food. If the food covers only half the surface, use a smaller board or add another zone. Underfilling looks sparse no matter how good the items are.
Worth adding: if you are short on time, store-bought components are completely acceptable. A jar of caramel sauce, a pack of chocolate-covered pretzels, a tub of cookie dough dip and a punnet of strawberries make a credible board with no baking at all. Cut fruit, one homemade item and a bowl of candy is plenty.
Frequently Asked Questions
How many desserts should I put on a dessert board for guests?
For an after-dinner board where dessert is the main event, plan 5 to 7 bite-size pieces per adult and 3 to 4 per child, spread across five or six different items. If the board sits alongside other food, drop to 2 to 3 pieces per adult. Standing grazing boards for more than two hours need roughly 25% more.
What are the easiest desserts to serve on a party board?
The easiest components are the ones you can pick up in one motion and need no utensils: cookies, brownies cut into squares, chocolate bark shards, marshmallows, chocolate-covered pretzels, candy, salted nuts and fresh fruit. Add one bowl that needs a spoon, such as a dip or caramel sauce, and the board looks complete without any baking at all.
How do I keep a dessert board neat and easy to serve?
Place empty serving bowls first as anchors, then the largest items, then dips, then fruit and nuts to fill the curved edges, and save the smallest items and garnishes for last. Leave about a fifth of your filler items in the fridge for a second wave. Keeping a small gap of bare board between sections makes the layout look deliberate rather than crowded.
How long can a dessert board sit out at a party?
Dry items such as cookies, bark, candy and nuts tolerate a long time at room temperature. Anything with dairy, fresh cream, soft cheese or a fruit dip should follow the two-hour rule: if it has been sitting out longer than that, throw it away rather than serving it. For longer parties, keep those items chilled and bring out a fresh batch every 90 minutes.
What can I use instead of a large dessert board?
A sheet pan lined with parchment, a large platter, a marble counter section, a couple of dinner trays, or even separate small plates and bowls arranged across a table all work. The layout rules do not change with the surface. Past two dozen guests, several smaller trays spread across a table serve better than one crowded surface.
How should I handle guests with dietary restrictions?
Ask about allergies and dietary needs when you confirm the date, then plan the board around them rather than around the leftovers. Put allergen-free items on their own separate tray with their own utensil and their own label, and keep items such as nuts, dairy, gluten and eggs off the board entirely if a guest has a serious allergy rather than trying to isolate them.
Start With One Theme and Five Components
If you only remember one thing from this, do the quantities first. Pick your guest count, use the numbers above, then build the board in order: bowls, big items, dips, fruit and nuts, then the small fillers and height. Everything else on the list is decoration on top of a correctly sized spread.