How to grill chicken breast without drying it out comes down to four moves: pound it to an even three-quarter-inch thickness, salt it ahead of time, cook it over medium-high two-zone heat, and pull it at 150-155F so carryover cooking finishes the job at a safe 165F. Then rest it five to ten minutes before slicing. The whole thing takes about 25 minutes, start to finish.
Dry chicken breast is not usually a heat problem. It is a thickness problem, a salt problem and a patience problem. Fix those three and the same grill that gave you a rubbery breast last summer starts turning out something you look forward to eating.
This is the method I use on a gas grill and a charcoal kettle, and it holds up for thin cutlets and thick double breasts alike, as long as you adjust the pull temperature for thickness.
Table of Contents
- What You Need
- How to Grill Chicken Breast Without Drying It Out: Step-by-Step
- How to Grill Chicken Breast Without Drying It Out: Prepare the Chicken
- How to Grill Chicken Breast Without Drying It Out: Set Up a Two-Zone Fire
- How to Grill Chicken Breast Without Drying It Out: Grill, Turn, and Check
- How to Grill Chicken Breast Without Drying It Out: Rest Before Slicing
- Common Mistakes
- Frequently Asked Questions
- How do I keep my chicken from drying out on the grill?
- How often do I flip chicken on the grill?
- How long should chicken rest after grilling?
- Is it better to wet brine or dry brine chicken breasts?
- How long does it take to grill chicken at 400F on a gas grill?
- How do restaurants make grilled chicken so tender?
- Conclusion
What You Need
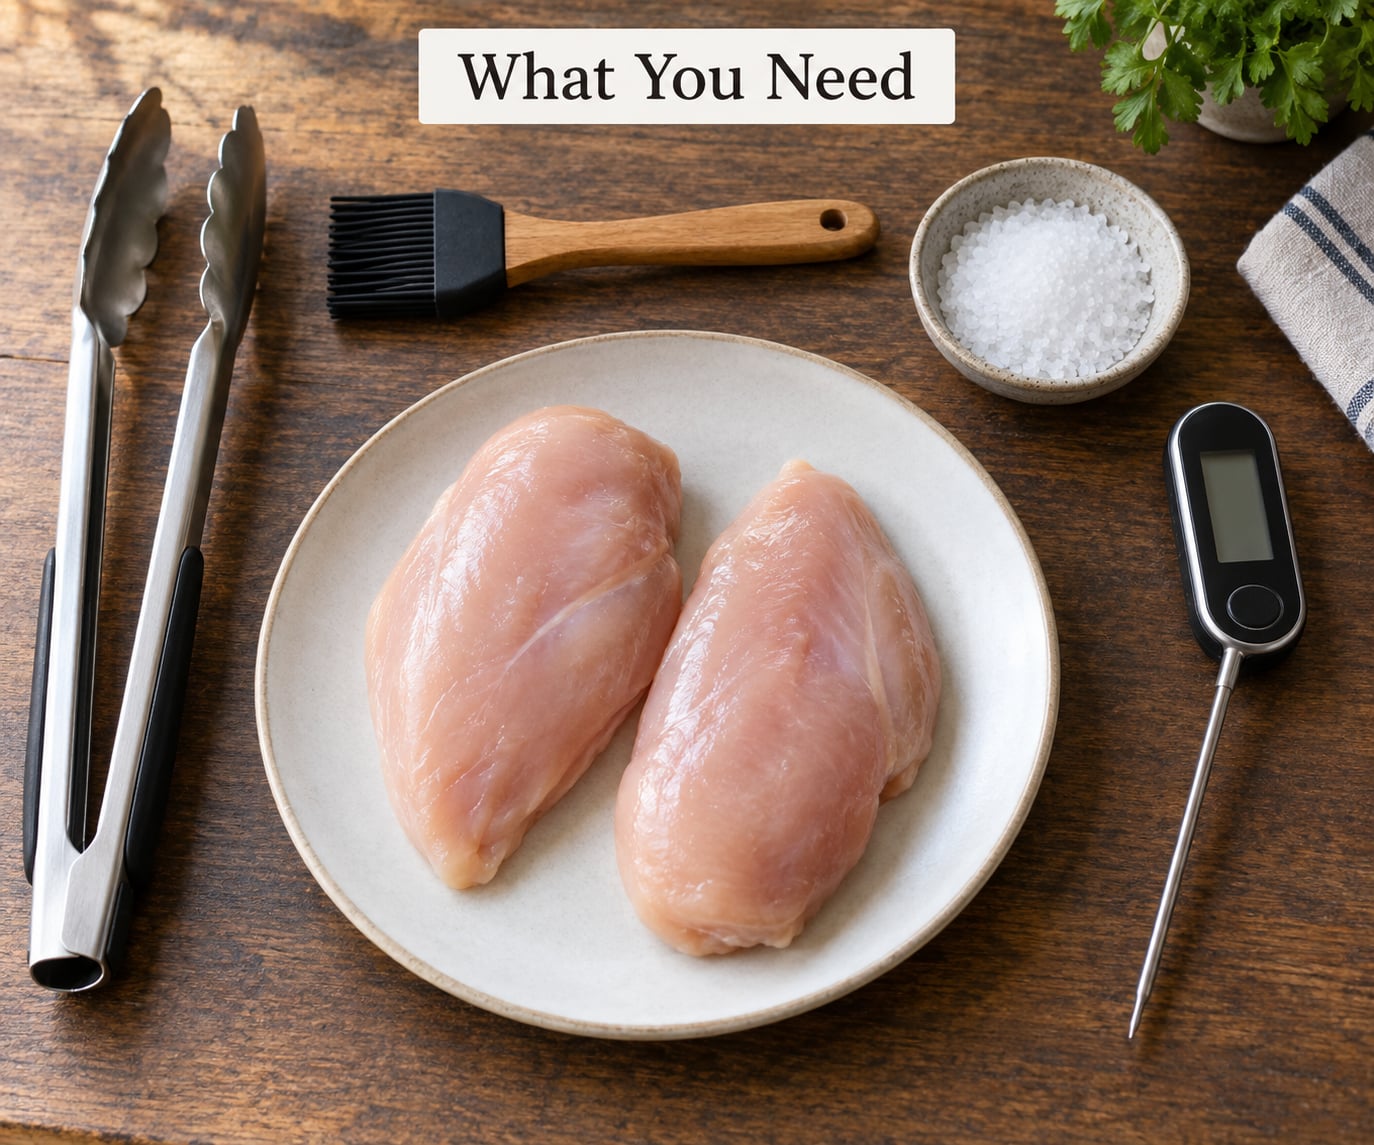
An instant-read thermometer is the one tool that changes the result. Everything else on this list is nice to have, but a probe thermometer turns guesswork into a number, and the number is what keeps the breast moist.
- Instant-read thermometer — a thin probe that reads the thickest part of the breast. Leave it in the thickest part of the meat, not touching bone or the foil tray, or the reading lies.
- Tongs with a scalloped grip — flat tongs tear the crust. Scalloped ones get under the chicken without shredding it.
- High smoke-point oil — avocado, canola or peanut. Olive oil works, but it burns before a pale breast has time to cook through.
- Kosher salt — for the brine or the dry brine. Table salt is roughly half the volume and about twice as salty per teaspoon, which is why brining recipes assume kosher.
- A large bowl or container — wide enough to hold the breasts submerged, and enough fridge space to set it in.
- A wire rack set over a tray — it lets the brine or marinade drain off so the surface stays dry enough to sear instead of steam.
- A wire brush — clean grates, no stuck bits. Old carbon transfers a bitter taste to everything you cook.
How to Grill Chicken Breast Without Drying It Out: Step-by-Step
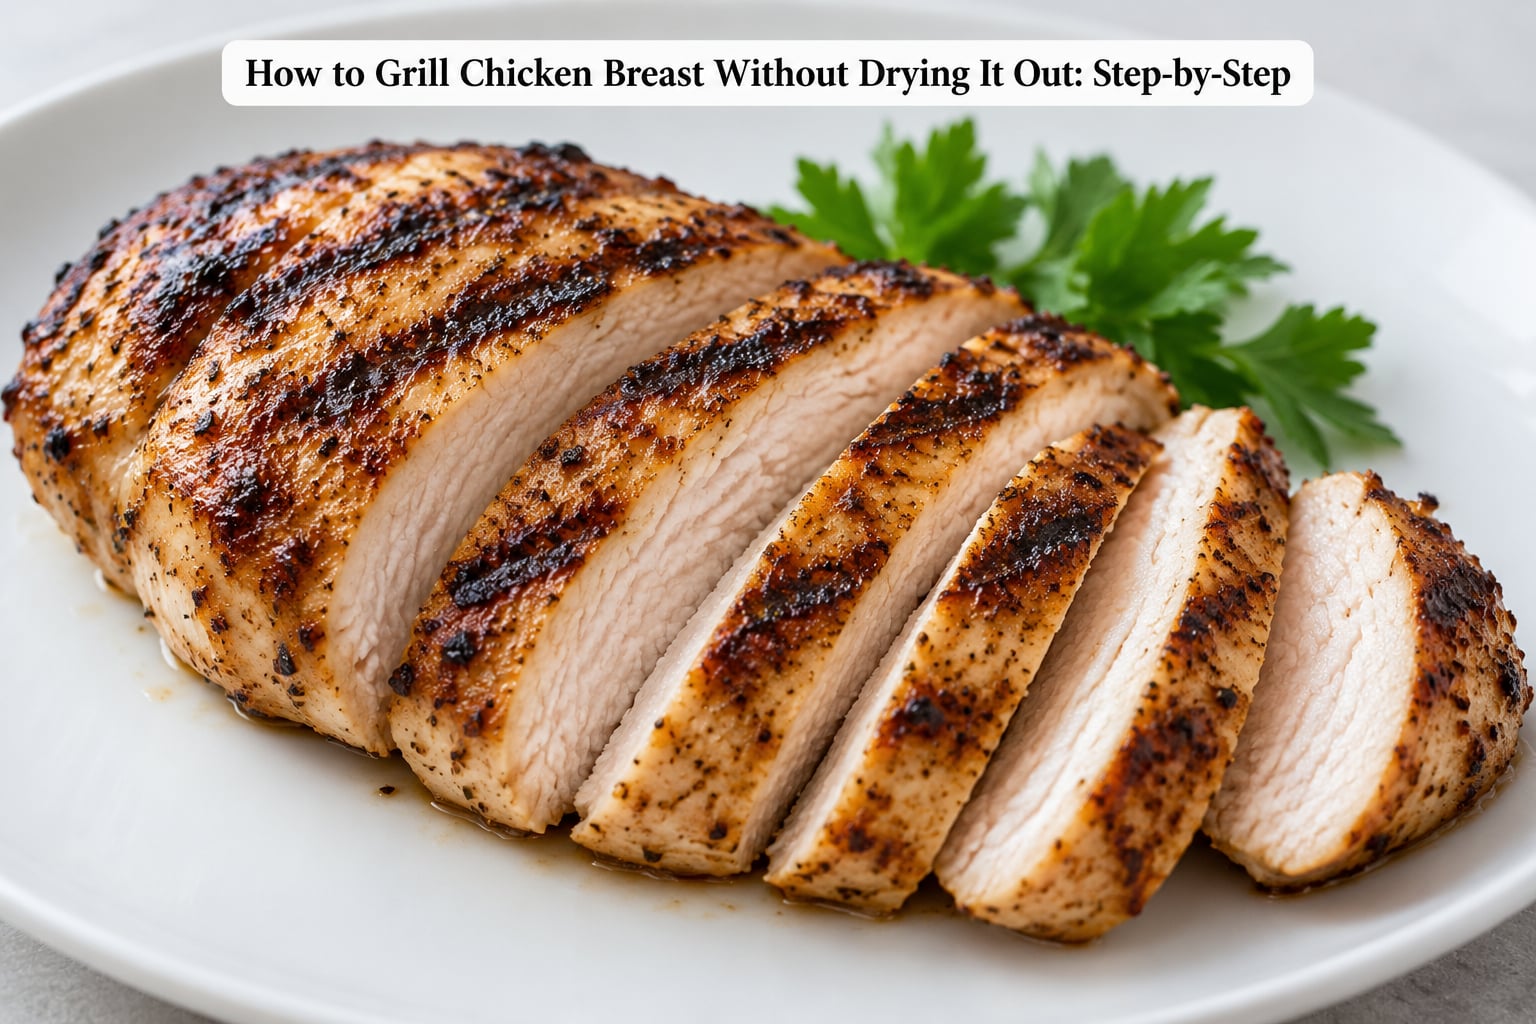
How to Grill Chicken Breast Without Drying It Out: Prepare the Chicken
Set the thickest part of each breast to three-quarter-inch thickness with a mallet or the flat side of a cleaver, working from the center outward. A breast that is one inch on one end and a quarter-inch on the other will char the thin end long before the thick part reaches temperature.
Trim the loose fat and any dangling tendon, then pat the surface thoroughly dry with paper towels. Surface moisture is steam, and a breast hitting the grate wet will poach instead of sear.
Salt it. The simplest version is a dry brine: coat each breast with a tablespoon of kosher salt and leave it uncovered on a rack in the fridge for 30 minutes to overnight. The salt draws a little water out and then pulls it back in with the seasoning, which leaves the meat seasoned all the way through rather than only on the outside.
For a wet brine, dissolve a quarter cup of kosher salt and two tablespoons of sugar in a quart of water, submerge the breasts, and refrigerate 30 to 60 minutes. Up to four hours is fine. Beyond that the surface turns tacky and you risk over-salting.
One warning worth taking seriously: check the label before brining. Supermarket chicken marked “enhanced,” “pre-seasoned,” “with added brine” or “natural with added water” has already been salted and pumped. Brine it again and it turns noticeably salty.
How to Grill Chicken Breast Without Drying It Out: Set Up a Two-Zone Fire
A two-zone fire puts all the coals or all the burners on one side of the grill and leaves the other side empty. You get a hot direct zone for grill marks and a cooler indirect zone to finish the thick center, on the same grill, without moving the chicken around the kitchen.
On a gas grill, preheat with both burners on high for 10 minutes, then turn one burner to high and the other off for a medium-high cook. On charcoal, light the coals and let them burn until the ash is grey and the coals glow, usually 15 to 25 minutes, then push everything to one side of the kettle for the indirect zone.
Brush the grates with oil once they are hot. Lay the grates in, leave the lid closed for another two minutes so the steel is fully heated, then open up and get the chicken on.
How to Grill Chicken Breast Without Drying It Out: Grill, Turn, and Check
Brush off the brine or marinade, pat the surface dry again and coat lightly with oil. Season now if you were brining, since salted meat still needs pepper, paprika or whatever you like on the crust.
Start the breasts on the direct zone, away from the coals or flame, to lay down grill marks. Give them three to four minutes untouched, then move them to the indirect side, close the lid and let them cook from there. A closed lid is what makes the indirect zone behave like a low oven.
Flip once, maybe twice, no more. Constant flipping drops the temperature, stops the crust from setting and tears the meat every time you move it. A breast that releases easily from the grate is ready to turn. If it clings hard, give it another 30 seconds and try a wider spatula.
Baste or sauce after the meat is mostly through, not at the start. Sugar in a glaze burns black in the first two minutes on a hot grill and turns bitter before the chicken has cooked.
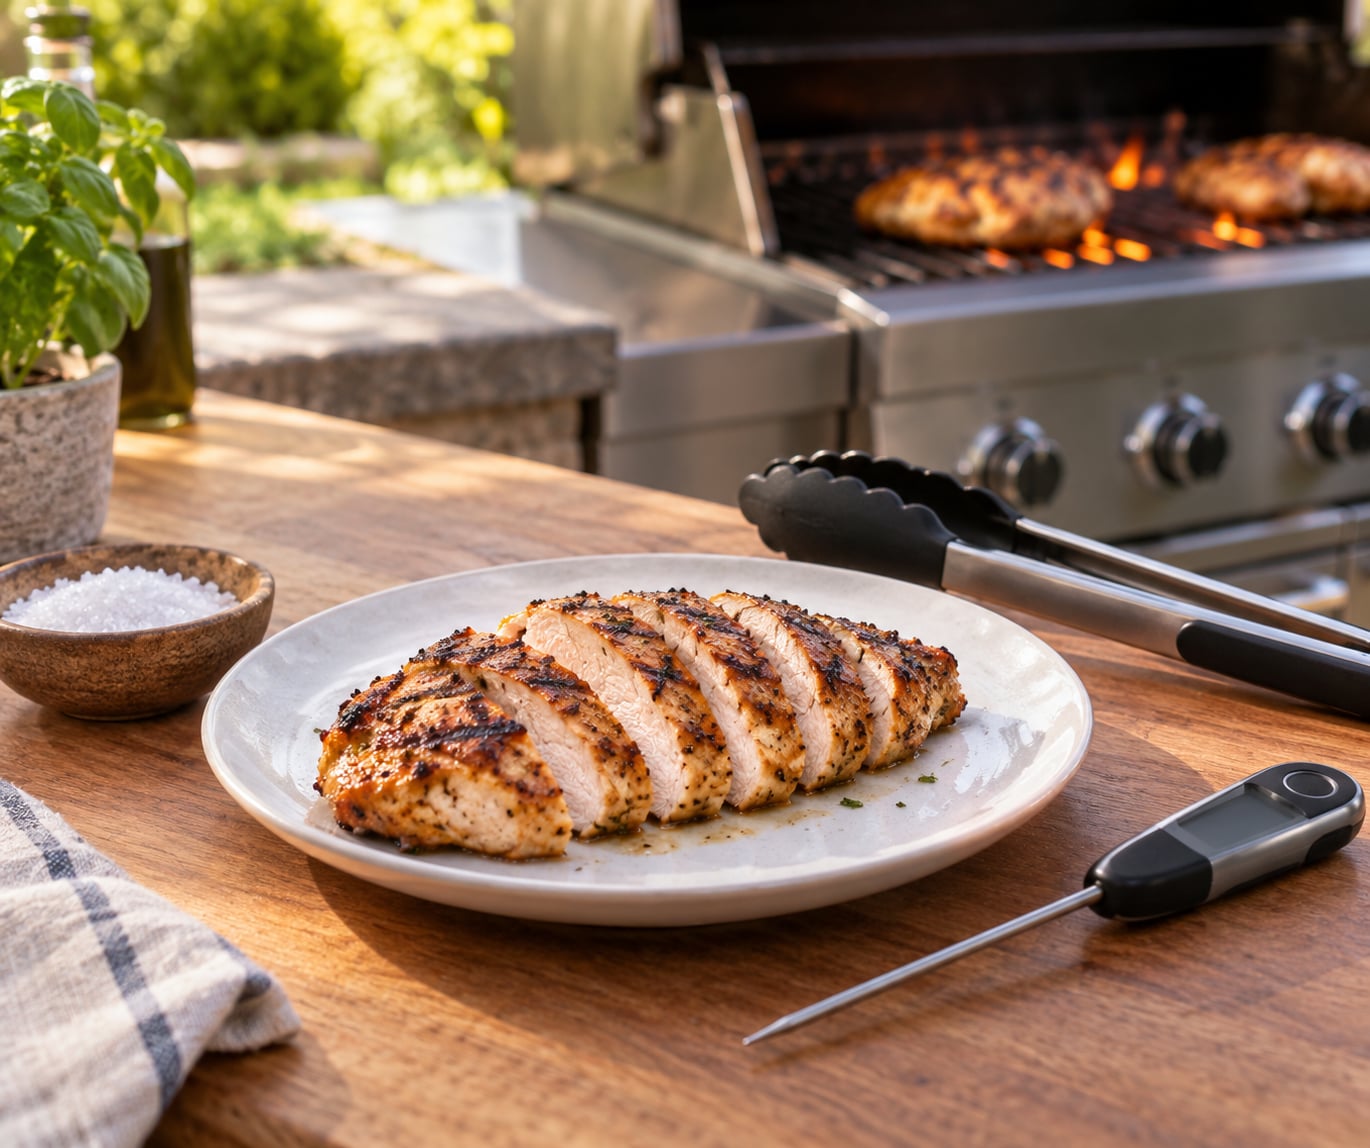
Check with the probe in the thickest part. Pull at 150-155F and let the residual heat finish the job. Poultry must reach 165F, and carryover gets you there without the time the breast would have spent drying out against 170F and up.
| Breast thickness | Approx. time on a medium-high two-zone grill | Pull off the heat at |
|---|---|---|
| Thin cutlet or sliced strips, about 1/4 inch | 2-3 minutes per side, finish on indirect | 150F |
| Halved breast, about 1/2 inch | 4-6 minutes total | 150-152F |
| Pounded breast, about 3/4 inch | 8-12 minutes total | 152-155F |
| Thick double breast, 1 to 1.5 inch | 14-20 minutes total | 155F |
| Chicken tenders | 2-3 minutes per side | 150F |
Times are a range because your grill, your weather and the fridge temperature of the meat all shift things. The thermometer reading is the real answer; the table is just a sanity check so you know when to start probing.
| Stage | Temperature | What it means |
|---|---|---|
| Pull from the grill | 150-155F | The chicken leaves the heat while carryover cooking takes over. |
| After resting | 160-163F | Resting cooks the center another 5 to 10 degrees and moves juice back into the muscle. |
| Safe minimum | 165F | USDA guideline for poultry, reached before the chicken is served. |
If you have no thermometer, press a finger into the thickest part. The meat should spring back instantly and feel firm, with clear juices running out when you cut into the thickest section. That cue catches chicken around 160F, so it runs close to the danger zone and it is a fallback, not a plan.
How to Grill Chicken Breast Without Drying It Out: Rest Before Slicing
Move the chicken to a warm plate, tent it loosely with foil and wait five to ten minutes. Thick breasts want closer to ten. The tent should sit loose; foil pulled tight traps steam and softens the crust.
This is where the juice comes back. Slicing immediately dumps everything that was holding in the meat onto the cutting board, and the breast tastes dry no matter how well you cooked it.
Resting is also the last safety checkpoint. Take the probe out of the thickest part and check again after five minutes. If it has not crossed 165F, put it back on the indirect zone for a few more minutes.
Slice against the grain. Find the direction the muscle fibers run across the breast, usually from the thick end toward the pointed tail, and cut across them. Shorter fibers mean the breast tastes noticeably more tender.
Common Mistakes
Seven things come up again and again, and each one has a straightforward fix.
- Cooking to 165F on the grill. It is the safe endpoint, not the pull point. Pull at 150-155F and let the rest carry it up.
- Leaving the breast thick on one end. Pound to an even three-quarter inch, or butterfly the thick breast open like a book.
- Going straight from the fridge. Cold meat takes far longer to reach temperature, so the thin edges sit over the heat while the center lags. Letting it come toward room temperature for 20 to 30 minutes evens things out.
- Screaming heat the whole way. Direct medium-high heat for grill marks, then move to indirect. Cooking over flames the entire time scorches the outside and dries the meat inside.
- Skipping the salt. Unseasoned breast loses water fast. Brine or dry-brine before it ever hits the grill.
- Flipping every 30 seconds. It drops the surface temperature, prevents crust from setting and rips the meat. Flip once, twice at most.
- Slicing straight off the grill. All the juice ends up on the board. Rest it, loose-tented, first.
Here is how the same mistakes show up in the finished chicken, and what to change.
| What you see | Likely cause | Fix |
|---|---|---|
| Charred outside, raw center | Breast was too thick or cooked entirely over direct heat | Pound to even thickness and finish on the indirect side with the lid closed. |
| Dry, tight edges, juicy middle | Uneven thickness, thin tail cooked first | Trim the tail or pound the whole breast flat so no part is a quarter-inch thin. |
| No grill marks, pale surface | Surface was wet, so it steamed instead of searing | Pat dry right before placing, and leave it on the grate longer before the first flip. |
| Sticks and tears when you turn it | Grates are dirty or not hot enough, or the meat was moved too soon | Scrape and oil the grates, wait for full preheat, and wait for a natural release before turning. |
| Dry all the way through | Cooked past 165F on the grill | Pull at 150-155F and let carryover and resting finish it. |
| Soggy after resting | Chicken sat too long under a tight foil tent | Rest uncovered or tented loosely, five to ten minutes only. |
| Tastes saltier than expected | Package was pre-brined and you brined again | Skip the brine on enhanced chicken and use a light salt. |
One more habit worth stealing from restaurant kitchens: they cook chicken gently, not hard. Much of the tenderness at a grill restaurant comes from brining or salting ahead, a low-and-slow finish with the lid up for air, and holding the meat at temperature rather than blasting it. Do the first two at home and you get most of the difference.
Frequently Asked Questions
How do I keep my chicken from drying out on the grill?
Pound the breast to an even three-quarter-inch thickness, salt it 30 minutes ahead or brine it for 30 to 60 minutes, then cook over medium-high two-zone heat. Pull it off the grill at 150-155F and rest it five to ten minutes. Carryover cooking finishes the chicken to a safe 165F without the extra time that pushes the meat dry.
How often do I flip chicken on the grill?
Flip it once, maybe twice. Chicken needs a few minutes of undisturbed contact to build a browned crust and release from the grate. If it sticks hard, it needs another 30 seconds rather than another flip. Constant flipping keeps dropping the surface temperature, which produces pale, rubbery meat instead of grill marks.
How long should chicken rest after grilling?
Five minutes for thin cutlets and halved breasts, closer to ten for a thick double breast. Rest the chicken on a warm plate under a loose foil tent, never sealed tight. Resting lets the internal temperature climb several more degrees, finishes the cook to a safe 165F, and keeps the juices in the meat when you slice.
Is it better to wet brine or dry brine chicken breasts?
Either works, and both beat no salt at all. A dry brine is faster: coat the breast in kosher salt and leave it 30 minutes or overnight. A wet brine, a quarter cup of kosher salt and two tablespoons of sugar per quart of water, gives slightly more moisture for 30 to 60 minutes. Skip both if the package says the chicken is already enhanced or pre-brined.
How long does it take to grill chicken at 400F on a gas grill?
A pounded three-quarter-inch breast takes about 8 to 12 minutes on a two-zone gas grill at 400F: three to four minutes on the direct side to set the crust, then the rest with the lid closed over indirect heat. A thin cutlet finishes in two to three minutes per side. Check the thickest part with a probe and pull at 150-155F rather than trusting the clock.
How do restaurants make grilled chicken so tender?
Three habits do most of the work. They salt or brine the breast ahead of time so it holds water. They cook gently with the lid up or closed over indirect heat rather than blasting it over flames. And they pull the meat early and let it rest or hold before slicing. Sous vide appears on some menus too, but the salt-and-rest part is what you can copy at home.
Conclusion
If you change one thing on your next cook, make it the pull temperature. Take the chicken off the grill at 150-155F, not 165F, and let the rest do the work. That single habit removes the minutes of overcooking that turn breast into something rubbery.
After that, work down the list: pound the breast to an even three-quarter inch, salt it at least 30 minutes ahead, set up a two-zone fire so the thin parts are never over direct heat, and rest the finished chicken five to ten minutes before you slice. Those four steps together fix most of the dry chicken I get asked about, and they take about the same time you are already spending at the grill.