Learning how to make BBQ ribs in the oven comes down to one move: cook them low and slow inside a sealed foil packet, then finish them hot with sauce. Set the oven to 275°F, wrap the racks tightly in heavy-duty foil with a splash of apple juice, roast 2.5 to 3 hours until the meat gives easily, then broil 5 to 10 minutes to caramelize the glaze.
That method gives you ribs that taste like a Saturday spent with a smoker, and it costs you nothing but oven time. Total hands-on work is about 20 minutes. The rest is waiting, and most of that waiting is the oven doing exactly what you want it to do.
Below is the whole method, including the timing table nobody else publishes, how to tell when the meat is actually tender rather than merely safe to eat, and what to do when the sauce browns too fast. I have made this at least a dozen times, and the two mistakes I keep making are saucing too early and cutting into the ribs before they rest.
Table of Contents
- What You Need to Make BBQ Ribs in the Oven
- Step-by-Step: How to Make BBQ Ribs in the Oven
- 1. Prepare the Ribs
- 2. Season the Ribs
- 3. Roast Until Nearly Tender
- 4. Glaze, Brown, and Rest
- Common Mistakes
- Frequently Asked Questions
- What temperature do you cook ribs in the oven?
- How long does it take to make ribs in the oven?
- Should I cover ribs with foil while cooking?
- How do I make oven ribs tender without a smoker?
- Can I add BBQ sauce before cooking the ribs?
- How do I reheat oven-baked ribs?
- Conclusion: Start With a Low-and-Slow Roast
What You Need to Make BBQ Ribs in the Oven
You need a rimmed baking sheet or a roasting pan, one roll of heavy-duty foil, a sharp paring knife, a roll of paper towel, kitchen twine, and two heat-safe bowls. Add an instant-read thermometer if you own one, because a probe turns guessing into a decision.
For the food, plan on one to two racks of pork ribs. Two racks feed four people generously. Baby back ribs cook faster and stay tender; spare ribs are bigger and take roughly 30 extra minutes.
For seasoning, you need brown sugar, paprika, chili flakes, garlic powder, onion powder, salt, and black pepper, plus a small amount of mustard or oil to act as a binder. For the foil packet, have apple juice, apple cider vinegar, or beef stock on hand, and a cup of BBQ sauce for the finish.
Tie the twine loosely around each rack if the ribs sprawl. Sprawling ribs cook unevenly, and a tight single layer matters more than anything else you do with the pan.
Step-by-Step: How to Make BBQ Ribs in the Oven
1. Prepare the Ribs
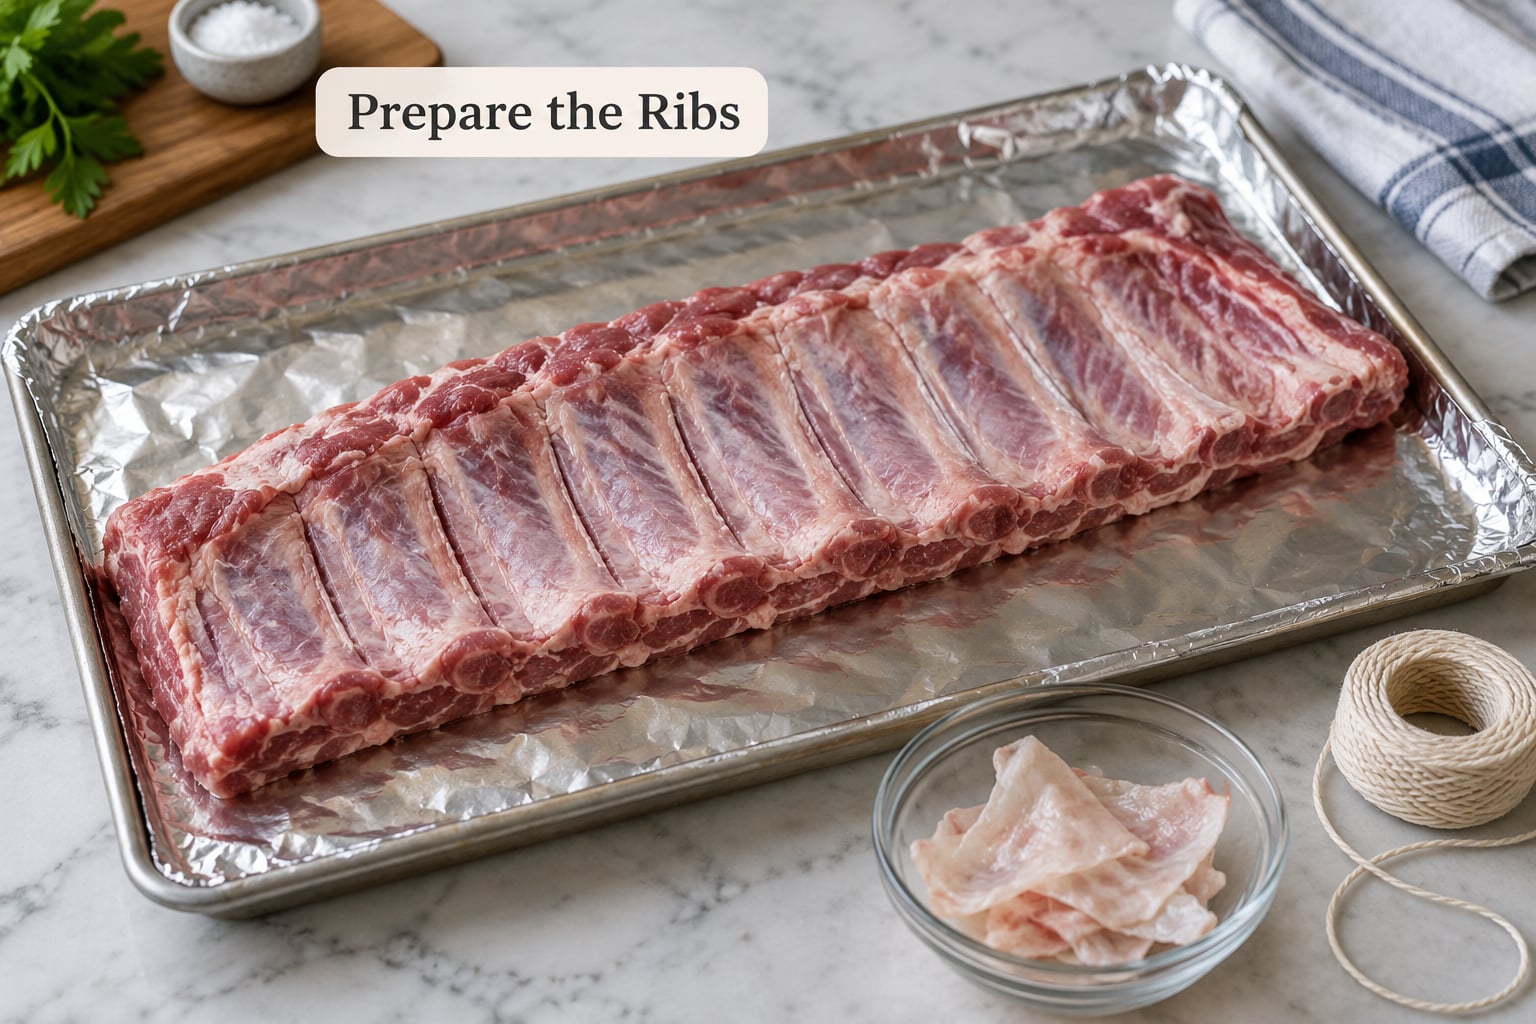
Preheat the oven to 275°F with the fan off and the rack in the center. Convection browns the exposed surface faster and dries the edges, so turn it off if your oven lets you.
Thaw frozen racks overnight in the fridge, never in hot water. Pat the ribs dry, then pull the membrane. Slide a paring knife between the bone and the silver skin, grab the loosened edge with a dry paper towel for grip, and tug. If it fights you, soak the rack in cold water for 15 minutes and try again.
Trim the thick fat cap from the meaty edge, leaving a thin layer to protect the meat. Score the meat side lightly in a diamond pattern about a quarter inch deep, cutting through the meat and barely into the bone.
Season the baking surface so the ribs do not weld themselves to the pan, and give every rib a thin coat of mustard or oil. Lay the racks on the sheet in one even layer. Leave the ribs whole, or cut them into half racks if you are cooking for two and want the timing to move faster.
2. Season the Ribs
Mix the dry rub in a bowl: 2 tablespoons brown sugar, 2 teaspoons paprika, 1 teaspoon chili flakes, 1 teaspoon garlic powder, 1 teaspoon onion powder, 1 teaspoon salt, and a few grinds of black pepper.
Taste the seasoning before it goes on the meat. Mix a small pinch with a dab of sauce on a spoon and taste again. If the sauce is already sweet, ease off the brown sugar. If it is vinegary, the sugar balances it. This one habit saves a whole rack of bland or cloying ribs.
Press the rub onto both sides of each rack. Season before cooking, then add a lighter second coat when you unwrap them. The first layer builds the crust, the second fixes the color and seasoning that a three-hour cook can mute.
3. Roast Until Nearly Tender
Wrap each rack in foil like a burrito, meat side up, with the seams folded over twice. Pour half a cup of apple juice, cider, or stock into the packet, seal it tight, and put it on the baking sheet. Add a second sheet of foil on top for a double layer if the packet feels loose.
Roast at 275°F for 2.5 hours for baby back ribs and about 3 hours for spare ribs. At the halfway point, rotate the pan 180 degrees so the front and back racks get the same heat.
| Oven temperature | Baby back ribs, wrapped | Spare ribs, wrapped | Finish |
|---|---|---|---|
| 250°F | 3 to 3.5 hours | 3.5 to 4 hours | Broil 8 to 10 min |
| 275°F | 2.5 to 3 hours | 3 to 3.5 hours | Broil 5 to 10 min |
| 300°F | 2 to 2.5 hours | 2.5 to 3 hours | Broil 5 to 8 min |
| 350°F | 1.5 to 2 hours | 2 to 2.5 hours | Broil 4 to 6 min |
| 400°F | 1.25 to 1.5 hours | 1.75 to 2.25 hours | Broil 3 to 5 min |
Is 300°F too high? It is fine, and it is what most cooks use. You trade a little texture for about an hour of your evening, and the foil packet keeps the moisture in. The ovens that struggle are ones running hot, so buy an oven thermometer and adjust down 10 to 15 degrees if yours reads high.
The foil is the whole trick. It turns the oven into a braise, and the liquid trapped inside steams the meat while collagen slowly converts to gelatin. That is where tenderness comes from, and it is why 275°F wrapped beats 375°F uncovered even though it takes twice as long.
Peel the foil back carefully, away from your face, and watch how the rack settles. When the bones shift and the meat dimples under a finger without springing back, the ribs are close. Start checking 30 minutes before your time runs out, and test every 15 minutes after that.
4. Glaze, Brown, and Rest
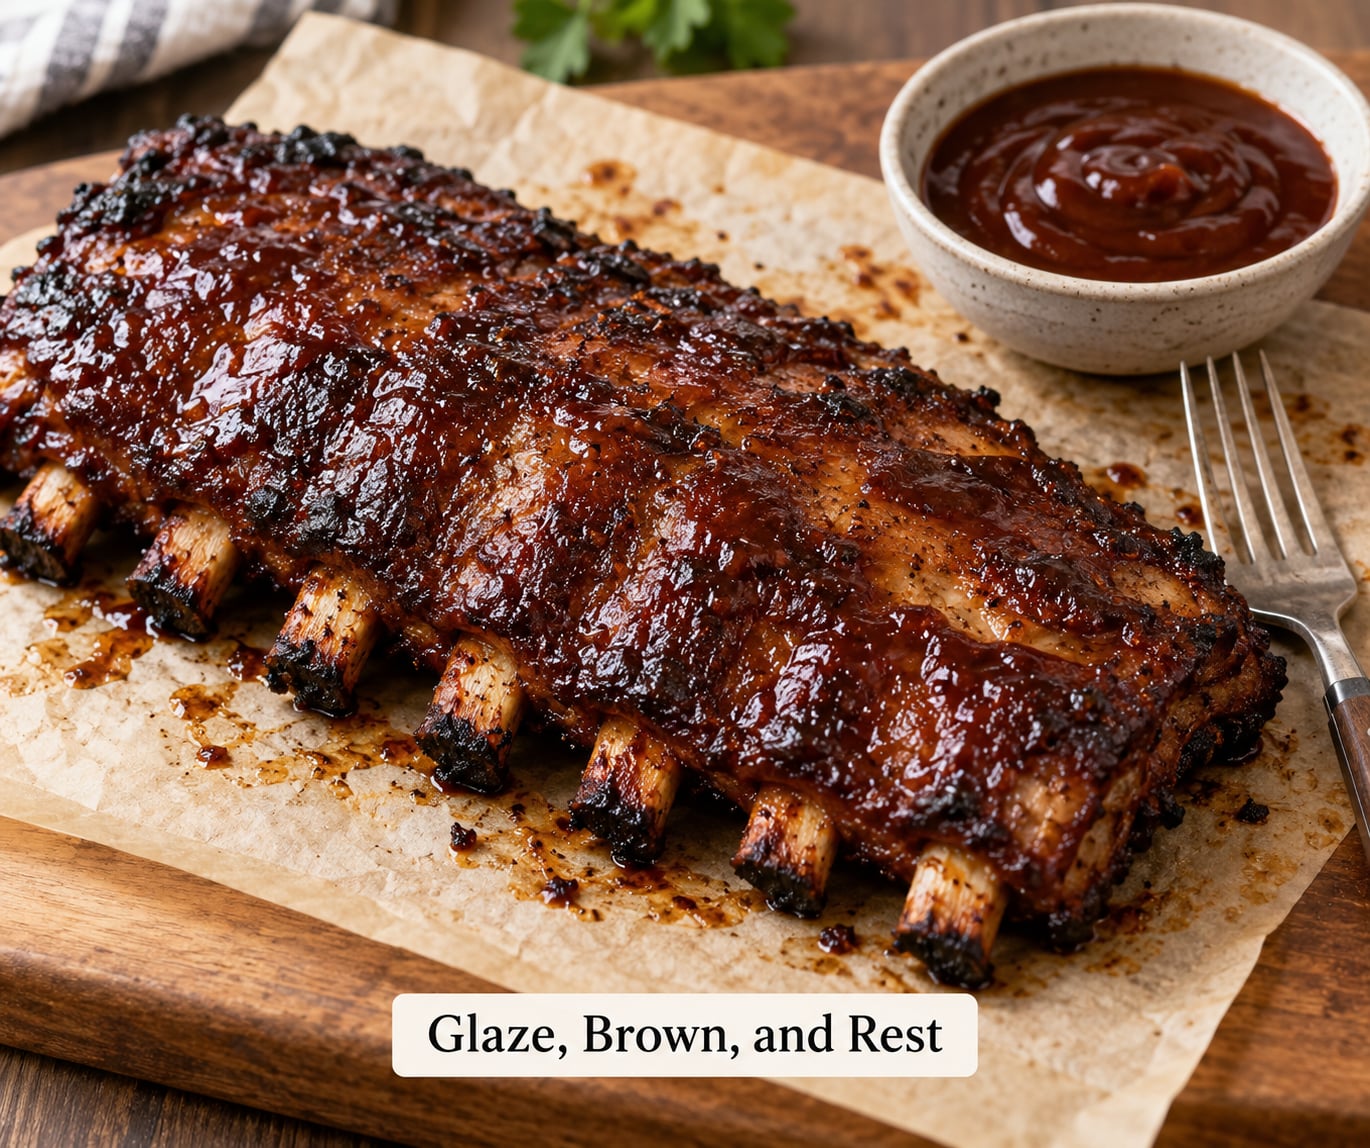
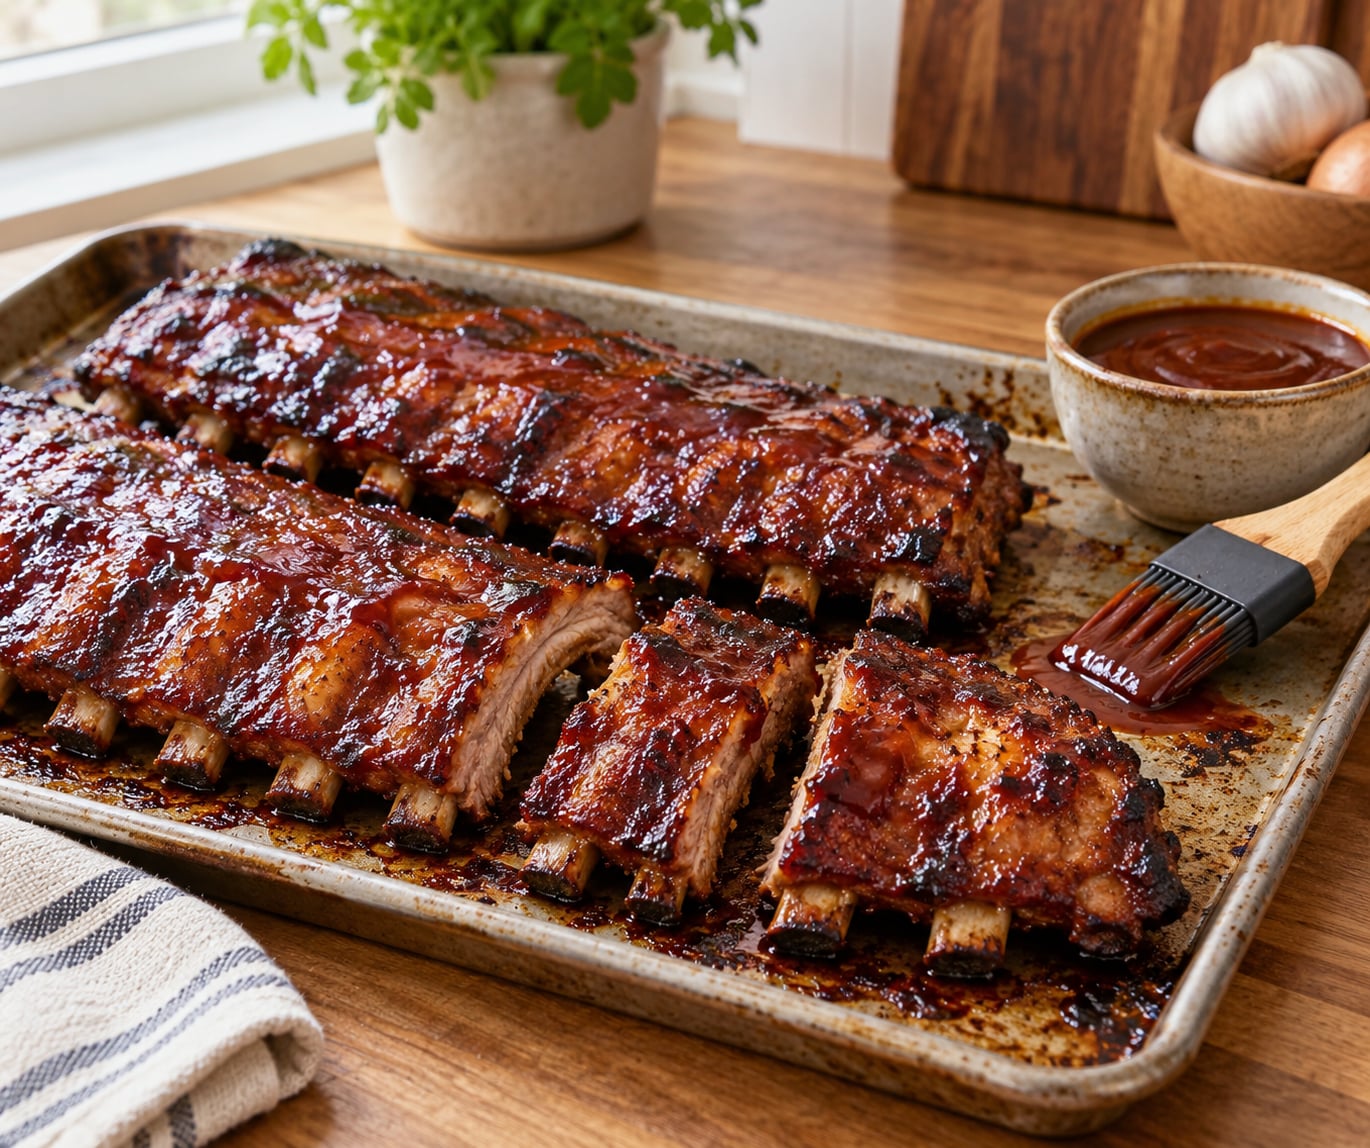
Brush off the loose seasoning, pat the surface dry, and spread a thin coat of BBQ sauce over the meat. Unwrapped ribs need the sauce now, because the uncovered heat is what dries the surface enough for sauce to stick.
Set the oven to broil, and watch it. Sugar burns fast under a broiler, so most racks need only 5 to 10 minutes. Pull them when the sauce bubbles and the edges look dark and set, and if it threatens to scorch, pull the tray and move it to a lower rack for a minute.
A second thin coat after a three-minute rest gives you a fresh glossy layer over the caramelized first one. Two thin coats beat one thick coat every time.
Safety first: whole cuts of pork need to reach at least 145°F, but ribs are not texture-tender at that reading. Collagen conversion is finished somewhere around 190 to 205°F, and the tenderness you want shows up in the texture test rather than the number.
Rest the ribs 5 to 10 minutes, loosely tented with foil. Resting lets the juices stop racing outward when you cut, which is exactly why cutting too early leaves you with a dry plate.
Common Mistakes
Leaving the membrane on. It does not stop the ribs from cooking, but it blocks seasoning and holds the rack together like a hinge. Peel it, and use the paper towel trick so you do not give up halfway.
Crowding the pan. Ribs stacked or touching cook unevenly, and the outside ones burn while the middle ones stay chewy. Two racks on one sheet in a single layer is the limit. Make a second sheet for a third rack.
Saucing too early. Sugar in the sauce burns long before the meat is tender, and you end up with bitter edges and dry ribs. Sauce goes on after the foil comes off, every time.
Cooking hot and uncovered. High heat tightens collagen and pushes moisture out. If you want speed, raise the temperature only slightly and keep the foil on until the last 20 minutes.
Cutting before the rest. The juices need those 5 to 10 minutes. Skipping the rest is the most common reason a good rack tastes dry.
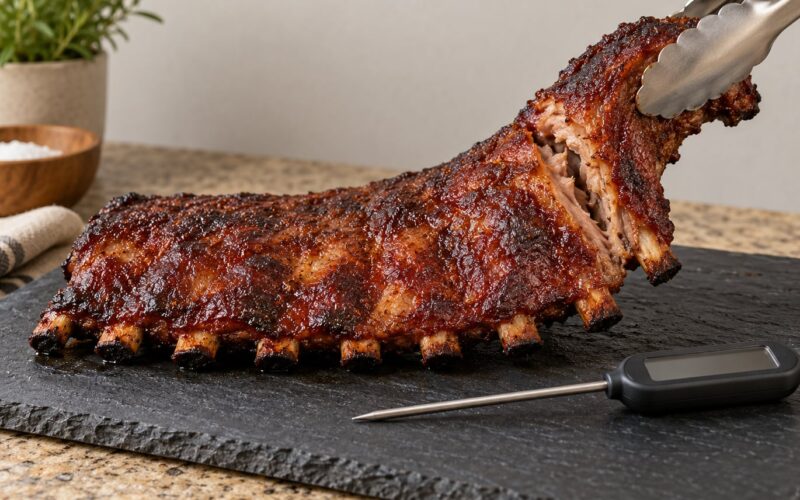
Treating 145°F as done. That is the safety floor, not the finish line. Push toward 190°F and lean on the fork test: a probe slides into the meat between the bones with almost no resistance.
Wrapping the packet loose. A leaky foil dries the ribs and puts liquid in the bottom of the pan. Fold seams twice and set the packet on a sheet so a leak is not a disaster.
For leftovers, cool the ribs uncovered on a rack so steam does not pool and soften the crust, then refrigerate them airtight for up to four days. Reheat at 300°F with a splash of cider or a teaspoon of water, covered, for 20 to 25 minutes. Broil the last two minutes to bring the sauce back to sticky. Ribs freeze well for up to three months, though they lose a little of that just-cooked snap.
Frequently Asked Questions
What temperature do you cook ribs in the oven?
Cook them at 275°F for 2.5 to 3 hours, or 300°F for 2 to 2.5 hours, with the fan off. Anything above 350°F speeds things up but trades away texture. If your oven runs hot, an oven thermometer will tell you before the ribs do.
How long does it take to make ribs in the oven?
Plan on 3 to 3.5 hours total for baby back ribs at 275°F, plus a 5 to 10 minute broil and a 5 to 10 minute rest. Spare ribs usually need 30 minutes more. A 375°F shortcut finishes in about 90 minutes, but most home cooks report chewier meat and dry edges.
Should I cover ribs with foil while cooking?
Yes. The sealed packet is what keeps the meat moist while collagen breaks down, and it is the difference between oven ribs that rival a smoker and ribs that dry out. Unwrap for the last stage only, once the meat is close to tender.
How do I make oven ribs tender without a smoker?
Low, steady heat plus trapped steam does it. Seal the ribs in foil meat side up with a splash of apple juice, roast at 275°F until a probe slides through the meat with no resistance, and target 190 to 205°F internally. Ten minutes of rest finishes the job.
Can I add BBQ sauce before cooking the ribs?
Not for the covered stage. Sugar burns under a long cook and turns the edges bitter before the meat is tender. Brush the sauce on after you remove the foil, then broil 5 to 10 minutes until it bubbles and caramelizes.
How do I reheat oven-baked ribs?
Reheat at 300°F covered for 20 to 25 minutes with a splash of cider or a teaspoon of water, so the meat reabsorbs moisture instead of drying out. A short broil at the end brings the sauce back to sticky.
Conclusion: Start With a Low-and-Slow Roast
To make BBQ ribs in the oven well, combine the two stages instead of picking one. The covered stage at 275°F for 2.5 to 3 hours does the slow work of turning collagen into gelatin, and the uncovered glazing stage gives you the sticky, caramelized finish people mistake for a smoker.
Start tonight by prepping a full rack: peel the membrane, trim the fat, season both sides, and seal it tight in foil with a splash of apple juice. Then begin checking 30 minutes before the time runs out instead of trusting the clock alone.