Charcoal grilling rewards patience, not gadgets. Light the coals with a chimney starter, wait about 15 minutes until roughly two-thirds are ashed over, pour them to one side for a two-zone fire, then manage heat with the bottom and top vents. If you have never used a charcoal grill before, this guide walks through the whole first cook, from firing the coals to checking a burger with a thermometer.
The honest truth about charcoal is that most of the difficulty is really just airflow you have not learned to read yet. There is no thermostat like a gas grill. Open the bottom vent and you feed the fire more oxygen, so it burns hotter. Close it and the coals settle into a lazy bake. Learn that one lever and the rest is just practice.
Table of Contents
- What You Need
- The essentials
- Step-by-Step: How to Use a Charcoal Grill
- Set Up the Grill and Work Area
- Build the Charcoal Fire: How to Use a Charcoal Chimney
- Control the Grill Temperature With the Vents
- Cook Your First Food
- Check Doneness and Rest the Food
- Shut Down the Grill Safely
- Common Mistakes
- Frequently Asked Questions
- How long do you let charcoal burn before cooking?
- Should I leave the lid open or closed when starting charcoal?
- Should I leave the vents open or closed when grilling?
- Are you supposed to pour water on a charcoal grill?
- What should I do the first time I use a charcoal grill?
- Do I need a charcoal chimney, and lump charcoal or briquettes?
- Conclusion
What You Need
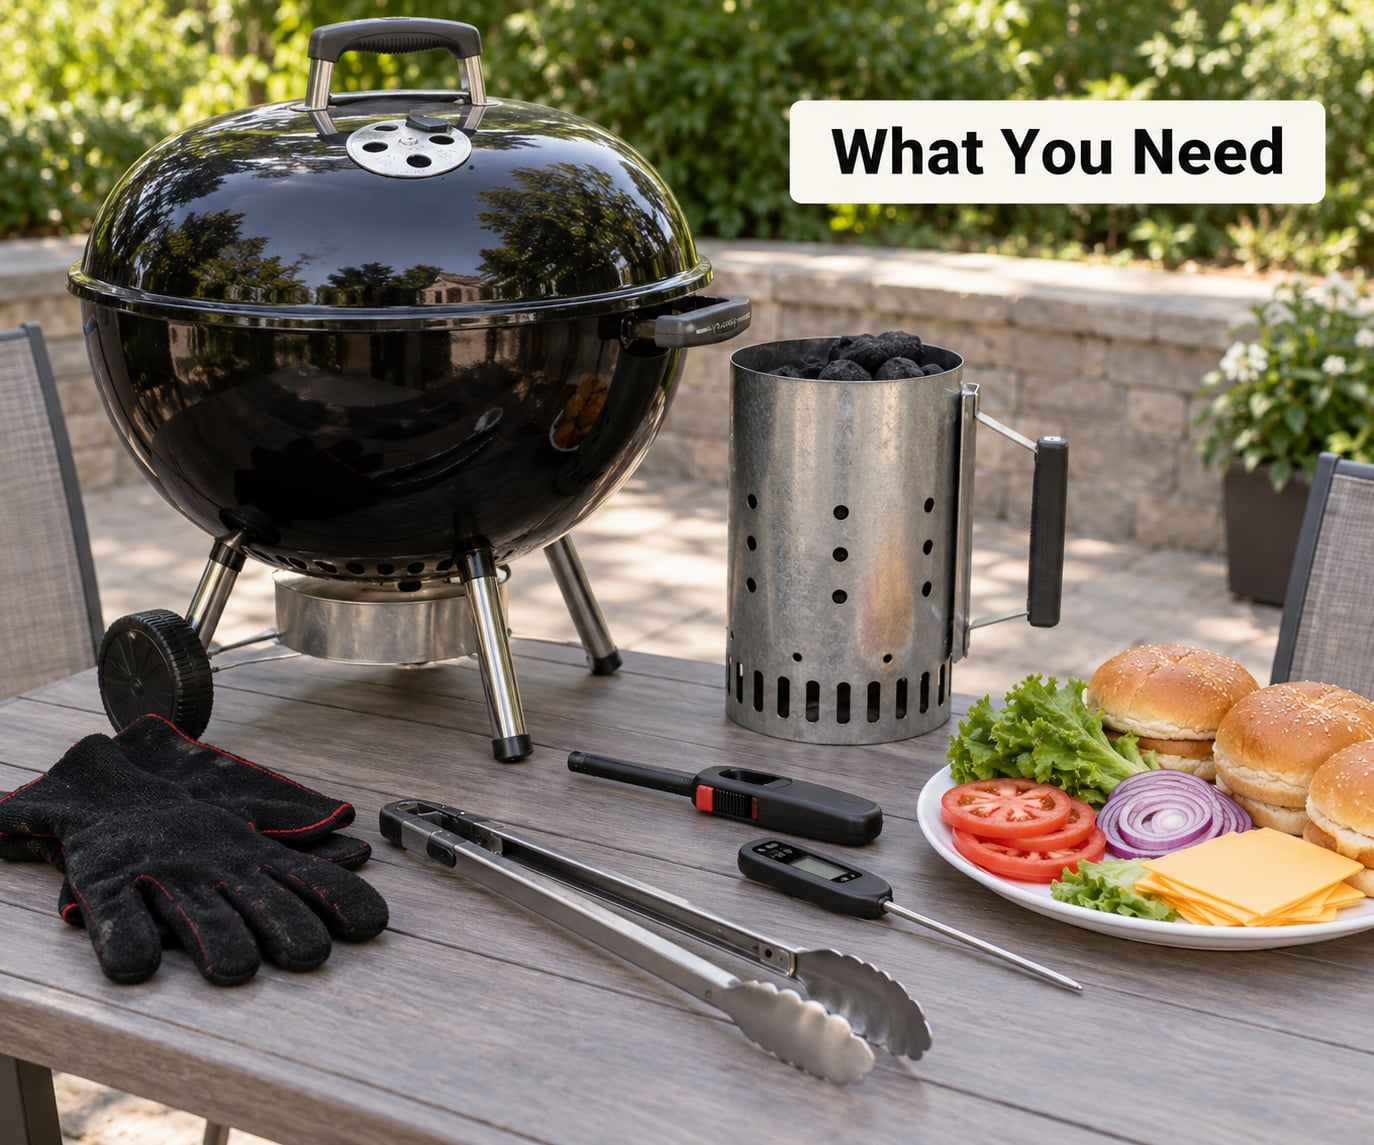
These instructions work on any charcoal grill: a kettle grill, a barrel smoker, a rectangular portable grill, or a kamado if you have one. The parts that matter are the same everywhere, the vents, the grate, the ash catcher and the lid.
The essentials
- A grill in decent shape. Check the legs are stable, the lid fits, and the vents open and close freely before you light anything.
- Charcoal. Briquettes or lump charcoal both work. Briquettes are shaped evenly, burn longer and are easier for a beginner to control. Lump charcoal lights faster and gives a more natural, woodier flavor.
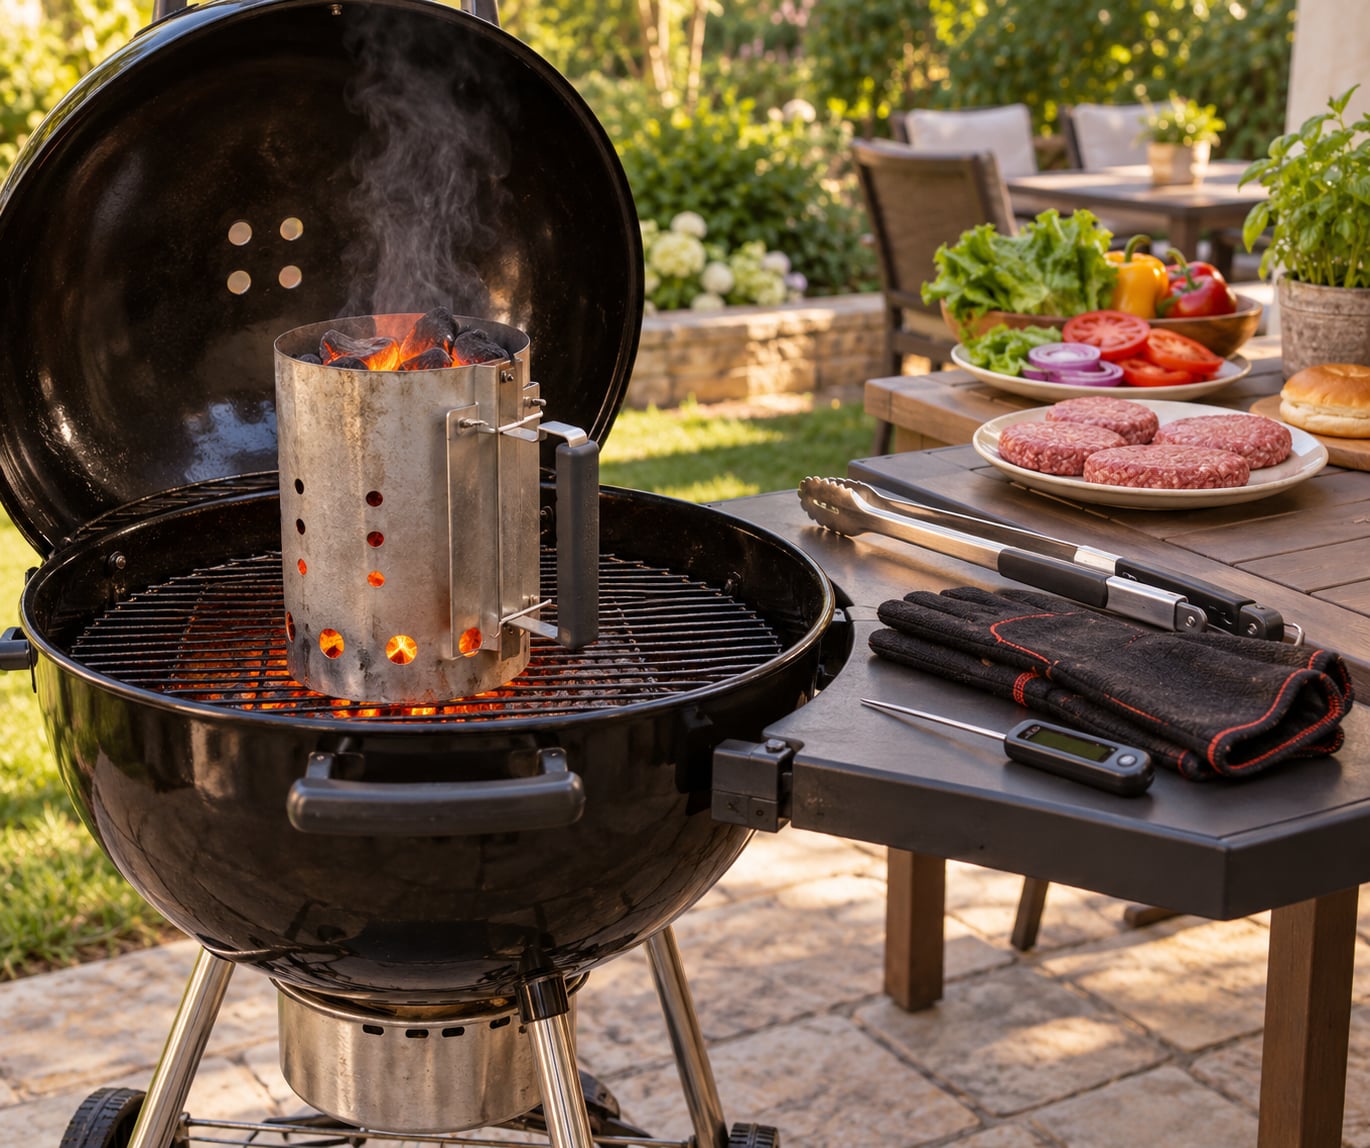
- A chimney starter. This is the single biggest upgrade for a beginner. It fires the coals evenly in about 15 minutes instead of the 25 or more a pile in the firebox takes.
- Fire starters. Two or three natural fire starter cubes, or a rolled-up newspaper page. Skip lighter fluid, soaks and the chemical taste comes back through the food.
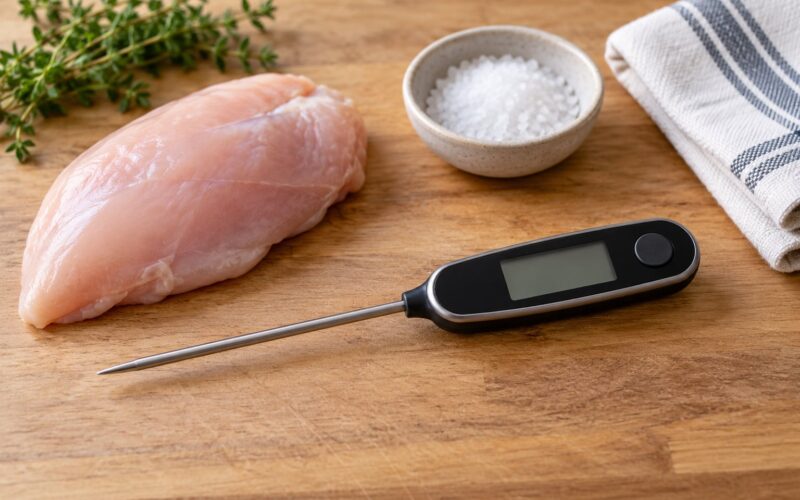
- An instant-read thermometer. The little dial one on the lid of a kettle grill is notoriously inaccurate. A cheap instant-read probe in your hand is worth more than any built-in gauge.
- Long tongs and a wire brush. One pair for raw meat, one pair for cooked food if you can spare them.
- Heat-resistant gloves. Not regular oven mitts. You will handle a hot chimney and the grate itself.
Nice to have, not needed for a first cook: a charcoal basket for easier cleanup, a heavy-duty foil drip tray, a chimney tool, and a wire rack inside a sheet pan to rest meat on.
One more piece of gear that is genuinely non-negotiable: a working water source nearby and a metal bucket with a lid for ash disposal. Charcoal fires make wind unpredictable.
Step-by-Step: How to Use a Charcoal Grill
Set Up the Grill and Work Area
Move the grill outside on a stable, level, nonflammable surface with the lid closed. Stay well away from fences, siding, dry grass, overhanging branches and anything plastic. Never grill indoors or in a garage, even with the door open, because carbon monoxide builds up faster than you can smell it.
Open the bottom vent fully before you light. Starting with the air intake closed is the single most common reason a beginner grill never gets hot.
Clean the grate while the grill is cold. Brisk it off with a wire brush, then wipe the bars with a paper towel holding a little oil. That thin coat of oil is what stops a first burger from welding itself to the grate.
Build the Charcoal Fire: How to Use a Charcoal Chimney
Let the charcoal burn 10 to 15 minutes before cooking. Fill your chimney starter to just past the rim, set it on the grate with the bottom vent open, and put two fire starter cubes in the bottom or a crumpled newspaper page tucked underneath. Light it, then leave the lid open for the first few minutes so the fire gets oxygen. Once the charcoal at the top is glowing, close the lid.
You will know the coals are ready when roughly two-thirds of them are covered in grey-white ash with no open flames. That is the ashed-over stage, and it is the real answer to how long you let charcoal burn. If the coals look like glowing embers and black chunks, they are not ready yet. Food placed on coals that have not ashed over will taste of raw charcoal and smoke.
Wearing your gloves, lift the chimney by its handle and pour the coals to one side of the firebox for a direct heat zone, leaving the other side empty as your indirect heat zone. Tilt the chimney to make sure every last coal makes the trip.
A beginner only needs two zones. Methods you will read about later, the snake method, the vortex method, the minion method, all rearrange the same coals in fancier shapes. Once two zones work for you, try the others.
Control the Grill Temperature With the Vents
Think of the bottom vent as the gas pedal and the top vent as the brake. Both stay open when you first light the coals and during the preheat. Cracking the lid open while the charcoal is still burning lets heat escape and slows everything down.
For most beginner cooking, leave both vents open. Once you preheat with the lid on for 10 minutes, put your hand above the grate before cooking. Hold it there for about ten seconds. If it feels comfortable but not painful, you are around 350 to 400 degrees Fahrenheit, which is right for burgers, chicken thighs, sausages and vegetables.
For lower and slower cooking, close the bottom vent down to a crack after the coals are ashed over. Restricting the oxygen supply slows combustion and drops the temperature. The lid position matters too, a closed lid holds heat in, an open lid lets it escape. Reopen the vent gradually if the fire starts to creep up.
Cook Your First Food
Start simple with burgers, hot dogs, boneless chicken thighs, shrimp or vegetables. Leave steaks and whole chicken for cook two.
Preheat first with the grate in place and the lid closed for 10 minutes. That heats the metal, not just the air. Sear the burgers over the direct heat zone, then move them to the indirect side to finish. That two-step approach is what stops the outside burning while the middle stays raw.
Flip only when the patty releases from the grate on its own, usually three to four minutes in. If you have to pry it, the grate is not hot enough or not oiled enough. Resist flipping more than once. Every flip costs you heat and juices.
For flare-ups, which happen when fat drips onto coals and flashes into flame, move the food rather than spraying water. A squirt bottle of water is the fastest way to put out a flare-up and the worst way to do it, the steam clouds the coals and can blow ash around. Moving the food to the cool side usually solves it.
Check Doneness and Rest the Food
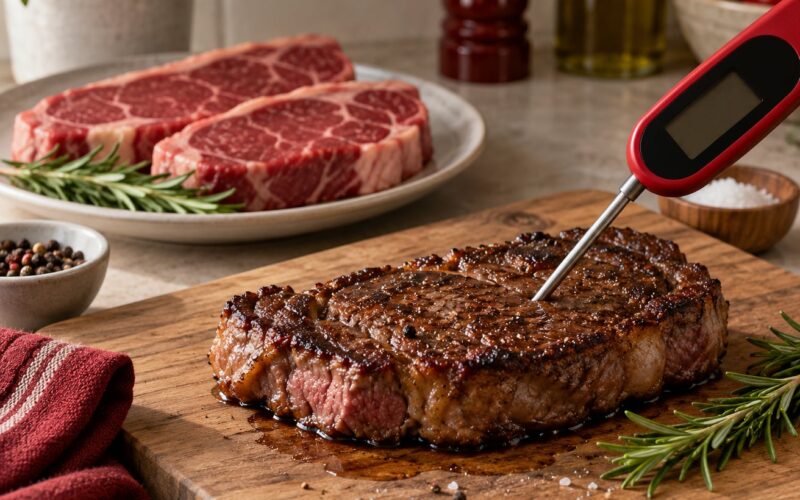
Cut into food tells you almost nothing about the center. Push your instant-read thermometer into the thickest part, away from bone, and wait for the number to stop climbing.
- Poultry (chicken, turkey, thighs)
- 165 degrees Fahrenheit, 74 degrees Celsius, with no pink at the joint.
- Ground meat (beef, turkey, sausage patties)
- 160 degrees Fahrenheit, 71 degrees Celsius.
- Whole cuts of beef, pork, lamb, and fish
- 145 degrees Fahrenheit, 63 degrees Celsius with a 3 minute rest. Many cooks pull steaks earlier, around 130 to 135 degrees Fahrenheit for medium-rare, which is a preference rather than a safety floor.
Rest steaks, chops and roasts 5 to 10 minutes on a wire rack before slicing. Poultry and burgers only need 2 or 3 minutes. Resting lets the juice redistribute instead of running out onto the cutting board.
Shut Down the Grill Safely
When you finish cooking, close the lid and close both vents to cut the oxygen supply. The coals will smolder for a while, then go out on their own. Do not pour water on hot coals. It creates a burst of steam that can scatter embers and cracked ash into the air, and it can damage a ceramic grate.
Leave the grill in place, away from anything combustible, until everything is cold. Empty the ash catcher into a metal container with a tight-fitting lid, store it outdoors on a nonflammable surface away from the house, and only dispose of it when it has been cold for several days.
Once cool, brush the grate and wipe it with a light coat of oil again. That protects the steel between cooks.
Common Mistakes
- Pouring lighter fluid on the coals and letting it soak in. Soaked fluid burns off unevenly and the raw chemical taste shows up in the food. Fire starters in a chimney do the same job with none of the aftertaste.
- Cooking on coals that are still smoking. Wait for two-thirds ash coverage. Haste here is what gives a first cook that acrid, ashy flavor.
- Leaving the lid open the whole time. An open lid costs you roughly 20 to 30 degrees and lengthens everything. Open it to place food or check a thermometer, then shut it again.
- Putting everything over direct heat. A sear is 30 seconds to a minute on the hot side. Everything after that belongs on the indirect side.
- Guessing doneness by cutting into the meat. A cut surface shows you the outer inch, not the center. Use a thermometer every time, on the first cook and the fiftieth.
- Cooking on a grate that was not cleaned and oiled. Food sticks, tears and loses its crust. Brush the grate, wipe it with oil, and preheat it.
- Using an undersized chimney. A chimney that holds too little fuel produces a small, weak coal bed that never heats the grill. Buy a chimney that matches your grill size.
- Grilling too close to a wall or under a roof. Leave several feet of clearance on every side, including behind the grill.
Frequently Asked Questions
How long do you let charcoal burn before cooking?
Let the coals burn 10 to 15 minutes after lighting, until roughly two-thirds of them are coated in grey-white ash with no open flames. That ashed-over stage is your real signal, not the clock. Most grills need another 10 minutes with the lid closed to finish preheating.
Should I leave the lid open or closed when starting charcoal?
Leave the lid open for the first few minutes so the fire gets plenty of oxygen, then close it once the charcoal at the top of the chimney is glowing. Keeping the lid closed for the rest of the preheat holds heat in and gets the grate to searing temperature.
Should I leave the vents open or closed when grilling?
Both vents fully open for most beginner cooking, which is what produces airflow and a hot fire. Close the bottom vent down to a crack only when you want a lower, slower cook, and open it back up if the temperature climbs. Recheck with an instant-read thermometer every few minutes.
Are you supposed to pour water on a charcoal grill?
No, not to extinguish coals. Water on hot charcoal creates a burst of steam that can blow ash and embers into the air. Close both vents instead and let the fire die on its own. A small squirt of water is fine for a single grease flare-up on the food.
What should I do the first time I use a charcoal grill?
Brush and oil the grate, check the legs and vents, set the grill outside on a firm surface, and have a metal ash bucket nearby. Then light a full chimney, wait for ashed-over coals, build a two-zone fire, and preheat with the lid closed for 10 minutes before food goes on.
Do I need a charcoal chimney, and lump charcoal or briquettes?
A chimney starter is the best upgrade a beginner can buy, because it lights coals evenly in about 15 minutes. For the charcoal itself, briquettes are evenly shaped and easier to control, while lump charcoal lights faster and gives a smokier flavor. Either works for your first cook.
Conclusion
Your first cook comes down to five moves: light a full chimney, wait about 15 minutes until the coals are ashed over, pour them to one side, preheat with the lid closed for 10 minutes, and verify doneness with a thermometer. Start with burgers, hot dogs or vegetables and skip the steak.
If you remember one thing from this guide on how to use a charcoal grill for beginners, make it the ashed-over wait. Everything else, the vents, the zones, the flipping, gets easier once the coals are ready when you think they are ready.