An internal temperature chart for meats explained in plain language gives you one number per protein: the safe minimum internal temperature, with the chef target and rest time beside it. Poultry is 165°F (74°C), ground meat is 160°F (71°C), and whole cuts of beef, pork, lamb, veal and fish are 145°F (63°C). A thermometer tells you when the food is done. Color, poking and timer dials do not.
I’ve cooked enough badly timed steaks to know why this matters. A recipe that says 12 minutes a side produces a different steak every time, because thickness, starting temperature and your grill all move the finish line.
This guide is written for home cooks, so it skips the restaurant theatrics and sticks to what you can do with a probe and ten seconds of attention.
Table of Contents
- Internal Temperature Chart for Meats Explained
- What Internal Temperatures Are Safe for Meat?
- Internal Temperature Chart by Meat Type
- Beef doneness from rare to well-done
- How to Use a Meat Thermometer Correctly
- How to calibrate a thermometer in ice water
- Where to Put the Thermometer in Every Cut
- Does Meat Temperature Keep Rising After Cooking?
- Resting Times and Safe Holding Temperatures
- Why Cooking Time Is Not the Same as Doneness
- Common Thermometer Mistakes That Lead to Undercooked Meat
- How to Check Doneness Without Guessing
- Frequently Asked Questions
- Can I use an internal temperature chart for meats on food cooked on a grill?
- What is the safest internal temperature for chicken breast, thigh, and ground poultry?
- Why is my chicken breast 165 degrees in the center but still looks undercooked?
- Is the temperature measured near a bone or the edge of a steak accurate?
- How long should cooked meat rest before slicing?
- Can I use an instant-read thermometer on frozen meat without thawing it first?
- Conclusion
Internal Temperature Chart for Meats Explained
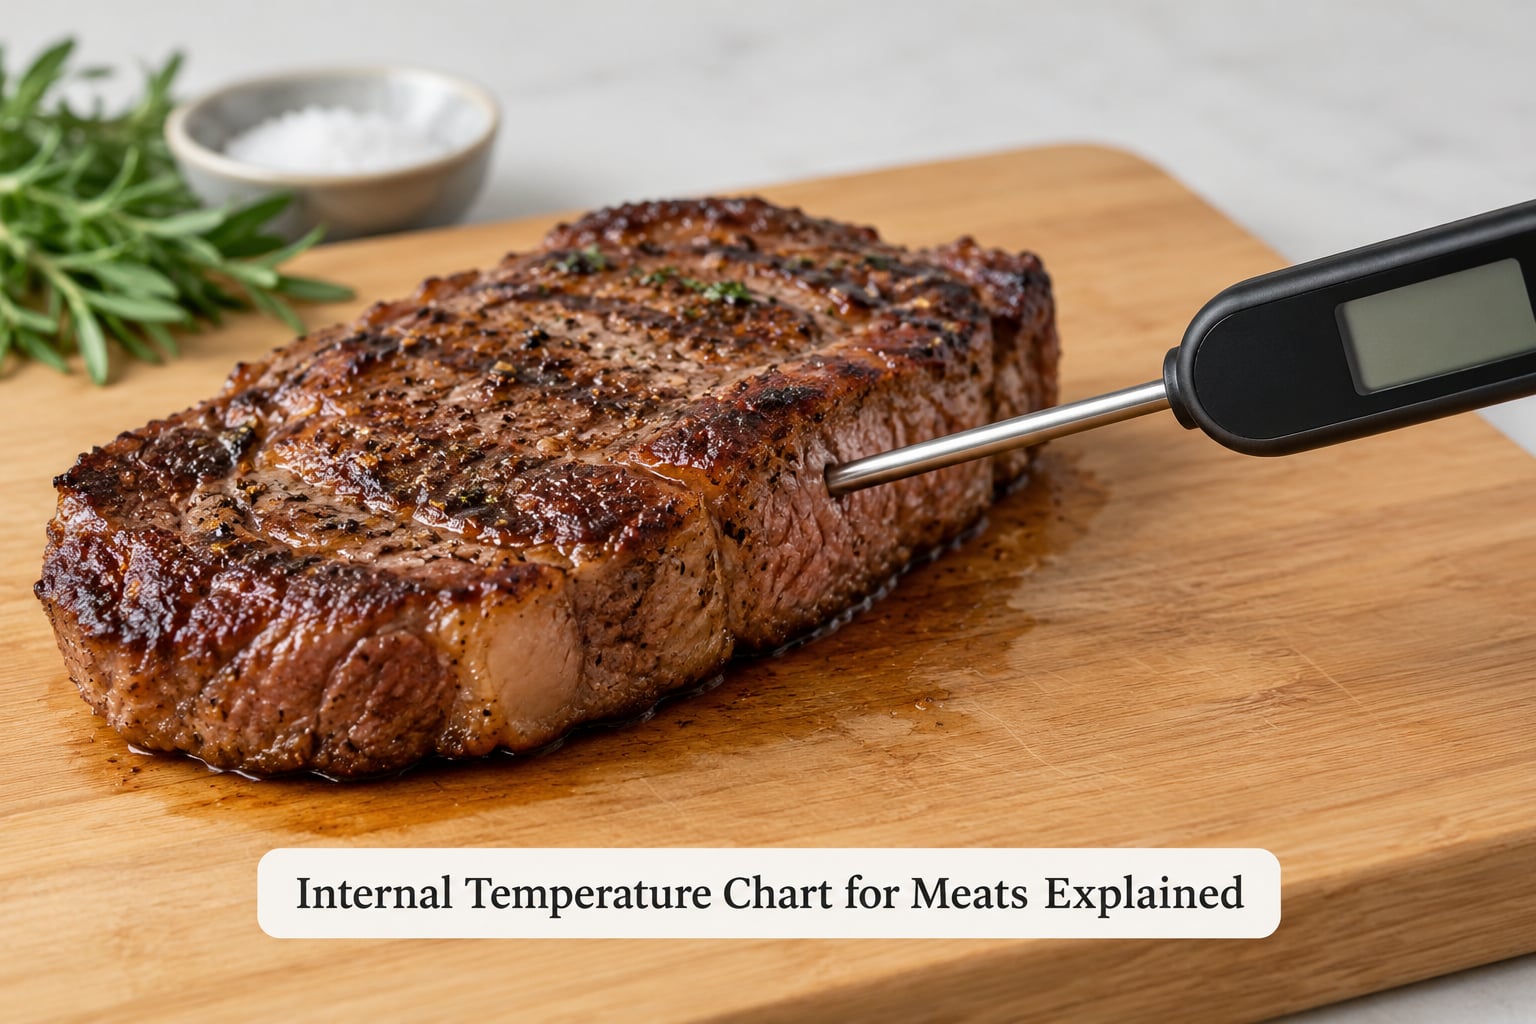
The chart is a reference table, not a recipe. You find your protein, cook to the target, then confirm with a probe in the thickest part of the cut away from bone and fat.
Two numbers matter and they are not the same number. The safe minimum is the point where USDA guidance says pathogens are destroyed. The chef target is lower and exists for texture, because a pork loin at 145°F (63°C) can still be faintly pink and completely safe.
What Internal Temperatures Are Safe for Meat?
Three numbers cover almost everything a home cook will ever put on a grill or in an oven. Whole cuts of beef, pork, lamb, veal and fish need 145°F (63°C) followed by a 3-minute rest. Ground beef, ground pork, ground lamb and sausage need 160°F (71°C). All poultry, including ground poultry, needs 165°F (74°C).
Reheated cooked food goes back to 165°F (74°C). The chart below sorts all of it out cut by cut, and it is the version to keep taped inside a cabinet door.
Internal Temperature Chart by Meat Type
Every figure appears in Fahrenheit first, with Celsius after it, because half the recipes online use one and half use the other.
| Protein and cut | USDA safe minimum | Chef target for texture | Rest before slicing |
|---|---|---|---|
| Beef, pork, lamb, veal steaks, chops, roasts | 145°F (63°C), 3-minute rest | 130°F (54°C) medium-rare to 145°F (63°C) medium | 5 to 10 minutes |
| Ground beef, pork, lamb, and sausage | 160°F (71°C) | 160°F (71°C) with more browning if you sear after | 3 minutes |
| Chicken and turkey, whole or cut up | 165°F (74°C) | 165°F (74°C) in the thickest part of the breast and the thigh | 10 to 15 minutes |
| Duck and goose | 165°F (74°C) in the thickest breast and innermost thigh | Medium-rare is safer for wild waterfowl; cook those through | 10 to 15 minutes |
| Fish | 145°F (63°C) | 125°F (52°C) to 130°F (54°C) for moist flesh, 145°F (63°C) for shellfish | No rest needed |
| Shrimp, lobster, scallops | 145°F (63°C), flesh opaque and pearly, shells just open | 145°F (63°C) | No rest needed |
| Clams, mussels, oysters | 145°F (63°C), shells open during cooking | Discard any that stay shut after cooking | Serve immediately |
| Eggs | 160°F (71°C) for cooky eggs | 160°F (71°C) firm yolk to 170°F (77°C) hard boiled | None |
| Cooked food reheated in a microwave or oven | 165°F (74°C) in the thickest area | 165°F (74°C) and steaming hot | Use within two hours |
Beef doneness from rare to well-done
| Doneness | Internal temperature | What the center looks like |
|---|---|---|
| Rare | 120°F to 125°F (49°C to 52°C) | Cool red center, almost translucent |
| Medium-rare | 130°F to 135°F (54°C to 57°C) | Warm pink center with a red edge |
| Medium | 135°F to 145°F (57°C to 63°C) | Pink with a hint of tan throughout |
| Medium-well | 145°F to 155°F (63°C to 68°C) | Mostly tan with a thin pink core |
| Well-done | 160°F (71°C) and above | Evenly tan or gray all the way through |
The same scale works for pork chops and lamb chops if you want to trade a little safety margin for tenderness. Pork tenderloin at 140°F (60°C) is properly cooked in many kitchens, but 145°F (63°C) is the number to use when anyone at the table is pregnant, over 65, very young or immunocompromised. Cooks on r/Cooking make the same split: lower targets for steak night, USDA minimums when guests are the reason you’re cooking.
One more counterintuitive fact. A whole pork loin can hit 145°F (63°C) and still show a blush of pink. Myoglobin and pH shift the color of properly cooked pork, so the color test fails here more than anywhere else. Probe it and stop arguing with the cutting board.
How to Use a Meat Thermometer Correctly
Three types cover home cooking. An instant-read digital probe gives you a number in two to five seconds and works on everything. A leave-in probe thermometer stays in the meat during cooking, which is the right call for a whole turkey or a rack of ribs. A dial oven thermometer is cheap and fine for oil and for a very rough check on a roast, but it is the least precise of the three.
Read speed varies more than buyers expect. Forum cooks note that good instant-read probes settle in one to three seconds while budget models can take ten, which changes how often you can safely open an oven door without dropping the temperature.
To take a reading:
- Take the meat off the heat or open the oven and push the probe into the thickest part of the cut.
- Aim from the side so the tip lands in the center, and stay clear of bone, gristle and any pockets of fat.
- Wait for the number to stop moving, then read it.
- Check a second spot on the other side of the cut. Two readings that agree tell you more than one lucky reading.
- Wipe the probe clean before and after every use.
If a reading comes back higher than expected, you may have touched bone, which conducts heat faster than muscle. Move a few centimeters along and read again.
How to calibrate a thermometer in ice water
Cheap thermometers drift, and a probe that reads 10°F high will walk you straight past the safe minimum without you noticing. Calibration takes two minutes. Fill a cup with ice, add enough water to fill the gaps, stir, and press the probe into the center of the slush without touching the cup. It should read 32°F (0°C). If it shows something else, most digital probes have a calibration button or an ice-water mode, and cheap dial models usually cannot be fixed.
Where to Put the Thermometer in Every Cut
Placement decides whether the number means anything. The thickest part of the cut is where heat arrives last, so that is where the food stays least cooked and most likely to harbor bacteria.
- Chicken breast: the thickest point of the breast, not the narrow tail end. Test the thigh too, since dark meat carries its own temperature.
- Turkey: deep into the lower thigh, tight against the bone but not touching it, and again in the thickest part of the breast. The thigh reads higher, and it is the last place to reach temperature.
- Ground beef and burgers: the thickest part of the patty. Thin fast-food-style patties cook so fast that a probe is close to useless; use an instant-read and accept the extra hole, or press a thicker pub-style patty and cut it instead.
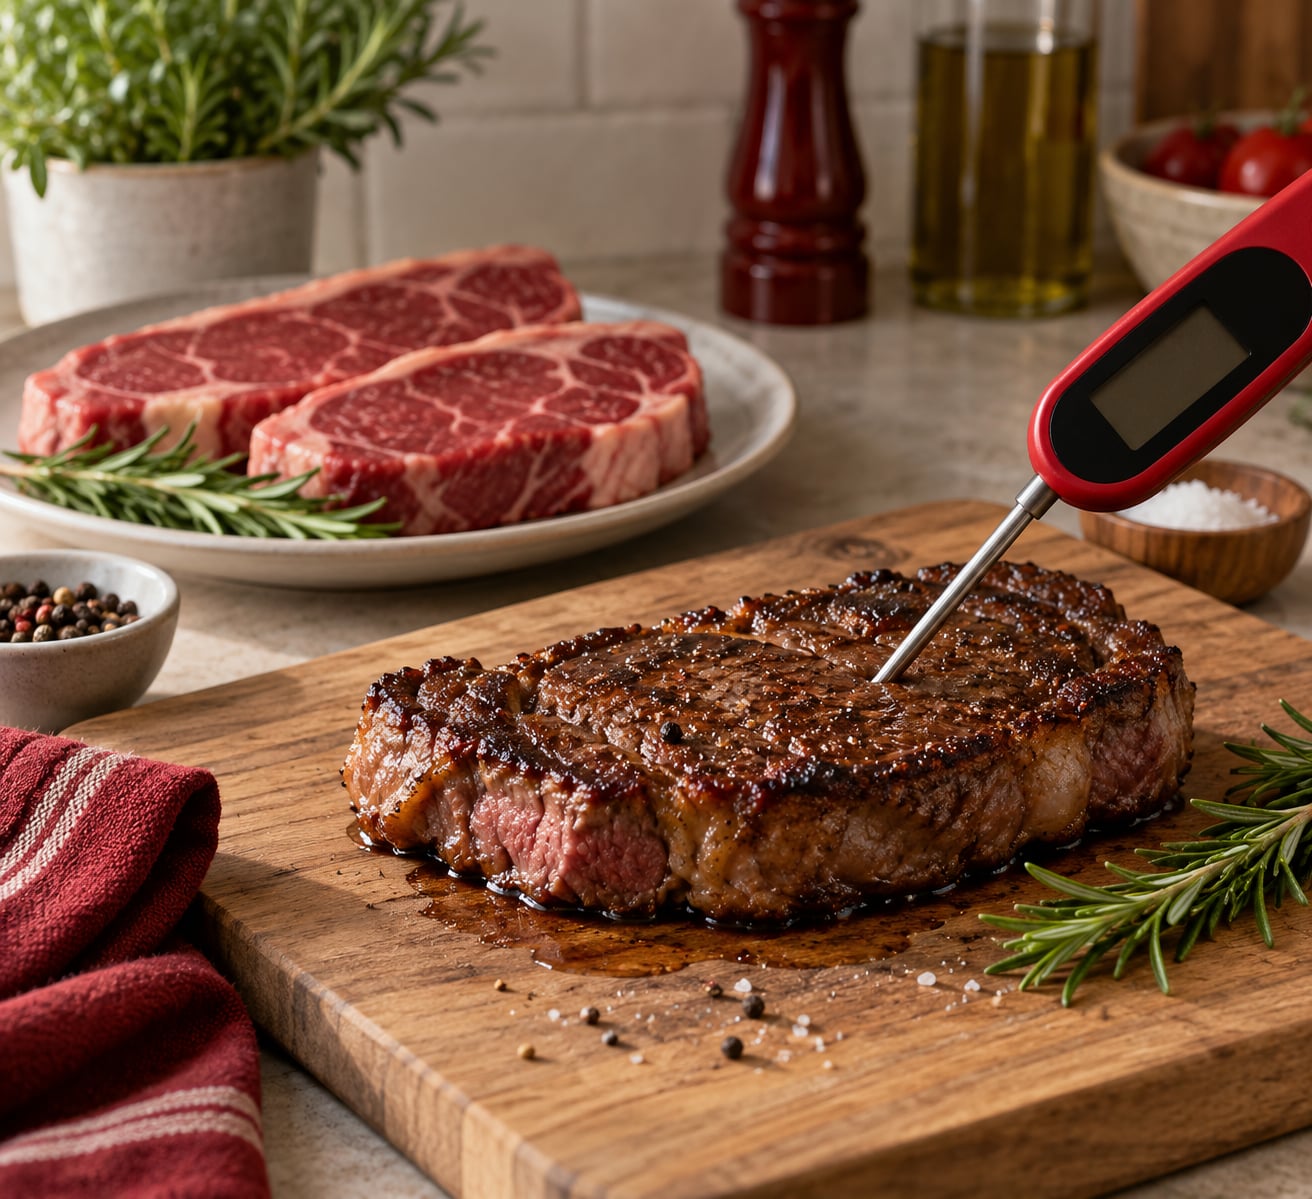
- Steaks and chops: the side edge, pushed horizontally toward the center bone without touching it. A straight-down push often lands near the fat cap.
- Roasts and hams: the deepest part of the muscle, away from the bone. Bone can read 10°F or more above the surrounding meat.
- Whole fish: into the thickest part of the backbone, just behind the head and above the vent.
- Stuffed or rolled meats: the center of the stuffing, which is the coldest part and the most common failure point at a holiday table.
Two spots lie constantly. The surface and the fat cap read warm because they touch the pan or the flame, and the bone reads warm because it pulls heat. A probe tip resting on the grill grate will read 20°F high and leave you with a raw center.
Does Meat Temperature Keep Rising After Cooking?
Yes. Heat stored in the outer layers keeps moving toward the center after the meat leaves the heat, and that climb is called carryover cooking. On a thick roast it can add 10°F to 20°F (6°C to 11°C) if you pull it at the USDA minimum, which is why the three-minute rest exists and why resting is not optional.
| Cut thickness | Typical carryover rise | Pull it at |
|---|---|---|
| Under 1 inch, such as chops and thin steaks | 3°F to 5°F (2°C to 3°C) | Just under the target |
| 1.5 to 2.5 inches, such as a thick steak or pork chop | 5°F to 10°F (3°C to 6°C) | 5°F (3°C) below target |
| Over 3 inches, such as a prime rib or leg of lamb | 10°F to 20°F (6°C to 11°C) | 10°F (6°C) below target and tent loosely in foil |
Thin steaks barely climb, which is why chefs sear them hot and fast and serve them almost immediately. Big cuts are the ones that reward an early pull.
Resting Times and Safe Holding Temperatures
Rest time is how long you leave meat untouched after cooking so the juice that gets pushed to the surface has time to redistribute. Cut too early and the cutting board becomes a puddle.
A practical guide: steaks and chops want 5 to 10 minutes, whole roasts want 15 to 20, a full turkey or chicken wants 20 to 30 under loose foil before carving, and a leg of lamb gets better after 25 to 30. Fish and shellfish need nothing at all.
That is a table-side practice. Holding food for safety is a different rule, and people mix the two up all the time. USDA consumer guidance keeps cooked food at 140°F (60°C) or above when you are holding it rather than immediately serving it. A doneness check at 145°F (63°C) is a measurement, not a serving temperature, so a steak that hits 145°F (63°C) is safe to eat right then and there without being held at 140°F (60°C) first.
Why Cooking Time Is Not the Same as Doneness
A recipe time is a guess made in someone else’s kitchen with someone else’s cut. Thickness is the biggest variable, since a 1.5-inch steak and a 3-inch steak can share a cook time and end up far apart. Starting temperature comes next: meat straight from the fridge runs 20 minutes behind a steak that sat on the counter, and a roast pulled from a hot marinade cooks faster than one that did not.
Your appliance matters as well. Grill dial settings lie, opening the door drops the chamber temperature by enough to add several minutes, and a crowded grill holds heat poorly while a single steak on a ripping-hot grate gets a hard sear in two minutes flat. Interior moisture, altitude and how often you flip all move the finish line too.
So use time as a planning tool and temperature as the decision. Time tells you when to start checking. The probe tells you when to stop.
Common Thermometer Mistakes That Lead to Undercooked Meat
Measuring the wrong section. The top of a seared crust or the fat cap runs hot and gives you false confidence. Move to the thickest muscle instead.
Leaving the probe against bone. Bone conducts heat faster than flesh, so a bone reading overstates the temperature of the meat around it.
Taking one reading and walking away. A single spot is a sample, not a verdict. Check the two thickest areas, and for poultry check both the breast and the thigh.
Opening the oven again and again. Every opening drops the chamber temperature, and the food pays for it in cooking time. Open once, take two or three readings, close it.
Using an uncalibrated thermometer. A probe that drifts high is more dangerous than one that drifts low, because you stop early and never know why. The ice-water test catches it.
Leaving an instant-read probe on the grill. It will destroy the sensor, and it is not a leave-in thermometer.
How to Check Doneness Without Guessing
Set up before you start. Take the meat out of the fridge, pat it dry, salt it, and let a probe sit in an ice bath nearby so it is ready the moment you need it.
Cook on the method you like, not the method that produces a target number fastest. Sear hard for crust, roast low for even heat, or grill on two zones and move the meat when you want the finish.
Start probing before the recipe says to. Check the two thickest areas, compare the readings, and pull when the lower one hits your target minus the carryover for that thickness.
Rest on a board or a warm plate, then slice against the grain with a sharp knife. Slice fish straight off the heat and stop guessing.
Store cooked food within two hours, use it in three to four days from the refrigerator, and reheat to 165°F (74°C). Raw meat belongs on the bottom shelf of the fridge in a tray, so a leak never lands on the apples.
Frequently Asked Questions
Can I use an internal temperature chart for meats on food cooked on a grill?
Yes. A grill changes the speed of cooking, not the safe endpoint. Use the same chart, but expect a longer cook than an oven because the grill loses heat every time you open the lid. Set up two zones, sear over direct heat and move thicker cuts to the cooler side. Remember that carryover cooking still applies, so thick cuts come off the grill 5 to 10 degrees under target.
What is the safest internal temperature for chicken breast, thigh, and ground poultry?
All three are 165 degrees Fahrenheit, or 74 degrees Celsius. Check the thickest part of the breast and the innermost thigh, since the thigh runs hotter and is the last section to finish. Ground poultry sausage and nuggets need the same number because the surface is contaminated before grinding. That is also why a chicken breast at 165 degrees can still be dry, since it was held there longer than many home cooks expect.
Why is my chicken breast 165 degrees in the center but still looks undercooked?
Color is a poor test on poultry because lighting and myoglobin levels fool the eye, and the thermometer is measuring the part that matters. Most likely you are looking at the cut end, which cools and dries out fastest, or at the very top surface. Probe the thickest section and probe again a few centimeters away. If the second reading is lower, keep cooking until it climbs.
Is the temperature measured near a bone or the edge of a steak accurate?
Neither is reliable. Bone conducts heat faster than muscle, so it reports a temperature several degrees above the meat around it. The outer edge and the fat cap touch the pan and the grill grate, so they read high for a different reason. Insert the probe from the side of the steak and push toward the center without touching bone, fat or the outer crust, then read in the thickest part of the eye.
How long should cooked meat rest before slicing?
Steaks and chops benefit from 5 to 10 minutes, roasts from 15 to 20, and a whole chicken or turkey from 20 to 30 minutes under loose foil. Lamb leg and brisket can take 25 to 30 minutes and get noticeably better for it. Fish and shellfish do not need a rest at all. Resting redistributes the juice pushed to the surface during cooking and lets carryover cooking finish the center.
Can I use an instant-read thermometer on frozen meat without thawing it first?
No. A frozen or partly frozen cut will not give you a true reading, and forcing the probe in usually damages the sensor. Thaw in the refrigerator, which takes a full day or more for a large roast, or use the cold water method with its leak-proof wrapping. A leave-in probe designed for frozen cooking is the exception, and only for cuts intended for that use. Always verify the final temperature in the thickest part.
Conclusion
Buy or borrow an accurate instant-read thermometer, drop it in an ice bath once to confirm it reads 32°F (0°C), and take that first reading in the thickest part of the cut away from bone and fat. Then cook to the safe minimum internal temperature chart above, pull large cuts early for carryover cooking, and rest before you slice. Everything else on the menu is preference, so use this internal temperature chart for meats explained here as the floor and taste as the ceiling.
Keep the numbers current for 2026 and check the USDA safe minimum chart whenever you buy a new cut.