If you want to know how to use a meat thermometer correctly, it comes down to four moves: push the probe into the thickest part of the food, keep it clear of bone, fat and the pan, wait for the number to stop moving, then compare that reading with the safe minimum for what you are cooking. Twenty seconds of work, and it is the difference between a steak that stays juicy and one that turns to leather.
Cooking time and the touch test are guesses. A USDA study of home cooking found steak described as done was undercooked roughly 40 percent of the time, even when it looked properly browned. Temperature is the only reading that does not lie to you.
Table of Contents
- What You Need: The Right Probe and a Clean Station
- Step-by-Step: How to Use a Meat Thermometer Correctly
- Step 1: Choose the Right Thermometer for the Food
- Step 2: Prepare and Check the Thermometer
- Step 3: Find the Right Spot to Measure
- Step 4: Take the Temperature Correctly
- Step 5: Use Safe Internal Temperatures
- Step 6: Rest, Check, and Store the Meat
- Common Mistakes That Ruin a Reading
- Frequently Asked Questions
- Where should I place a meat thermometer in chicken?
- How do I know when a meat thermometer is calibrated?
- Should I measure burgers in more than one place?
- What is the correct temperature for steak, pork, poultry, and fish?
- Why does my thermometer give a different reading each time?
- Can I use the same thermometer for raw meat and cooked meat?
- Conclusion
What You Need: The Right Probe and a Clean Station
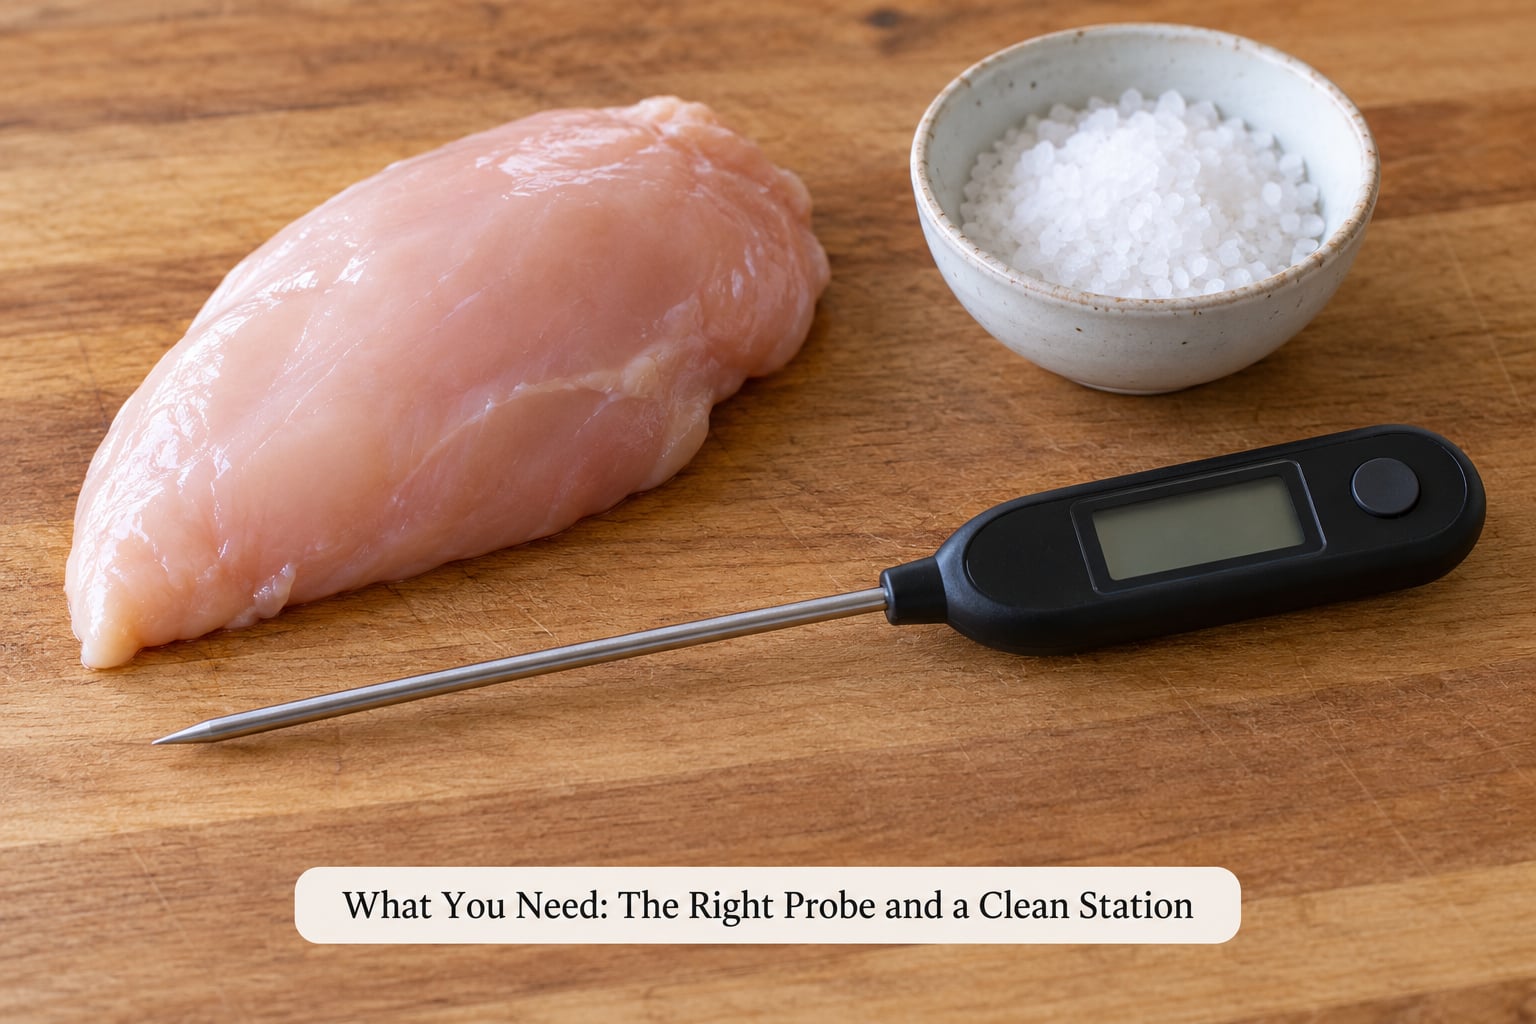
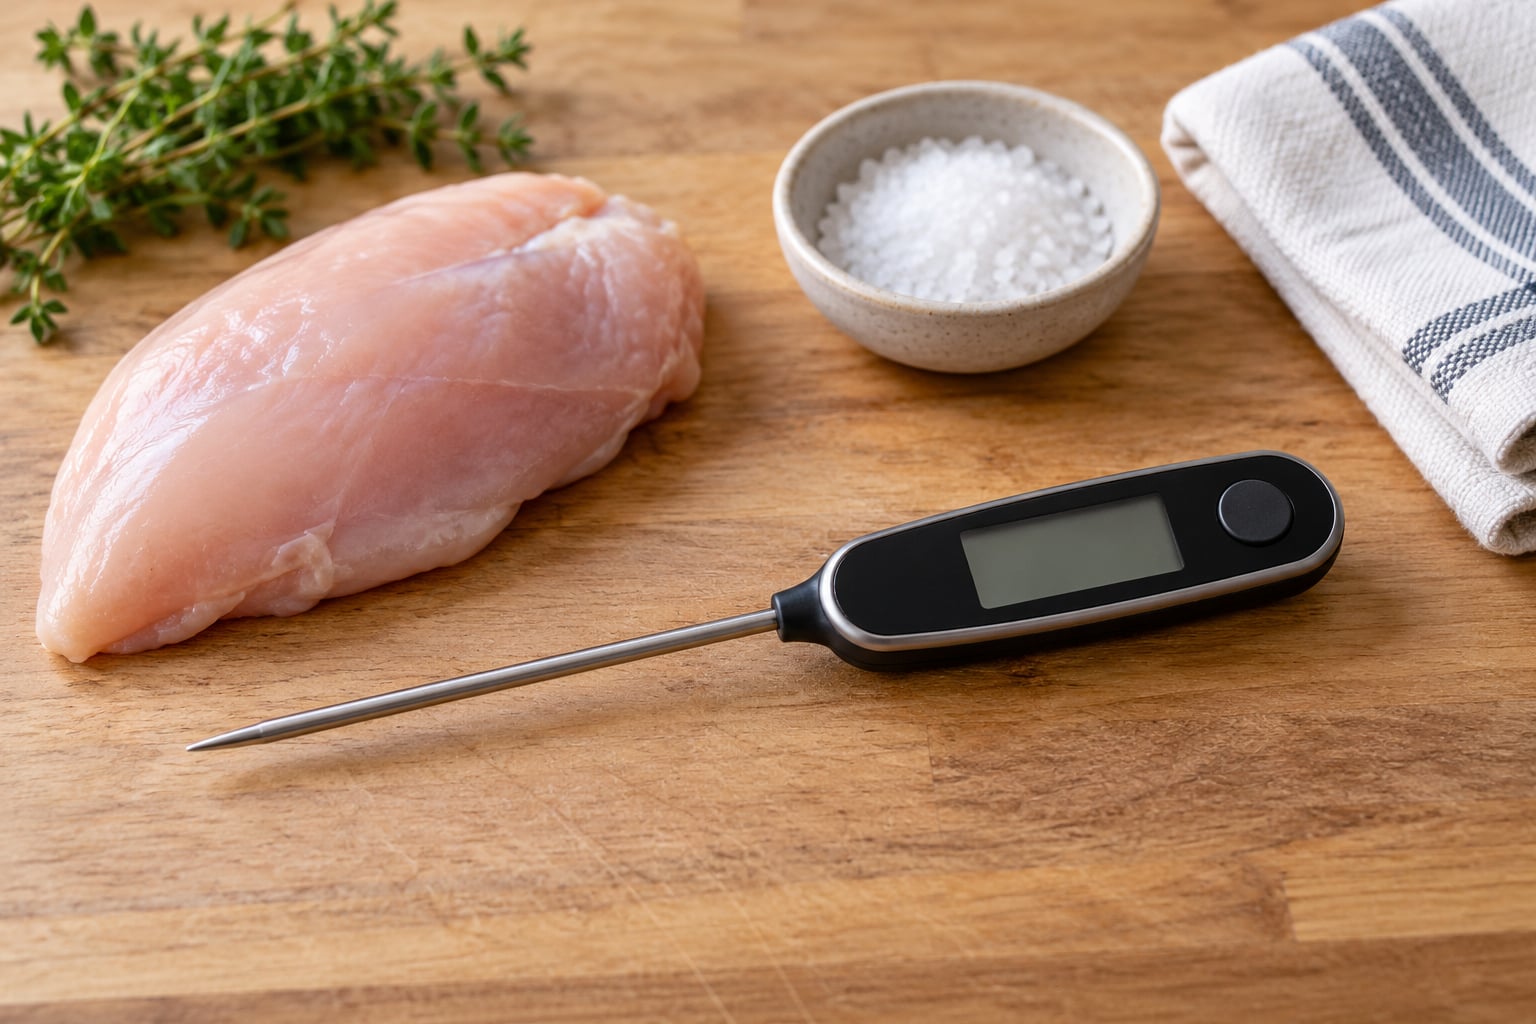
There are four kinds of thermometer, and they are not interchangeable. Instant-read digital probes with a thermocouple sensor give you a reading in two to five seconds and suit steaks, chops, burgers and thick boneless cuts. Leave-in probes with a cable are made to sit in a roast or a whole turkey for the whole cook. Wireless probes do the same job without a cable running to the lid, which is what you want on a smoker or a kettle grill. Infrared thermometers read surface temperature from a distance and are useful for a grill grate or a pan, never for the inside of a piece of meat.
Bimetallic dial thermometers are the old-fashioned option with a needle and a round face. They are slow and they drift, and I would not start a cook with one.
Before the food goes anywhere near the heat, set up your station: a stable cutting board so you are not balancing a hot steak in the sink, dry oven mitts, a plate for finished cuts, and a damp cloth or paper towel for the probe. That last one matters more than people think, and I will come back to it in step 6.
Step-by-Step: How to Use a Meat Thermometer Correctly
Step 1: Choose the Right Thermometer for the Food
Match the tool to the cut. Thin foods like burgers, chops and a butterflied breast need an instant-read with a thin probe, because a fat probe will either miss the centre or leave a hole in a small piece of meat. Thick roasts, a whole turkey and a brisket reward a leave-in or wireless probe, since you set it once and read the number without opening the oven every five minutes. Nothing changes for salmon and sausages, other than that you check them earlier because they cook in minutes.
One rule of thumb covers most cooks: if the food takes more than 20 minutes, a leave-in or wireless probe saves you work. If it takes less, an instant-read is faster and simpler.
Step 2: Prepare and Check the Thermometer
Wake it up and confirm the display is alive before you touch any food. Many digital thermometers hold a reading from the last cook, so tap the probe tip or press power and watch the number change before you trust what you see. Sanitize the probe with isopropyl alcohol or run it under hot water and wipe it down before it goes into raw meat, and always do the wipe again after the reading, before the probe goes near a cooked piece you plan to eat.
If you have not checked the thermometer in a year, or it has taken a hard drop onto a tile floor, do the ice-water test in step 6. Five minutes of checking beats a ruined roast.
Step 3: Find the Right Spot to Measure
Look for the thickest, least exposed section of the cut. On a bone-in pork chop that is the muscle on the side, well clear of the T-bone. On a whole turkey it is the innermost part of the thigh and the thick breast meat, not the neck or the wing tip where there is little meat. On a loaf-shaped roast it is the middle third.
Stay away from bone, gristle, thick bands of fat, the pan bottom, the grill grate and the oven wall. Bone conducts heat faster than muscle, so a probe touching it reads high and you pull a perfectly good piece early.
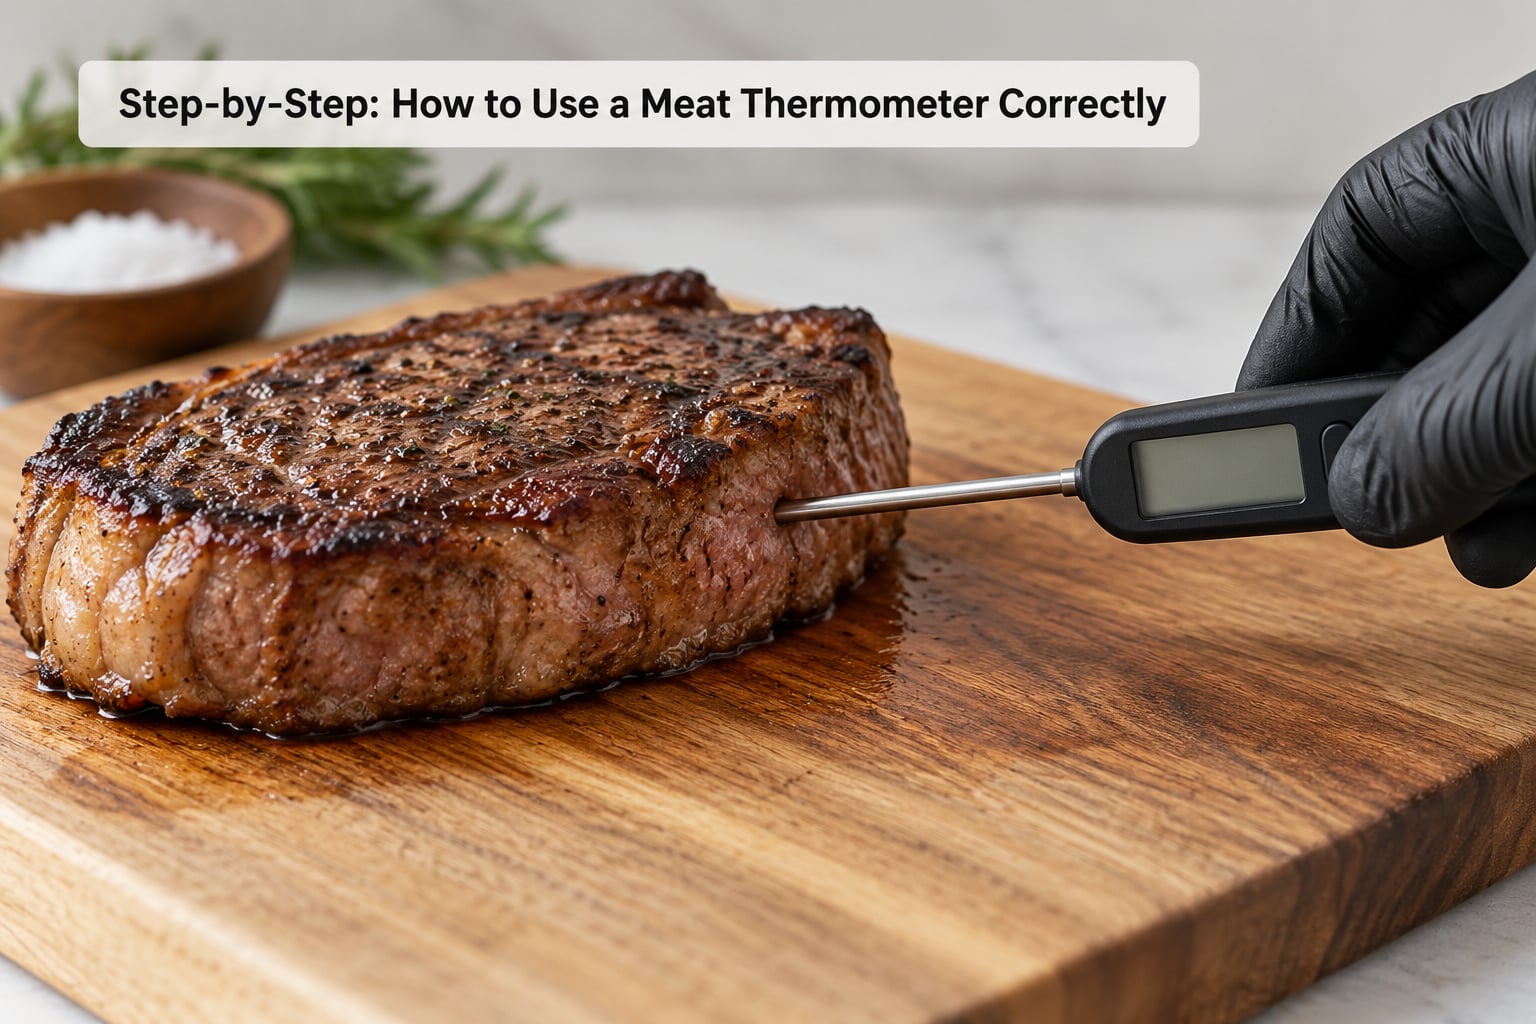
For an irregular shape, use the push-through-and-pull-back method, the trick popularized by J. Kenji Lopez-Alt. Push the probe all the way through the food from one side, pull it back out halfway, and stop. That midpoint is almost always closer to the true thermal centre than the spot you would have chosen by eye. On thin steaks the same logic means inserting from the side rather than the top, so the whole sensing dimple sits inside the meat instead of poking out the edge.
Step 4: Take the Temperature Correctly
Push the probe in until only the handle is showing. With a thermocouple instant-read, give it three to five seconds and wait until the digits stop hunting for a number. That pause is where most impatience costs accuracy: a reading grabbed mid-climb is a reading of the hot outer layer, not the centre.
For thin or oddly shaped food, check two or three spots. Take the lowest reading, because it is the one that tells you whether the whole piece is safe. A frozen burger that reads 160 F in one spot and 120 F in another is a burger with a cold middle, and averaging those numbers would have hidden the problem.
Step 5: Use Safe Internal Temperatures
Compare the number against these USDA minimums, and do not round down.
- Poultry, whole or ground, including chicken, turkey, duck and stuffing: 165 F (74 C)
- Ground meat, beef, pork, lamb or veal: 160 F (71 C)
- Ground poultry in sausage or patties: 165 F (74 C)
- Whole cuts of beef, pork, lamb and veal, plus fish and shellfish: 145 F (63 C), followed by a three-minute rest
- Eggs and prepared egg dishes: 160 F (71 C)
- Leftovers and casseroles when reheating: 165 F (74 C)
Safety minimum and preferred doneness are different questions. Rare steak sits at 125 to 130 F, medium rare at 130 to 135 F, and medium at 135 to 145 F, all of them fine from a whole-muscle beef standpoint as long as the surface got a proper sear. A pork chop that people call done at 145 F is safe, and many cooks prefer 150 to 160 F for tenderness. Chicken breast is the odd one out: 165 F is a floor, not a ceiling, and pushing to 175 F dries it out for no safety gain.
Step 6: Rest, Check, and Store the Meat
Because heat keeps moving inward after you pull the food, carryover cooking adds roughly 5 to 10 F while the meat rests. Pull a steak at 125 to 130 F for a medium rare result, and pull a roast about 5 F below your target. Thick cuts climb more than thin ones, which is another argument for measuring early rather than at the recipe’s stated time.
Rest on a board or a warm plate for at least five minutes on steaks and chops, longer for big roasts, and take a second reading when you carve if the first one sat near the safety line. Then wash the probe under hot water, dry it, and store it in the drawer rather than in the marinade jar. A probe that smells of last night’s marinade will flavor tonight’s roast.
Worth doing once a year: fill a glass with ice, add cold water to the top, stir, and insert the probe without touching the glass. It should read 32 F, or 0 C. In a big pot of rolling boil, held a few inches from the bottom and side, it should read 212 F, or 100 C at sea level. In the mountains the boiling number sits a little lower, so trust the ice-water check up there.
Common Mistakes That Ruin a Reading
Every one of these has a reason behind it, and knowing the reason is what stops you repeating it.
- The probe only goes in a few millimetres. This is the single most common accuracy killer. The tip feels like it is in the meat, so you stop. You need the whole sensing section buried, ideally from the side.
- The probe touches bone, fat or gristle. Bone and fat conduct heat differently from muscle and both push the reading high, which is how a chop comes off the grill dry.
- The probe rests on the pan bottom or touches a grill grate. Direct contact with a hot surface adds heat to the sensor. Suspend it slightly or re-insert at a new angle.
- You read a wireless probe’s ambient number instead of the internal one. Apps show both. The internal reading is the small one beside the probe icon, not the large grill temperature.
- You check one thin edge and call it done. A folded or teardrop-shaped piece has a cold spot somewhere else. Two or three readings, and take the lowest.
- The unit is switched to Celsius and you read it as Fahrenheit. A 145 reading in Celsius means 293 F, which is not a roast, it is a fire department call.
- You trust the earliest cook time on the recipe. Grills, ovens and steaks all vary, and a ten-minute difference in either direction is normal. Start checking a minute or so before the earliest time listed.
- The probe goes from raw meat to the cooked food without a wipe. Cooks in grilling forums and Reddit threads keep coming back to this one, because the fix takes five seconds and skipping it puts bacteria from the board straight into the finished food.
Frequently Asked Questions
Where should I place a meat thermometer in chicken?
Insert the probe into the thickest part of the breast, or the innermost meat of the thigh where the bone curves, keeping it well clear of the bone and joint. Check both areas, since a bird can be done in the breast and still have a cool spot near the hip. Take the lowest of your readings and remember that 165 F is the USDA minimum for all poultry, with a three-minute rest recommended.
How do I know when a meat thermometer is calibrated?
Use the ice-water test. Fill a glass with ice, add cold water to the top, stir, and put the probe in without touching the glass. A calibrated thermometer reads 32 F or 0 C. Most digital models have a hold-to-adjust function, or a reset screw on the back, so you can correct a small offset yourself. Run the check once a year and after any drop or battery change.
Should I measure burgers in more than one place?
Yes, and this matters more than for almost any other cut. A burger is ground meat, so the USDA safe minimum is 160 F, and a fast-cooked patty can easily have one cooked edge and a raw middle. Check two or three spots, including the thickest part, and go by the lowest reading rather than an average. If one spot is short, press the patty flat on the grill for another minute and check again.
What is the correct temperature for steak, pork, poultry, and fish?
Whole cuts of beef, pork, lamb and veal need 145 F (63 C) for safety with a three-minute rest, while most cooks serve beef steak rare at 125 to 130 F and medium rare at 130 to 135 F. Poultry needs 165 F (74 C) whether whole or ground. Fish and shellfish need 145 F (63 C). Ground beef, pork and lamb need 160 F (71 C). Pull 5 to 10 F below target to allow for carryover cooking.
Why does my thermometer give a different reading each time?
Three usual reasons. First, you are moving the probe and reading before the digits settle, which shows the outer layer instead of the centre. Second, you are checking different spots on a cut that is not a uniform shape. Third, the probe is drifting out of calibration, which happens to budget models over time. Hold the probe still for three to five seconds, check the same spot twice, and run an ice-water test to rule out drift.
Can I use the same thermometer for raw meat and cooked meat?
Yes, one probe can handle both as long as you clean it in between. Wipe the probe with alcohol or wash it under hot water after every raw-meat reading and before it goes into cooked food, and again before it touches anything you are about to eat straight off the board. A dedicated poultry probe is still worth owning if you cook a holiday turkey and a rare steak in the same session.
Conclusion
Start here: pick a probe you trust, confirm it reads 32 F in an ice bath, push into the thickest part of the food away from bone and pan, wait for the number to settle, compare it with the USDA minimum for that cut, and wipe the probe clean before the next cook. Knowing how to use a meat thermometer correctly is mostly repetition, and everything else on this page is detail on those five moves.