Brine chicken before grilling by soaking it in a solution of 4 cups water, 1/4 cup kosher salt and 1/4 cup sugar, refrigerated, for 2 to 8 hours depending on the cut. It takes about ten minutes of active work and then the fridge does the rest, which makes it the easiest upgrade you can make to a cookout.
The payoff is real but specific. Brined chicken holds roughly 10 to 15 percent more moisture, which is the difference between a breast that stays tender and one that turns to jerky cardboard by the time you flip it. It also widens the margin between done and overcooked, so a distracted cook still lands on juicy.
It is not magic, though. Brine cannot rescue a chicken thrown onto a ripping hot grate with no thermometer, and it will not fix a piece that never seasoned. What it does is buy you time and insurance on the leanest meat most people overcook.
Table of Contents
- What You Need
- Step-by-Step
- 1. Choose the Right Chicken
- 2. Make the Brine
- 3. Brine the Chicken Safely
- 4. Dry and Season the Chicken
- 5. Grill Until Safe and Juicy
- Common Mistakes
- Frequently Asked Questions
- Is a brine the same as a marinade?
- How long can chicken sit in brine?
- Can you brine frozen chicken?
- What if the chicken comes out too salty?
- Should I refrigerate chicken while it brines?
- Do restaurants make grilled chicken tender with brine?
- Conclusion
What You Need
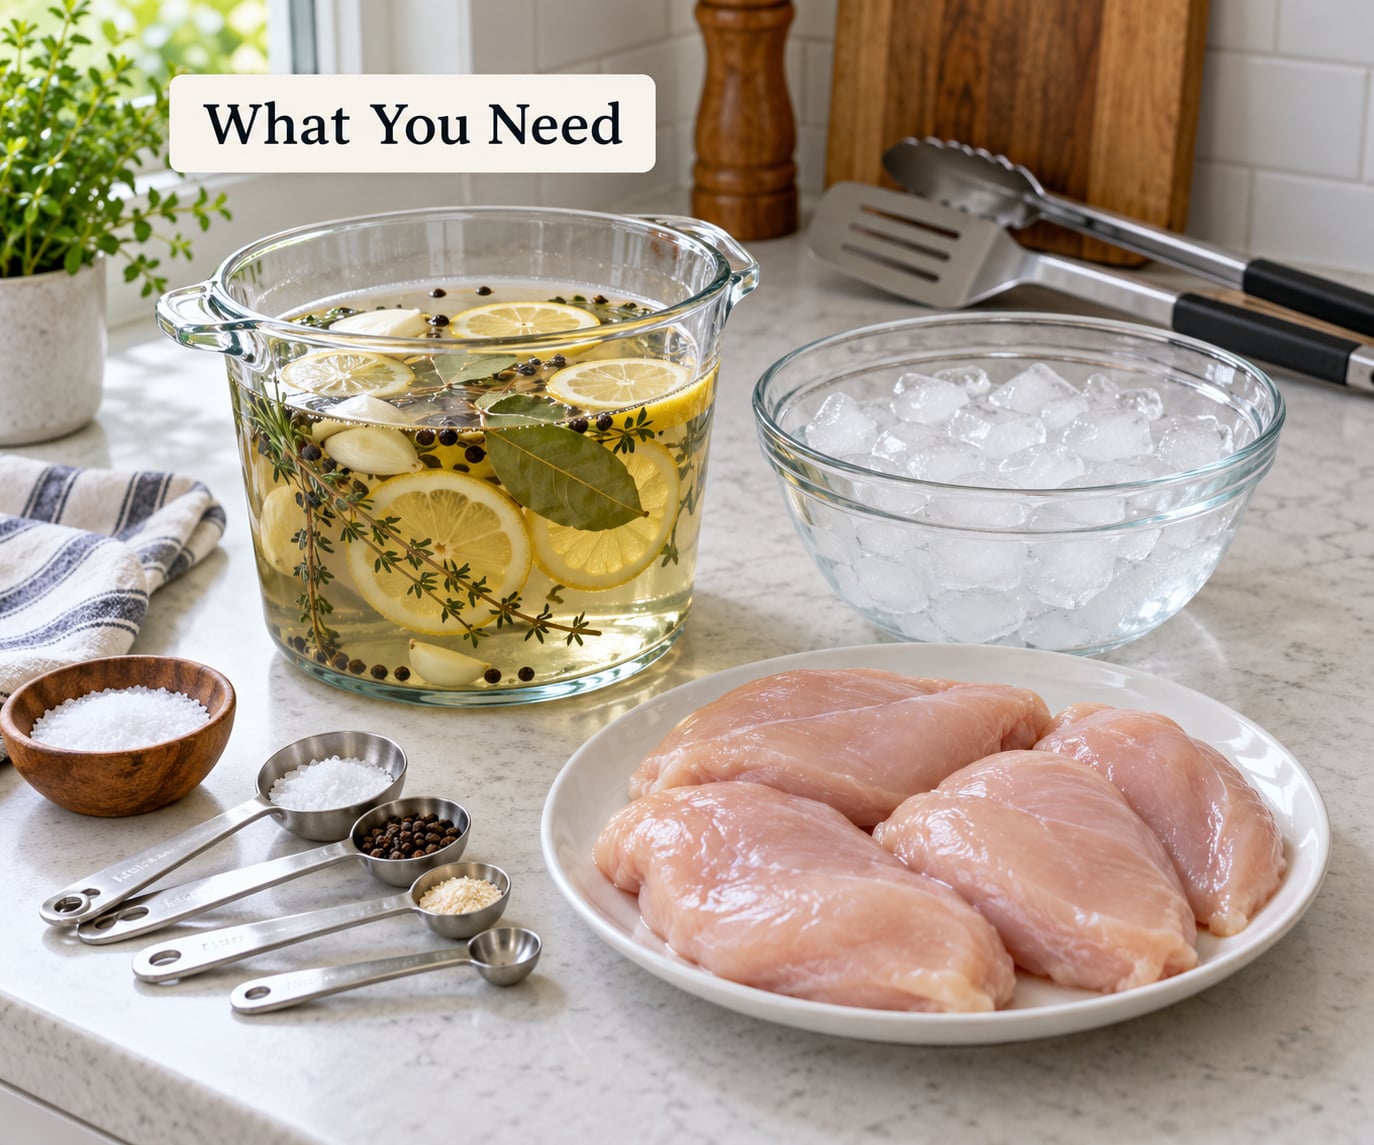
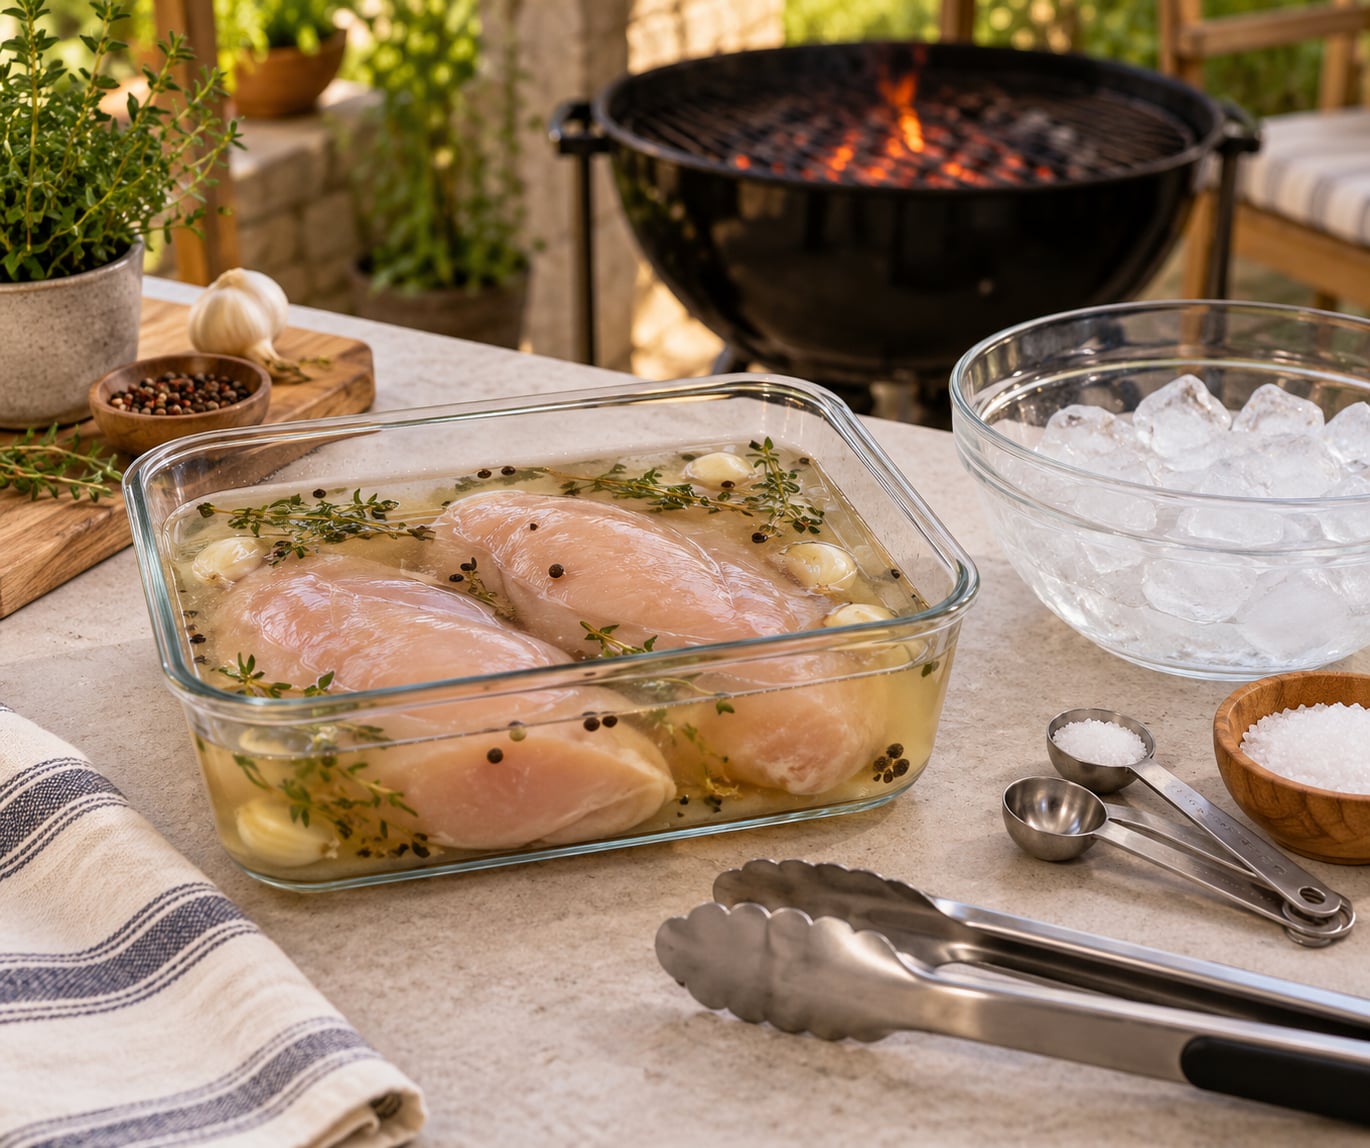
For the base brine you need four cups of cold water, a quarter cup of kosher salt and a quarter cup of granulated sugar. That is a salinity of roughly 6 percent, or about 60 grams of salt per liter of water, which sits in the range that seasons through without turning the meat into a salt block.
Use kosher salt or another coarse-grain salt. Table salt packs twice as densely by volume, so a quarter cup of it is roughly twice as salty as a quarter cup of Diamond Crystal or Morton kosher salt. If table salt is all you have, use about two tablespoons in place of the quarter cup.
The sugar is not decoration. It balances the salt, and it browns on the grill, which is the closest a home cook gets to restaurant-level char. Brown sugar works too, and honey dissolves fine if you warm the water a little first.
Beyond the base, you want a container that seals or a resealable plastic bag big enough for the chicken to lie flat, a large bowl or pot for mixing, tongs, and an instant-read thermometer you trust more than your cut of the chicken.
Aromatics are optional and easy: two crushed garlic cloves, a few peppercorns, a bay leaf, a sprig of rosemary or thyme, or the zest of one lemon. Save your favorite rub for after the brine, not in it. Salt in the brine plus salt in the rub is how a beginner accidentally oversalts dinner.
As for the chicken itself, brine the lean cuts and skip the fatty ones. Boneless skinless breasts, cutlets, bone-in breasts, thighs and drumsticks all benefit. Skin-on and already-fatty parts need less time and less salt, and I usually skip brining them entirely.
Step-by-Step
1. Choose the Right Chicken
Brine penetration depends on thickness, not weight. A pound of chicken cut into thin cutlets takes on brine in about an hour, while a whole double breast sitting in the same bath may need eight. The thicker the piece, the longer it needs, and the more it can absorb.
Boneless skinless breasts are the strongest case for brining, because they have almost no internal fat and lose water fast. Thighs and drumsticks are more forgiving and mostly need the brine for seasoning. Whole birds need a long, cool soak, and spatchcocked birds cook faster and take on the flavor in less time than their rolled-up counterparts.
Trim the chicken before it goes in. Excess fat floats to the surface and can leave an oily film on the meat, and a loose flap of skin steams instead of chars.
2. Make the Brine
Warm a cup of the water with the salt and sugar until both dissolve, then stir that solution into the remaining cold water. Skipping the warm step is the most common reason people end up with a container of brine that has gritty sugar settled at the bottom.
Add your aromatics now, if you are using them. The chicken should be fully submerged, and if it is not, press it down under something that will not block the lid, or use a second bag and split the brine. Chicken sitting half above the water line brines unevenly and dries out on the exposed side.
Flavor profiles are mostly a matter of the liquid. Swap some of the water for beer, apple juice or pickle juice for sweetness and tang, and keep the salt level steady so you do not lose control of the seasoning.
3. Brine the Chicken Safely
Always refrigerate. Raw chicken sitting in liquid at room temperature is in the bacterial danger zone, and salt does not sterilize anything. Seal the bag or cover the container, put it low in the fridge where it cannot drip onto anything else, and set a timer.
| Cut | Wet brine | Dry brine |
|---|---|---|
| Boneless skinless breast or cutlets | 2 to 4 hours | 4 to 8 hours |
| Bone-in breast | 4 to 6 hours | 6 to 12 hours |
| Thighs | 4 to 8 hours | 6 to 12 hours |
| Drumsticks | 4 to 8 hours | 6 to 12 hours |
| Whole chicken | 8 to 12 hours | 12 to 24 hours |
| Spatchcocked chicken | 6 to 10 hours | 10 to 16 hours |
Twelve hours is a safe ceiling for a whole wet-brine bird, and pieces should stay under eight. That upper limit is the number people most often overshoot, and an over-brined chicken turns springy, rubbery and noticeably salty, which defeats the whole point of soaking it.
Do not double-brine. Most supermarket chicken already carries a brine solution in the packaging, often 10 to 15 percent sodium, and adding your own is how a seasoned cook ends up with a piece no one wants to eat. Check the label, and if it says pre-brined or contains added solution, skip the wet brine and use a dry rub instead.
Used brine gets discarded. Never pour it back over cooked or raw chicken, and never save it for the next batch.
4. Dry and Season the Chicken
Pull the chicken out and rinse it briefly under cold water if you used a salty brine. A light rinse knocks the surface salt back without undoing the seasoning that already moved into the meat. Most cooks skip the rinse and get away with it, but if you brined near the top of the range, rinsing is the safe call.
Pat it dry, thoroughly. This step is the one people skip and the one that costs you the most, because wet skin and a wet rub steam instead of browning, and you will wonder why your brined chicken has no grill marks. A paper towel or a clean towel, a few minutes, and the surface should feel tacky rather than damp.
Now apply your dry rub generously, right up to a thin even coat, and add more pepper and salt if you want. Oil lightly so the rub sticks and releases from the grate, and give the chicken 10 to 15 minutes at room temperature to warm slightly. A cold breast hitting a hot grill is a dry breast waiting to happen.
5. Grill Until Safe and Juicy
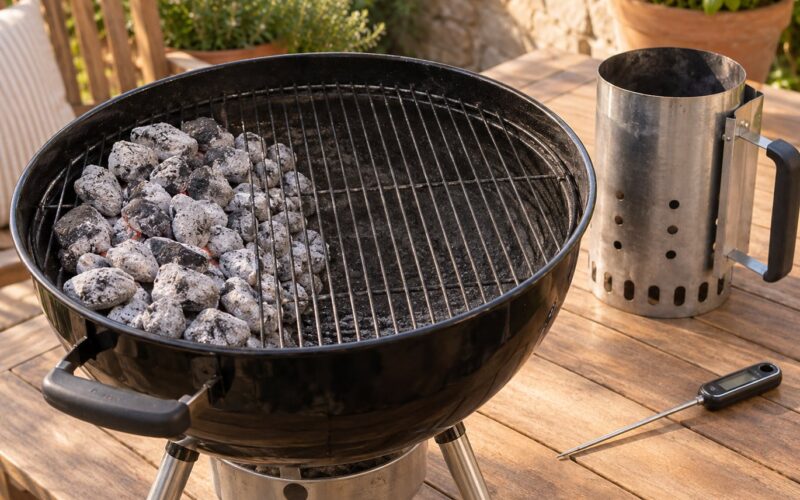
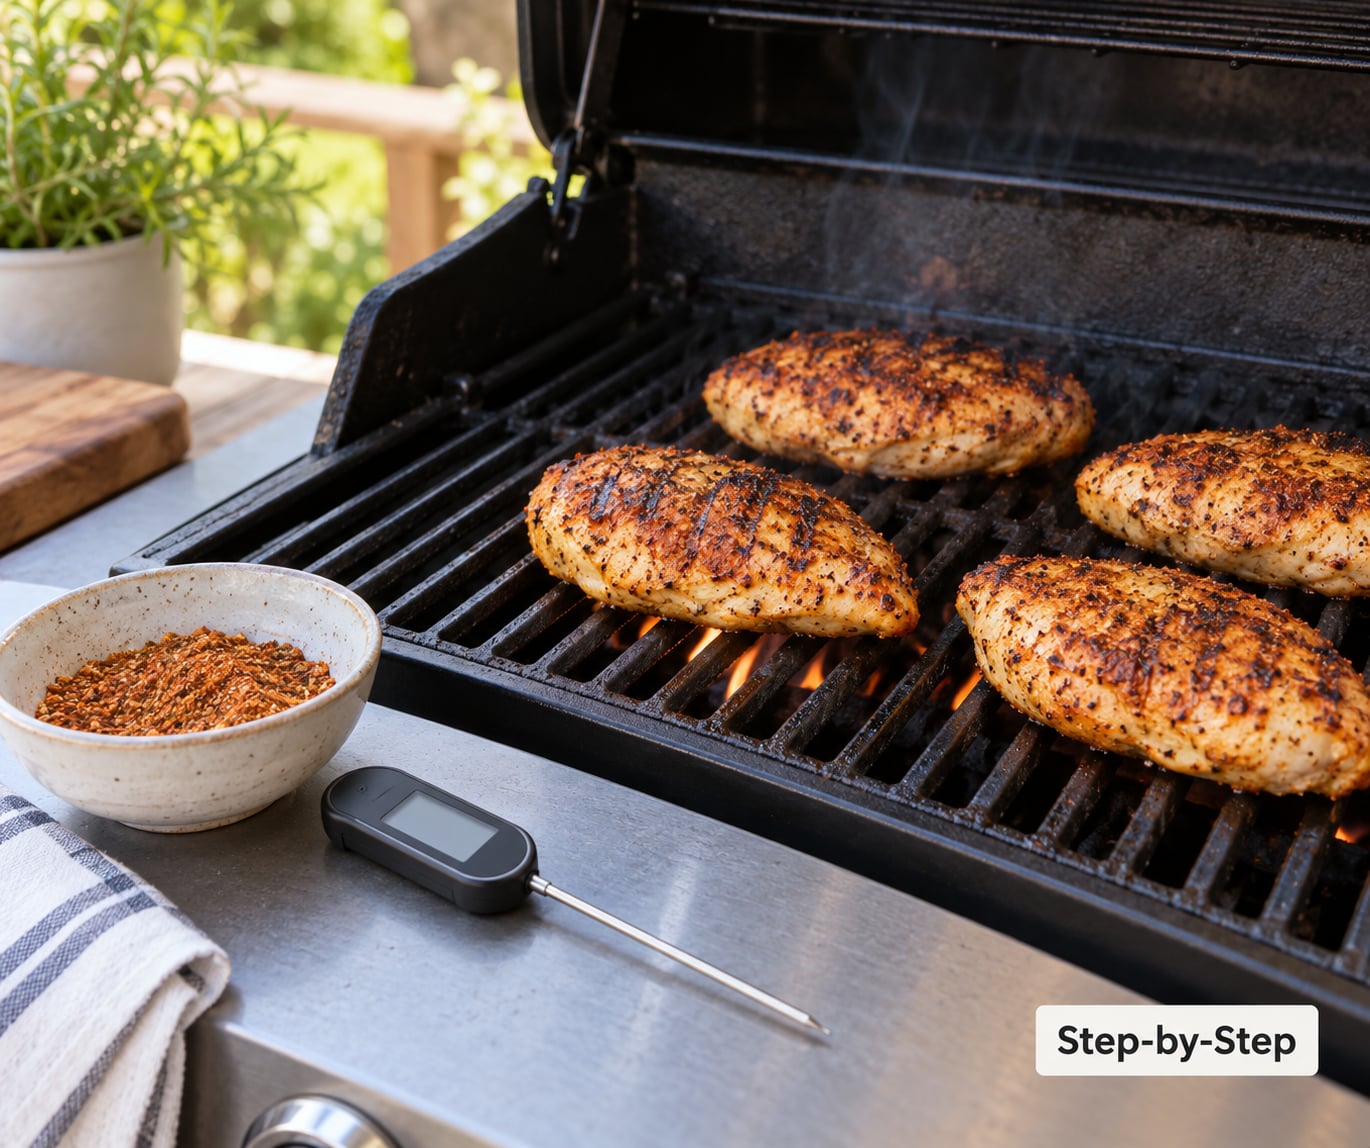
Set up a two-zone fire. Bank the coals to one side and cook the chicken over medium-high direct heat, then move it to the cool side to finish. On a kettle grill, build a fire pit on one half and leave the other half bare; a kettle cooks beautifully, the technique simply transfers.
Boneless breasts take about 5 to 6 minutes per side on direct heat, thighs and drumsticks 20 to 30 minutes total, bone-in breasts 25 to 35 minutes. Those are ranges, not rules, and a chicken that reads 165°F at the thickest part is finished regardless of the clock.
Pull breast off the grill at 160°F and let carryover heat take it the rest of the way to a safe 165°F, which is the USDA minimum internal temperature for poultry. Thighs and drumsticks are better taken to 170 to 175°F for texture. Rest everything 10 minutes under loose foil before slicing, or you will squeeze the juice out of it on the board.
Common Mistakes
- Too much salt in the brine. A quarter cup of kosher salt per four cups of water is the standard. Table salt needs about half that volume. If you overshoot, the fix is dilution: rinse the chicken well and serve it with unsalted sides rather than trying to brine it out again.
- Brining too long. Chicken pieces past 8 hours in a wet brine turn springy and dense, and whole birds past 12 hours go properly salty. Set a timer. The table above is a ceiling, not a suggestion.
- Not covering the chicken. Any part above the water line stays unseasoned and dries out. Weight it down or split the batch across two bags.
- Skipping the drying step. A wet surface never browns. Pat dry, rub, rest 10 minutes, then cook.
- Grilling over one screaming zone. Direct, ripping heat scorches the outside before the center cooks, and brined chicken is more prone to this because of the sugar. Cook over medium-high, then move to indirect heat to finish.
- Guessing at doneness without a thermometer. Cutting into a brined breast early releases the juice you spent eight hours protecting. Probe the thickest part instead, and pull breast at 160°F.
One more worth naming: brining does not fix heat control. A brined breast that is torched outside and raw inside is a brining problem only in appearance. The brine widens your margin, and technique is what spends it.
Frequently Asked Questions
Is a brine the same as a marinade?
No. A marinade is mostly oil, acid and spices, and it seasons the surface in minutes. A brine is salt water, and salt works through the meat over hours, changing how the muscle proteins hold moisture. That difference is why a ten-minute marinade cannot produce the same result as a four-hour brine, and why brined chicken is worth the fridge space.
How long can chicken sit in brine?
Boneless breasts take 2 to 4 hours, bone-in breasts 4 to 6 hours, thighs and drumsticks 4 to 8 hours, and a whole chicken 8 to 12 hours. Treat those as maximums rather than minimums. Wet brines past about 12 hours on a whole bird, or past 8 on pieces, start turning the texture springy and the seasoning harsh.
Can you brine frozen chicken?
You can, but thaw it first if you can. Salt water and a hard frozen surface do not mix well, and the brine freezes around the outside while the center stays solid. For a same-day cook, thaw in the refrigerator the night before and brine the next morning. Never thaw chicken on the counter, and never brine it in the same liquid you thawed it in.
What if the chicken comes out too salty?
Rinse the pieces under cold running water for a few seconds, then taste a small piece before serving. A quick brine leaves most of the salt on the surface, so a rinse recovers most of it. If it is still too salty, serve it with unsalted sides, and next time cut your brine to two tablespoons of kosher salt per four cups of water and shorten the soak by an hour.
Should I refrigerate chicken while it brines?
Always. Refrigerate in a sealed bag or covered container, keep it below 40°F, and discard the brine afterward rather than reusing it. Room-temperature brining leaves raw poultry sitting in the bacterial danger zone for hours, and salt does not kill bacteria. If you are brining overnight, the fridge is the whole method.
Do restaurants make grilled chicken tender with brine?
Restaurants get tender chicken from several places at once, and a brine is only one of them. They also brine, but they combine it with even thickness, a hot pan or grill sear, butter basting, and resting time before slicing. The honest answer is that brining matters most for lean cuts like chicken breast, where technique and brining are partners rather than substitutes.
Conclusion
Start by mixing four cups of cold water with a quarter cup of kosher salt and a quarter cup of sugar, dissolving both before you add the chicken. Submerge the pieces completely, seal the container, and put it in the fridge for the time your cut calls for: 2 to 4 hours for boneless breasts, up to 8 for pieces, up to 12 for a whole bird.
Then rinse if the brine was on the strong side, pat the chicken dry, apply your rub, and grill over medium-high heat, moving it to indirect heat to finish. Pull boneless breast at 160°F and let carryover cooking carry it to 165°F, rest 10 minutes, and slice. That is the whole method, and it is the difference between chicken that survives the grill and chicken people ask about.