Learning how to grill the perfect steak at home is mostly about heat and timing, not technique that takes years to master. Sear the cut for 2 to 4 minutes a side over direct heat to build a crust, move it to the cooler side of the grill to finish to temperature, and rest it 5 to 10 minutes before you cut it. The whole cook takes about 20 minutes, and the only tool that really matters is an instant-read thermometer.
The method in four steps
- Prep and season (40 to 60 minutes before): use a 1 to 1.5 inch thick steak at an even thickness, season generously with coarse salt, then let it sit uncovered in the fridge and pat the surface completely dry.
- Build a two-zone fire: preheat a gas or charcoal grill to 450 to 550F, push all the coals or burners to one side, and brush the grates with a high smoke point oil.
- Sear, then finish to temperature: lay the steak on the hot side undisturbed for 2 to 4 minutes, flip once, then move it to the indirect side with the lid closed and cook until a thermometer reads your pull temperature.
- Rest and slice: rest 5 to 10 minutes depending on thickness, slice against the grain, and serve right away.
Table of Contents
- What You Need
- Step-by-Step: How to Grill the Perfect Steak at Home
- 1. Choose and Prepare the Steak
- 2. Season the Steak Just Before Grilling
- 3. Set Up a Hot, Clean Grill
- 4. Sear and Cook to the Right Doneness
- How to grill the perfect steak at home: doneness and timing
- 5. Rest the Steak
- 6. Slice and Serve the Steak
- Common Mistakes
- Frequently Asked Questions
- Should I oil a steak before grilling it?
- What temperature should I grill a steak at on a gas or charcoal grill?
- Can I marinate a steak before grilling it?
- Does reverse searing produce the best steak at home?
- How thick should a steak be for grilling?
- Start With a Hot Grill and a Thermometer
What You Need
Ribeye and New York strip are the easiest places to start. Both carry enough fat to stay juicy over high heat, and both take a crust well. Sirloin is leaner and more affordable, so it rewards a slightly earlier pull. Filet mignon cooks fast and forgives a lot, but it rarely crusts as hard because there is no fat cap to render. Skirt, flank, and hanger steaks are thin and cook in a flash, which means a shorter sear and a sharp knife.
Thickness matters more than grade. A steak that is 1 to 1.5 inches thick cooks evenly on a home grill. Anything under three-quarters inch finishes before the center catches up, and anything over 2 inches needs a gentler approach such as a reverse sear.
The only tool you cannot skip is an instant-read thermometer. Everything else on the list is a convenience.
- Instant-read thermometer with a dial or instant readout
- Long tongs, plus a second pair for moving finished steaks
- Sharp knife and a large cutting board
- Coarse kosher salt and a grinder of black pepper
- High smoke point oil for the grates, such as avocado or canola
- Aluminum foil for a loose tent, and a small dish for finishing butter
Keep the seasoning simple. Coarse kosher salt and cracked black pepper are the entire baseline, and you need more salt than feels comfortable because a surprising amount stays on the grate or falls into the fire. Garlic powder and smoked paprika are the only two additions I would make, and they go on just before the steak hits the grate.
Butter belongs at the end, not the start. Putting butter or olive oil on the steak before a high-heat sear is the fastest way to get a smoke plume, a flare-up, and a bitter crust.
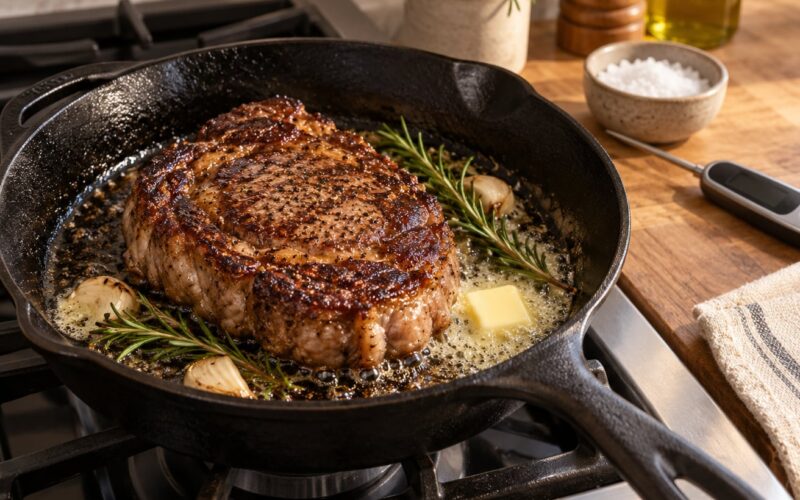
No outdoor grill? A cast-iron or heavy stainless grill pan on a stovetop burner does the same job, and a countertop infrared burner works the same way. Sear in a screaming hot pan for 2 minutes a side, then move the steak to a low oven at 250F to finish to temperature.
Step-by-Step: How to Grill the Perfect Steak at Home
1. Choose and Prepare the Steak
Pick a steak that is close to even thickness across the whole piece. A wedge of ribeye that is 1.5 inches on one end and 1 inch on the other will always cook unevenly, and that unevenness is what produces the raw middle with a burned edge.
Take it out of the fridge 30 to 45 minutes before cooking. A steak straight from the cold center spends most of its time warming up instead of searing, so the outside overcooks before the middle catches up. Seasoned and uncovered in the fridge, it is fine to leave out for up to 2 hours; past that, put it back in the cold.
Pat the surface dry with paper towels until it feels almost tacky. Moisture is the enemy of crust, because the steak has to evaporate its own surface water before the Maillard reaction can start. That is why a wet steak steams, sticks, and browns slowly.
2. Season the Steak Just Before Grilling
Salt 40 to 60 minutes before grilling, which is long enough for the salt to dissolve into the surface and season all the way through. You can go longer and season up to a day ahead, uncovered on a rack in the fridge, which dries the surface even further. Salting at the exact moment the steak hits the grate mostly just seasons the crust.
For a 1.5 inch steak, roughly a teaspoon of coarse kosher salt per side is a reasonable starting point. Do not be timid about it, and do not try to correct it later by adding more salt at the table.
Black pepper can go on any time, including during the cook. Garlic powder and paprika are fine too, but skip anything sugary, including most barbecue rub mixes and brown sugar blends. Sugar burns on a hot grate and turns the crust acrid rather than savory.
A light wipe of high smoke point oil on the surface right before searing is optional and useful on lean cuts like filet or sirloin. Olive oil is fine at moderate heat, but it smokes and flavors bitter at searing temperatures.
3. Set Up a Hot, Clean Grill
Preheat fully. A grill that is only halfway hot gives you an even, dull brown exterior and no crust at all. On gas, set the burners to high and close the lid for 10 minutes. On charcoal, light a chimney starter, dump the coals into one side of the kettle for a two-zone fire, and let them burn until the coals are ashed over and the lid thermometer reads 400 to 450F.
That lid reading is air temperature. The grate itself is considerably hotter, and a kettle can run hotter than you expect once the ash burns down, so check early and often on your first cook. A full chimney for a single steak is a rookie mistake, since there is nothing else on the grate to absorb the heat.
Once the fire is split, you have a hot side for searing and a cool safe zone for finishing and for moving a steak out of trouble when fat catches fire. Brush the grates with a little oil using a paper towel held in tongs, and leave the steak itself dry. Oil the grates, not the meat.
Keep the lid open for the sear so the top of the steak still sees heat and browning, then close it for the indirect finish so the center cooks gently. You can also verify heat by flicking a few drops of water onto the grate: they should sizzle and vanish in a second or two, not sit there steaming.
4. Sear and Cook to the Right Doneness
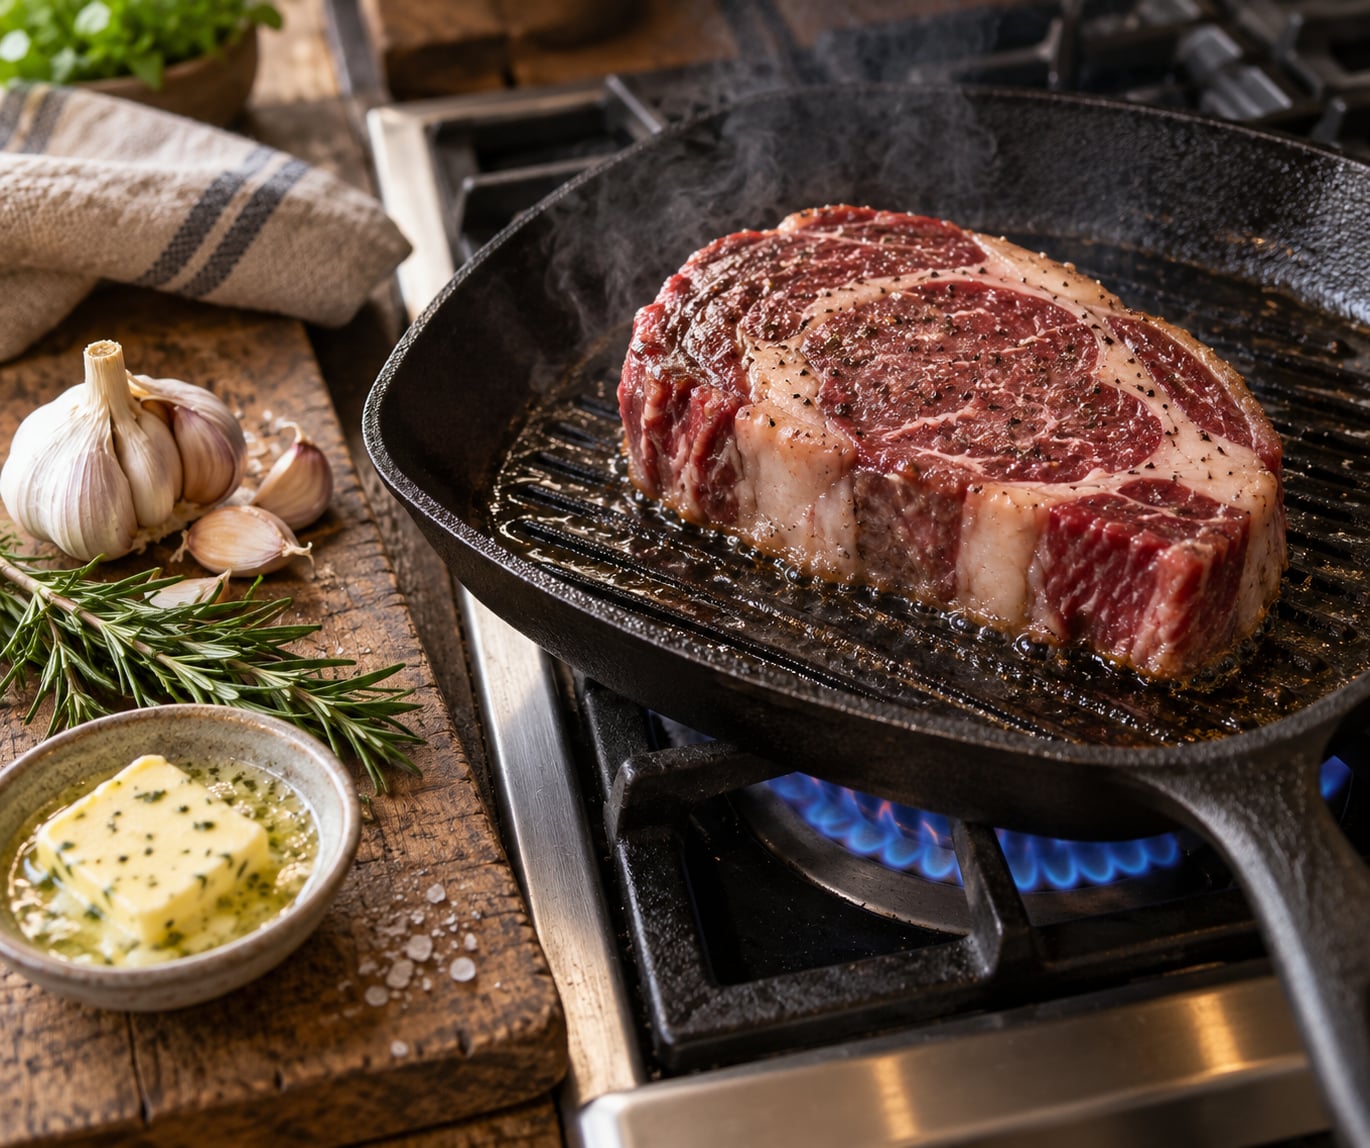
Place the steak on the hot side and leave it alone. Two to four minutes per side gives a crust without burning, and the only movement allowed in that window is one flip. Do not press down with a spatula to make grill marks, and do not shuffle the steak around the grate.
The finger or thumbprint test is a reasonable backup: a rare steak springs back quickly, medium gives a slow rebound, and well-done barely moves at all. It is a starting point, not a finish line, because it cannot tell you the actual temperature.
Use the thermometer. Insert it into the thickest part of the steak from the side, aiming for the center without touching bone, and read it when you decide to check rather than only at the end.
When the crust is set, move the steak to the cool side with the lid closed. Carryover cooking means residual heat keeps pushing the center temperature up as it sits, so a steak pulled at 130F will finish closer to 135F. That is why pull temperature and final temperature are different numbers.
For food safety, USDA guidance puts whole cuts of beef at a minimum internal temperature of 145F (63C) followed by a 3 minute rest. The temperatures below that line are preference, not safety advice, and they only apply to whole intact cuts of beef, never to ground beef or to steak that has been cut up or injected.
How to grill the perfect steak at home: doneness and timing
| Doneness | Pull temperature | Final temperature after resting | What it looks like |
|---|---|---|---|
| Rare | 120 to 125F | 125 to 130F | Deep red center, soft and loose |
| Medium-rare | 125 to 130F | 130 to 135F | Bright red to pink center, firm edges |
| Medium | 135 to 140F | 140 to 145F | Pink center with a gray band |
| Medium well | 145 to 150F | 150 to 155F | Mostly gray, faint trace of pink |
| Well done | 155 to 160F | 160F and up | Uniform gray-brown throughout |
Timings vary with thickness and how hot your fire really is, so treat the clock as a rough guide only. A 1.25 inch steak typically takes 2 to 3 minutes a side to sear and another 4 to 8 minutes on the indirect side. A 2 inch steak wants a longer finish, closer to 10 to 14 minutes. Distance from the coals, the outside temperature, and how well you preheated all move those numbers around, which is the whole argument for the thermometer.
Most home cooks serve medium-rare far more often than rare, and most steakhouse kitchens cook to temperature rather than to a timer. If you want a repeatable result, decide on your final temperature before the steak goes on and pull for it.
5. Rest the Steak
Resting is not about cooking further. It is about letting the muscle fibers relax so the juice stops fleeing the steak the moment you cut it. Slice a steak straight off the grate and the liquid ends up on the board instead of in the meat.
Rest times scale with thickness. Under 1 inch needs about 5 minutes. A 1 to 1.5 inch steak wants 7 to 8 minutes, and a 1.5 to 2 inch steak wants a full 10. A reverse-seared or very thick cut can take 10 to 15 minutes.
Loosely tent with a single sheet of foil, or skip the foil entirely on a cut under 1.5 inches. Wrapping tight traps steam and softens the crust you just built.
6. Slice and Serve the Steak
Cut against the grain. Find the direction the muscle fibers run and slice perpendicular to it, which shortens the fibers and makes the steak taste noticeably more tender and juicier. On a ribeye the grain circles the eye, so cut straight across the steak rather than following the curve. On a New York strip or sirloin it runs in one straight line down the length of the cut.
Tenderloin has almost no grain to speak of, so cutting direction barely matters there. What matters more is not overcooking it, since a filet passes through its window quickly.
Finish the steak while it rests by putting a knob of butter, a spoon of pan drippings, or a quick garlic butter on top. Serve immediately after slicing. A steak that sits sliced on a warm plate for ten minutes gives back the juice you worked to keep in it.
Common Mistakes
- Grilling too cool. Fix: preheat to 450 to 550F and confirm with a lid thermometer or an infrared gun before the steak goes down.
- Flipping constantly. Fix: flip once, at the halfway point of the sear. Every flip restarts the browning clock.
- Pressing with a spatula. Fix: squeeze the steak gently with tongs instead. Pressing squeezes out juice and stalls crust development.
- Salting at the last second. Fix: salt 40 to 60 minutes ahead for seasoning that reaches the center.
- Cutting without resting. Fix: give it 5 to 10 minutes and slice against the grain.
- Crowding the grate. Fix: cook in batches. Steaks touching each other cook by steaming each other, and you lose the sear on the whole batch.
- Judging by color through the crust. Fix: use the thermometer. A well-browned exterior says nothing at all about the center.
- Oiling the steak instead of the grates. Fix: oil the grates, keep the meat dry. A wet surface steams and sticks.
- Ignoring flare-ups. Fix: move the steak to the safe zone rather than waiting it out, then continue cooking it there until temperature.
A gray ring with a raw middle means the outside cooked far ahead of the center. That is a thickness and temperature problem, so fix it by using an even cut, preheating properly, and finishing on indirect heat instead of searing the whole steak over direct flame.
If the steak sticks, the grate was not hot enough or the surface was wet. If it breaks apart when you flip, you flipped too early or too many times. If it tastes like charcoal, the fat dripped and resmoked, which is a sign to move the steak to the safe zone sooner.
Two grill-side habits pay off every time. Keep a small side zone open and clear for the whole cook so you always have somewhere to move a steak, and start checking temperature a few degrees below your target so carryover does not overshoot you.
Frequently Asked Questions
Should I oil a steak before grilling it?
Most steaks do not need it. A dry surface browns better, and any oil on the meat burns or drips and causes flare-ups during the high-heat sear. Oil the grill grates instead using a paper towel held in tongs. A very light wipe of avocado or canola oil on lean cuts such as filet or sirloin is the one exception, and it should go on right before the steak hits the grate.
What temperature should I grill a steak at on a gas or charcoal grill?
Preheat to 450 to 550F for the sear, then use the cool side for the finish. How to grill the perfect steak at home comes down to that split: high direct heat builds the crust, and indirect heat cooks the center without burning the outside. On charcoal, bank the coals to one side and read the lid thermometer at 400 to 450F. Remember that grate temperature runs higher than the reading inside the lid.
Can I marinate a steak before grilling it?
You can, but a heavy marinade works against a good sear. Acidic marinades tenderize the surface, which can turn it mushy and dull the crust after 4 hours or more. For a grilled steak, a short soak of 30 to 60 minutes in oil, garlic, and salt is plenty. Skip sugary marinades and bastes, since sugar burns on a hot grate and tastes bitter long before the steak is done.
Does reverse searing produce the best steak at home?
For anything thicker than 1.5 inches, it is the most forgiving method there is. Cook the steak gently first, either in a 250F oven or over indirect heat, until it is within 10F of your target, then sear it in a screaming hot cast-iron pan or directly over a hot fire for 1 to 2 minutes a side. Thin steaks are better off with a straight sear, since they finish during the crust phase.
How thick should a steak be for grilling?
For most home grills, 1 to 1.5 inches is the sweet spot. That thickness browns in a few minutes and still leaves enough time for the center to reach temperature. Under three-quarters inch finishes before the middle catches up and turns gray, while anything over 2 inches needs a lower-heat finish or a reverse sear. Even thickness matters as much as the measurement, so reject uneven pieces.
Start With a Hot Grill and a Thermometer
Pick an evenly cut steak, 1 to 1.5 inches thick, and let it come to room temperature while it salts. Preheat the grill all the way to 450 to 550F, split the fire into a hot side and a safe zone, and oil the grates rather than the steak.
Sear 2 to 4 minutes a side, flip once, then finish with the lid closed until a thermometer reads your pull temperature. Rest it 5 to 10 minutes and slice against the grain. Those five moves, done the same way every time, are what separate a good steak from a great one.