How to cook steak tips in a skillet: cut sirloin into 1-inch pieces, pat them completely dry, season them, then sear in a cast iron skillet preheated to medium-high with a high-smoke-point oil. Brown them in batches for 3 to 4 minutes total, build a garlic butter sauce in the drippings, and toss the tips back through it for 30 seconds.
That is the whole method. The difference between gray, chewy steak bites and the browned, juicy ones you get at a pub is rarely the recipe. It is a dry surface, a hot pan, room to work, and pulling the meat at a number instead of a guess.
The active work takes about 15 minutes, and most of that is prep. You need one heavy skillet, a pair of tongs, and an instant-read thermometer. If you skip the thermometer, you are cooking on vibes.
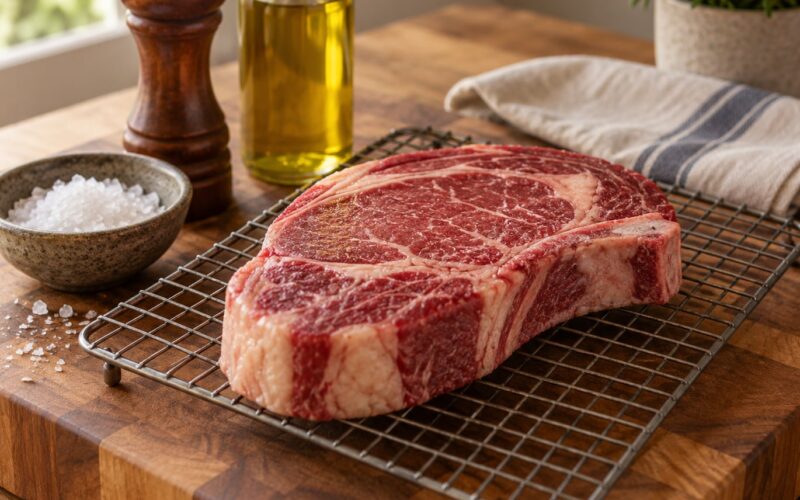
Steak tips are not a special cut. They are the loose-grained muscle from the bottom sirloin butt, also sold as sirloin flap or flap steak, cut into strips or chunks. Because the grain runs loose, they cook in minutes and take seasoning better than a solid sirloin roast, which is exactly why they show up on pub menus and game day tables.
Table of Contents
- What You Need
- Step-by-Step: How to Cook Steak Tips in a Skillet
- 1. Choose and Prepare the Steak Tips
- 2. Sear the Steak Tips in a Hot Skillet
- 3. Turn, Batch, and Check the Doneness
- 4. Rest and Serve the Steak Tips
- Steak Tips Doneness and Timing Table
- Common Mistakes and How to Fix Them
- Which Skillet Should You Use?
- Frequently Asked Questions
- What is the 3-3-3 rule for steak?
- Why are my steak tips chewy even when I cook them rare?
- Should I flip steak tips often or leave them alone?
- Is cast iron or nonstick better for searing steak tips?
- What internal temperature should I pull steak tips at?
- How do I keep cooked steak tips warm without overcooking them?
- Conclusion
What You Need
The pan matters more than anything else on this list. A 10 to 12 inch cast iron skillet or a heavy stainless steel skillet with a thick base holds heat steady, and that steady heat is what gives you a crust instead of a gray ring.
- Steak tips: about 1.5 pounds (680 g) of bottom sirloin, sirloin flap, or pre-cut steak bites. Ribeye tips work too and are more forgiving.
- Heavy skillet: cast iron or tri-ply stainless steel, 10 to 12 inches. A thin nonstick pan loses heat the moment the meat lands in it.
- High smoke point oil: avocado, canola, grapeseed, or vegetable oil. Olive oil is fine for the sauce but smoke points too low for a hard sear.
- Kosher salt and freshly ground black pepper: more salt than feels right, and hold the pepper until the meat hits the pan.
- Tongs and a wide spatula: for turning and for scraping up the browned bits.
- Instant-read thermometer: the single tool that fixes overcooking.
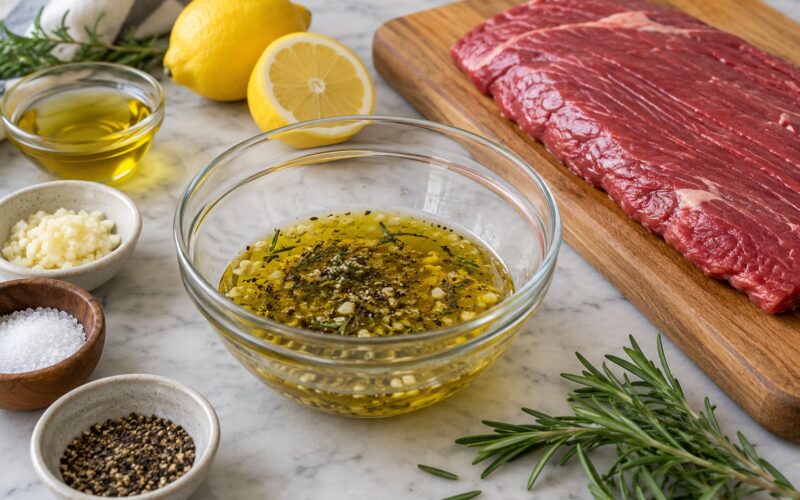
- For the sauce: 2 tablespoons unsalted butter, 3 garlic cloves smashed, 1 to 2 tablespoons Worcestershire sauce, and a splash of water or stock.
No Worcestershire in the house? A teaspoon of soy sauce and a squeeze of lemon do the same job. That is the salt-and-acid half of the sauce, and the pan drippings already supply the rest.
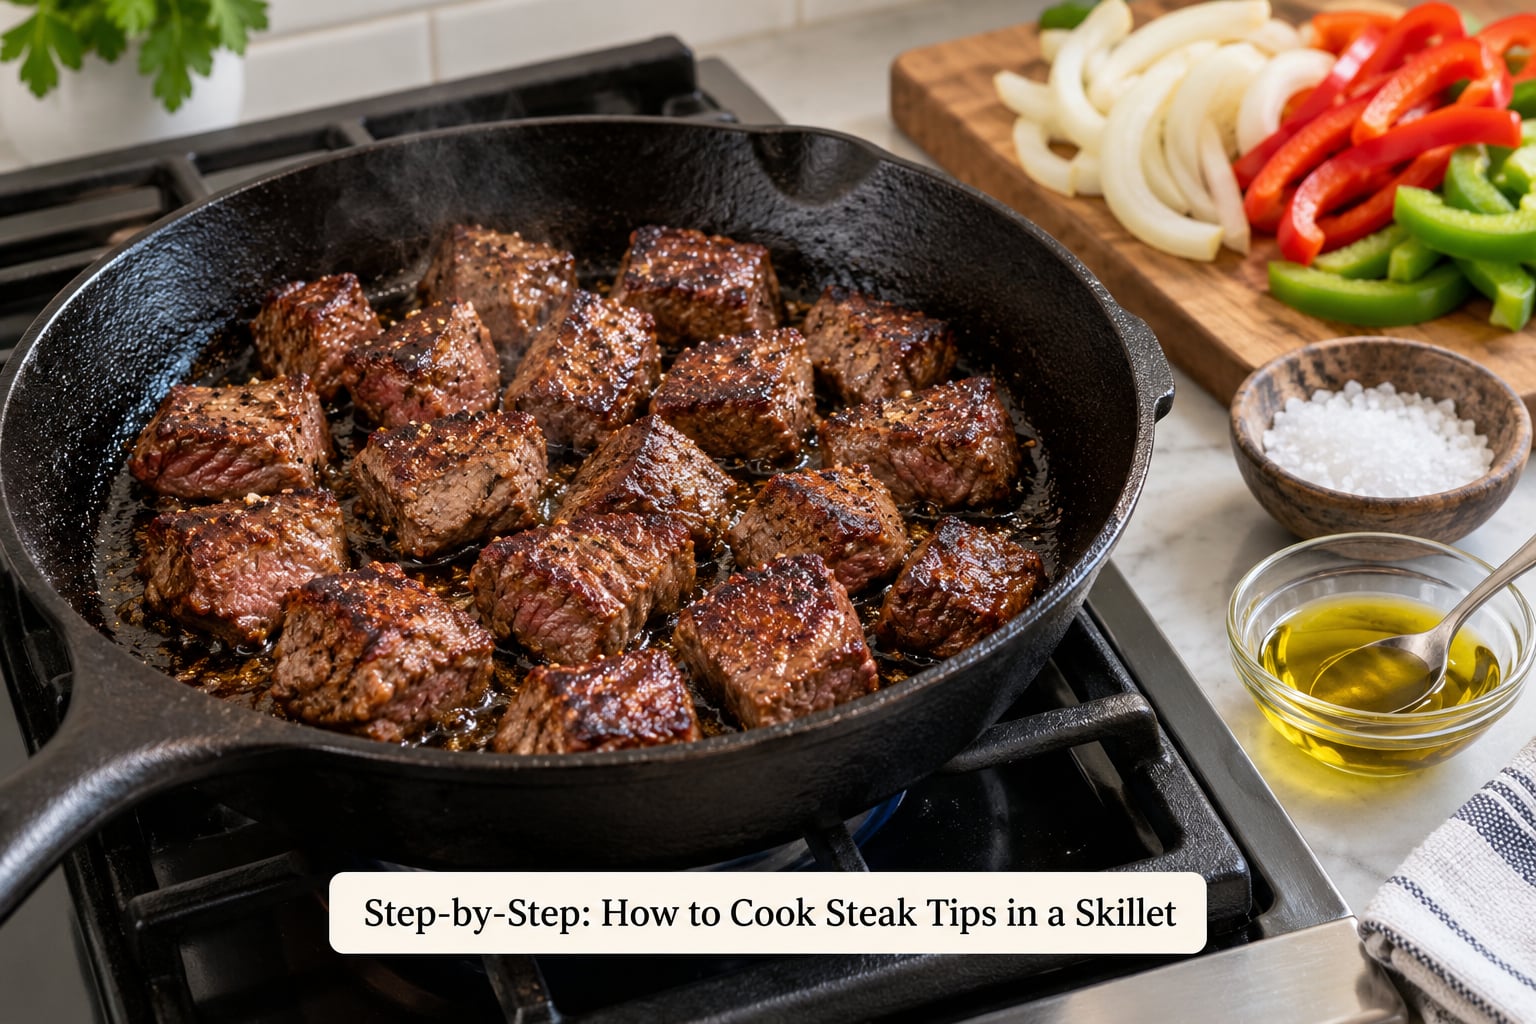
Step-by-Step: How to Cook Steak Tips in a Skillet
1. Choose and Prepare the Steak Tips
Buy strips and cut them yourself when you can. Store-bought cubes are often uneven, and the small odd pieces cook long before the big ones catch up. Cut against the grain into 1 to 1.5 inch pieces, which is the size most recipes and test kitchens settle on.
Next, deal with the silver skin and any thick seam of fat, because connective tissue is the real reason a rare steak tip can still chew tough. It does not soften with rare heat. Trimming it off takes two minutes and removes the problem entirely.
Pat every piece dry with paper towels and do it twice if they are damp. Surface moisture has to boil off before browning can start, and that boiling is what steams the meat and leaves you with a boiled-looking exterior. Dry meat browns much better, and that single step fixes most failed sears.
Season with salt about 40 minutes ahead if you have the time. A short dry brine seasons the deeper muscle and leaves the surface dry enough to crust. Season right before the pan if you do not, and always add pepper after the meat is searing, since pepper burns at high heat.
2. Sear the Steak Tips in a Hot Skillet
Set the skillet over medium-high heat and give it a full three minutes. Add a tablespoon of oil, swirl it around, and wait. When the oil shimmers and the faintest wisp of smoke rises, the pan is ready. Wiping a drop of water across the surface is the fastest visual test: it skates and evaporates in a flash.
Lay the tips down in a single layer, away from you, and do not crowd them. Touch each piece once. You want a space of roughly half an inch between pieces so heat circulates and the underside actually sears.
Leave them alone. The first side needs 2 to 3 uninterrupted minutes to develop a brown crust. Nudging the meat early is how you tear the surface before the Maillard reaction has a chance to set.
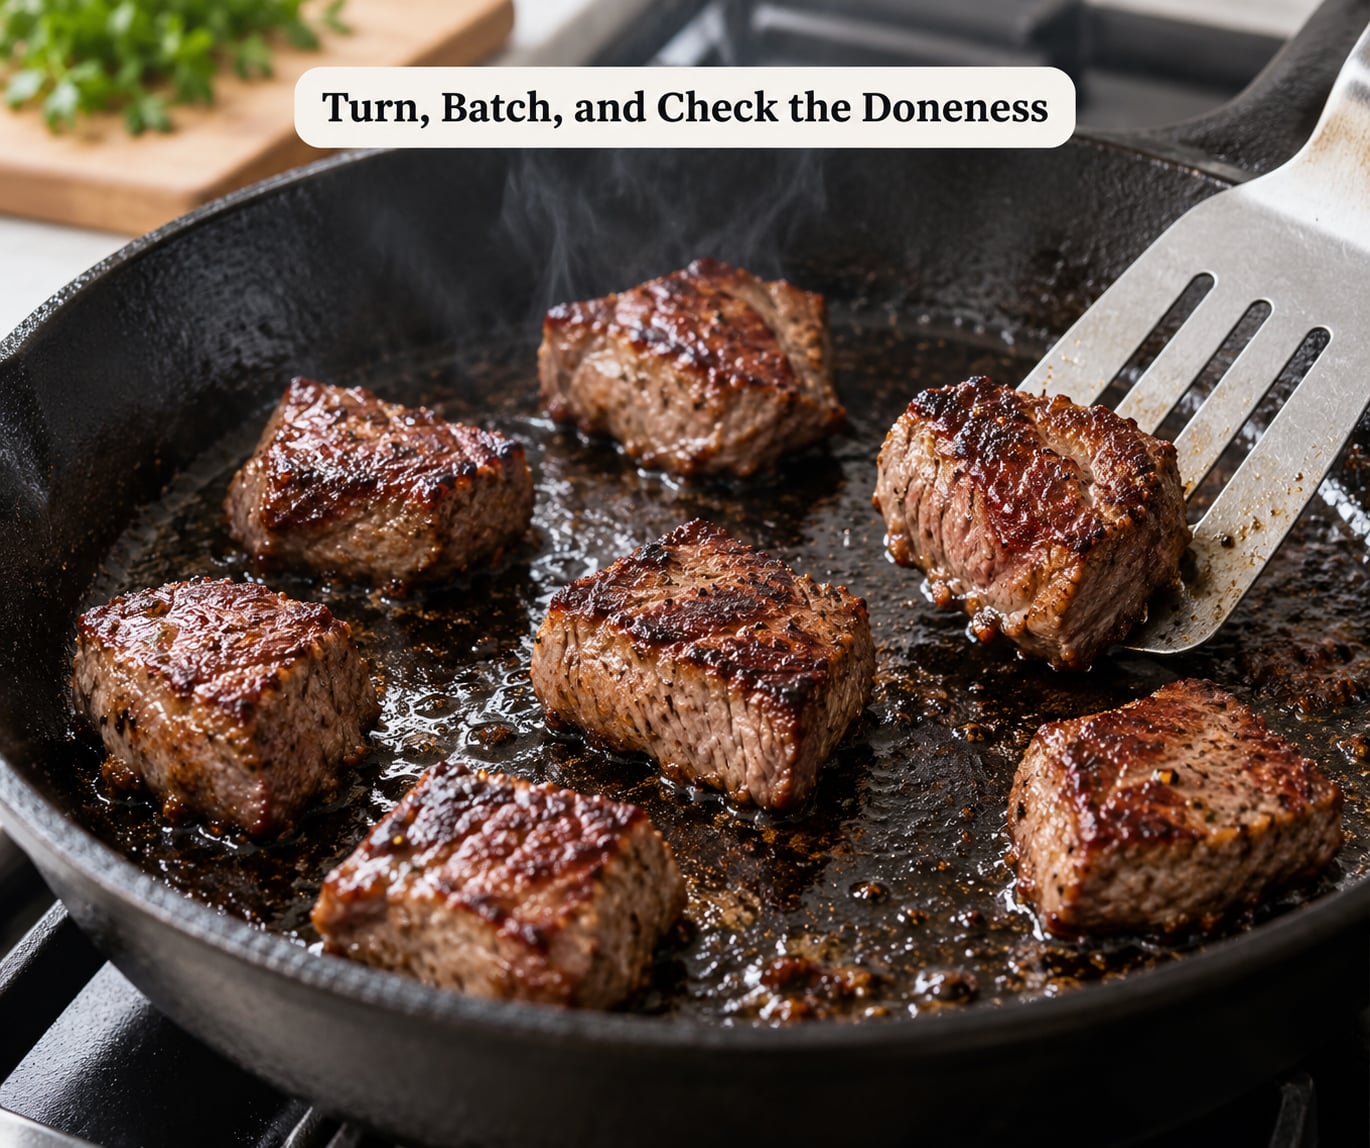
3. Turn, Batch, and Check the Doneness
Turn the pieces with tongs or a wide spatula and give them another 1 to 2 minutes, rotating the pan so the heat distributes. A second pass for 20 to 30 seconds on the cut faces is plenty, since those sides have already taken heat.
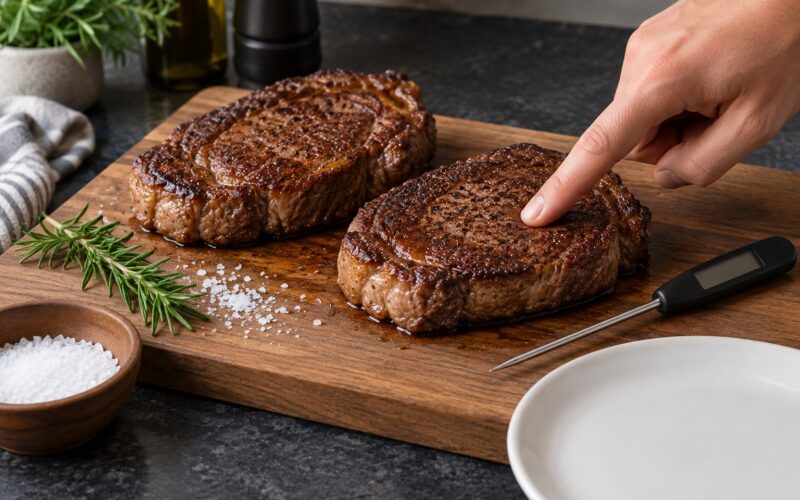
Pull the first batch when a thick piece reads 4 to 6 degrees below your target on the thermometer, because carryover cooking takes the center the rest of the way while the tips sit. Tip-to-tip temperature matters far more than the timer, especially in thin cast iron where a batch can drop 30 degrees in a minute.
Then cook the next batch. Work in batches rather than doubling the pile, and add fresh oil between rounds only if the pan looks dry. A crowded pan drops to a gentle simmer, the meat sweats instead of searing, and the whole batch comes out gray and slowly overcooked.
For a thicker or more premium cut, an oven finish is more reliable: sear 60 to 90 seconds per side to build the crust, then move the skillet into a 400F oven until the thermometer hits your target. That method is called a reverse sear in reverse, and it is the surest way to land an even medium-rare in a 1.5 inch piece.
4. Rest and Serve the Steak Tips
Rest the cooked tips for 5 to 8 minutes on a warm plate, loosely tented with foil. Resting lets the muscle fibers relax and reabsorb what would otherwise run out onto the cutting board, which is the difference between juicy and dry. Do not skip it just because you are in a hurry. It costs almost nothing.
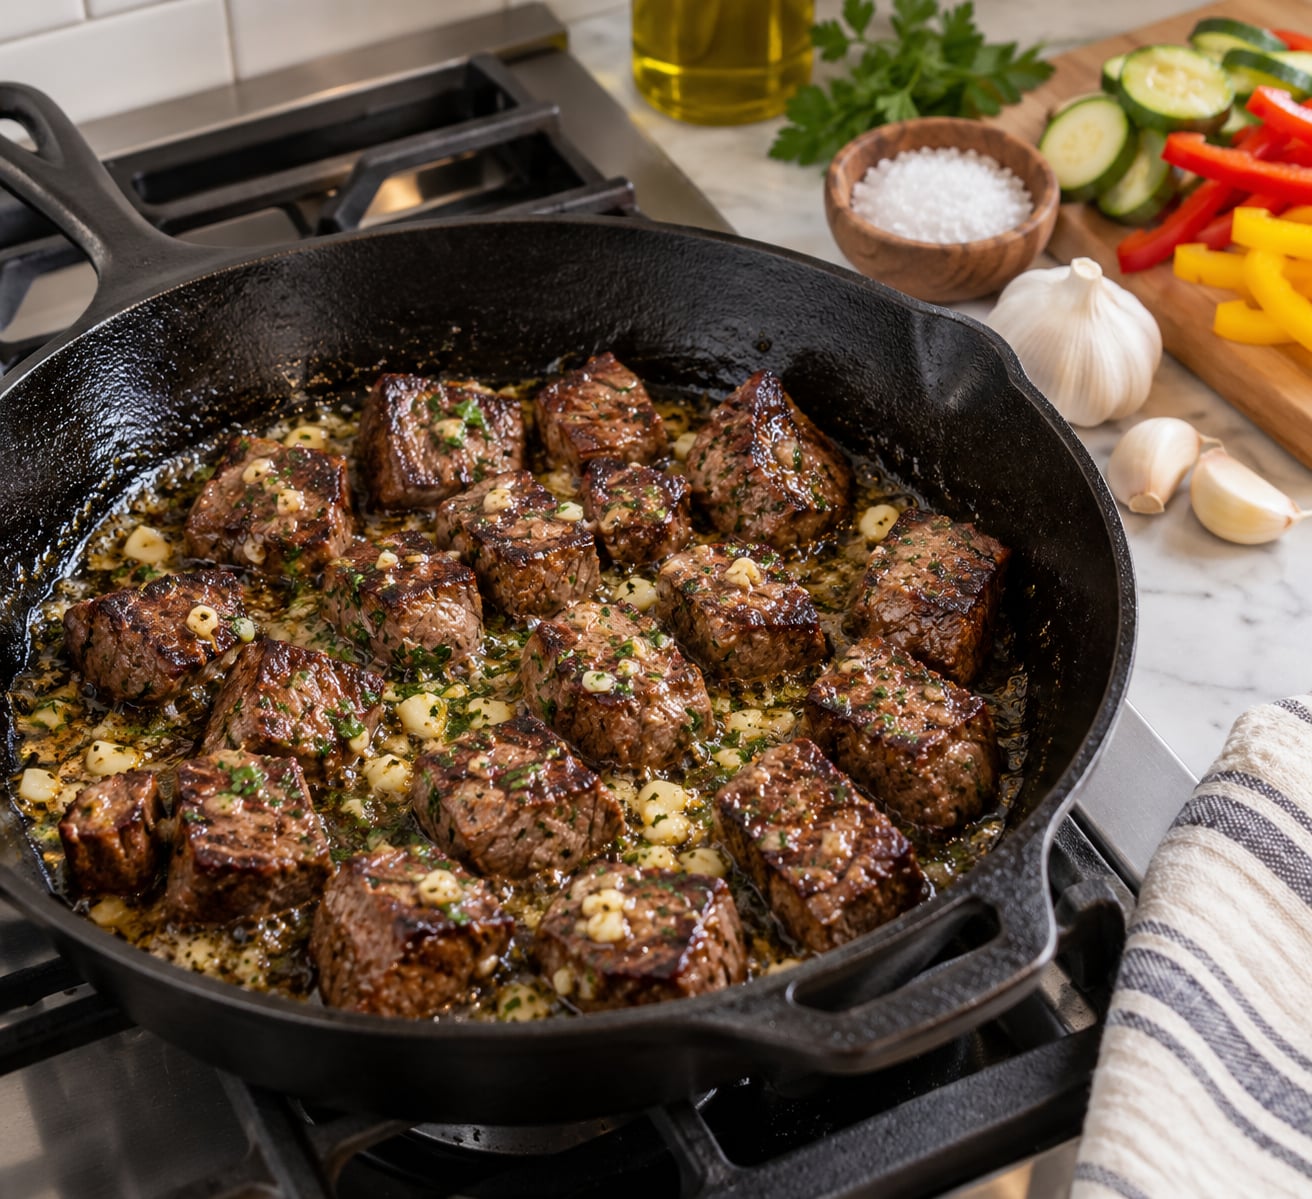
While they rest, build the sauce in the same skillet. Add the butter and smashed garlic to the hot drippings and let them foam for 30 seconds. Pour in the Worcestershire, scrape up the browned fond with a wooden spoon, and add a splash of water or stock.
Let it bubble for a minute until it coats the back of a spoon, then return the tips and toss for 30 seconds so every piece is glossy. Taste and add salt. That sauce is the real seasoning in this dish, and it takes eight minutes start to finish.
For serving, keep it pub-style: pile the tips over fries, spoon them onto rice, tuck them into a roll with cheese and onions, or set them on a board with roasted vegetables and a bowl of sauce for dipping. A cold lager or a dry red with some tannin handles the richness better than anything sweet.
Steak Tips Doneness and Timing Table
Time is a rough guide because piece size and pan thickness change everything. Temperature is not a rough guide. When you cook steak tips in a skillet, measure in the thickest part of a piece, away from the bone, and pull early to account for carryover.
| Doneness | Pull at | Target after rest | Total skillet time |
|---|---|---|---|
| Rare | 120F | 125F | 2 to 3 min |
| Medium-rare | 130F | 135F | 3 to 4 min |
| Medium | 140F | 145F | 4 to 5 min |
| Medium-well | 150F | 155F | 5 to 6 min |
| Well done | 160F | 165F | 6 to 7 min |
For food safety, the USDA recommends cooking whole cuts of beef to an internal temperature of at least 145F and resting three minutes before eating. Most cooks pull steak tips well below that for taste, but if anyone at your table prefers their meat cooked through, the well done column is the one to follow.
Common Mistakes and How to Fix Them
No crust, gray outside. The meat was wet or the pan was not hot enough. Water on the surface boils first and steams, and a lukewarm pan never gets past a gentle simmer. Dry the pieces properly and give the skillet three full minutes.
Sticking. Almost always a temperature problem, not an oil problem. Meat releases from a hot pan naturally; it welds to a cool one. Preheat, add fresh oil, then add meat.
Thin pan that spits and smokes. Adding oil to an empty preheated pan makes it spit because there is nothing else in there. Many cooks prefer to salt the dry tips, add them to the hot dry pan, and add oil around the edges afterward. A thicker skillet solves the same problem more simply.
Constant flipping. Turning every 20 seconds slows the sear and the interior cooks before the crust forms. Two minutes per side beats six turns, though some cooks prefer frequent turns for even cooking of small pieces. Pick one and give the crust time.
Chewy even at medium-rare. Rare heat does not tenderize connective tissue. Cut against the grain and trim silver skin, and cook the pieces only until they are just done.
Slicing straight off the pan. Cutting before resting drains the meat. Five minutes under loose foil is the cheapest insurance in this whole method.
Overcrowding. A skillet should hold about 1.5 pounds of 1-inch tips in a single layer. For a party, cook batches and hold the finished ones in a single layer on a warm platter, not stacked in a bowl, where the bottom pieces steam and go gray.
To cook ahead, sear the meat up to a minute short of your target, spread it on a tray, cover, and refrigerate for up to two days. Reheat in a hot skillet for 60 to 90 seconds per batch, or in a 250F oven until the center reaches 165F. The sauce keeps in a sealed container for three days and reheats in a pan faster than a microwave.
Which Skillet Should You Use?
Any heavy pan will work, but the differences show up fast on a job this hot.
| Pan | Strength | Watch out for |
|---|---|---|
| Cast iron skillet | Holds heat best, browns deepest, takes on seasoning over time | Heavy and slow to preheat, rusts if left wet |
| Tri-ply stainless steel | Even heat, lighter, easy cleanup, excellent crust | Nothing; slightly less browning than cast iron |
| Nonstick | Forgiving for beginners, releases easily | Cannot take the high heat needed for a hard sear |
| Broiler sheet pan | Char on several sides at once | Less fond, so less sauce |
If you only own one, use cast iron or stainless. If you own only nonstick, cook in two batches at medium-high rather than crowding, and accept a lighter crust.
Frequently Asked Questions
What is the 3-3-3 rule for steak?
The 3-3-3 rule is a grill timing rule of thumb: cook the steak for three minutes on the first side, three minutes on the second side, and rest it for three minutes. In a skillet the first side usually needs less time, because the pan is heating the meat from all sides at once. Two to three minutes per side plus a five minute rest gives you a similar result without a grill.
Why are my steak tips chewy even when I cook them rare?
Toughness in steak tips usually comes from connective tissue rather than doneness. Rare heat softens muscle fibers but does not dissolve silver skin, so any remaining connective tissue stays firm no matter how short you cook it. Cut against the grain into even 1 to 1.5 inch pieces, trim away silver skin and thick seams, and keep the pieces to the same size so nothing overcooks waiting for the rest.
Should I flip steak tips often or leave them alone?
Leave them alone for the first side. Two to three uninterrupted minutes is what builds a browned crust; flipping every 20 seconds keeps the surface too wet to sear and cooks the inside ahead of the outside. Turn once, then check temperature rather than appearance. Small pieces benefit from a gentle shake of the pan instead of a flip, which moves them without tearing the crust.
Is cast iron or nonstick better for searing steak tips?
Cast iron or heavy stainless steel wins here. Both hold heat steady at high temperature, which is what browns the tips instead of slowly cooking them. Nonstick is forgiving and easy to clean, but its coating cannot take the heat needed for a hard sear, so the crust comes out pale and thin. If you use nonstick, cook in two batches at medium-high heat.
What internal temperature should I pull steak tips at?
Pull about 4 to 6 degrees below your target, because carryover cooking raises the center while the meat rests. For medium-rare, that means pulling at 130F to reach roughly 135F after resting. Measure in the thickest piece without touching the pan, and remember the USDA minimum for whole cuts of beef is 145F followed by a three minute rest.
How do I keep cooked steak tips warm without overcooking them?
Spread them in a single layer on a warm platter and cover loosely with foil. A pile traps steam, which keeps the crust soft and gently cooks the bottom pieces. If you are holding them for more than 20 minutes, put the platter in a 200F oven. Avoid a tight wrap, which softens the crust, and skip reheating unless you must, since every pass dries the meat further.
Conclusion
Start with the pan. Heat a heavy cast iron or stainless skillet for three full minutes until the oil shimmers, then add dry, evenly cut, salted tips in a single layer. Sear them undisturbed for 2 to 3 minutes, turn once, and pull at 130F for a medium-rare center. Rest five minutes, then toss everything in the garlic butter sauce built in the drippings and serve right away. Once you have cooked steak tips in a skillet this way a couple of times, the timing will feel automatic.