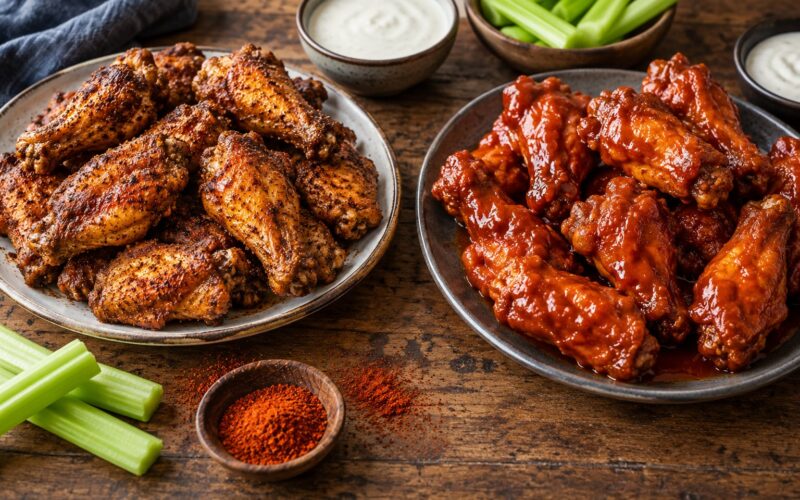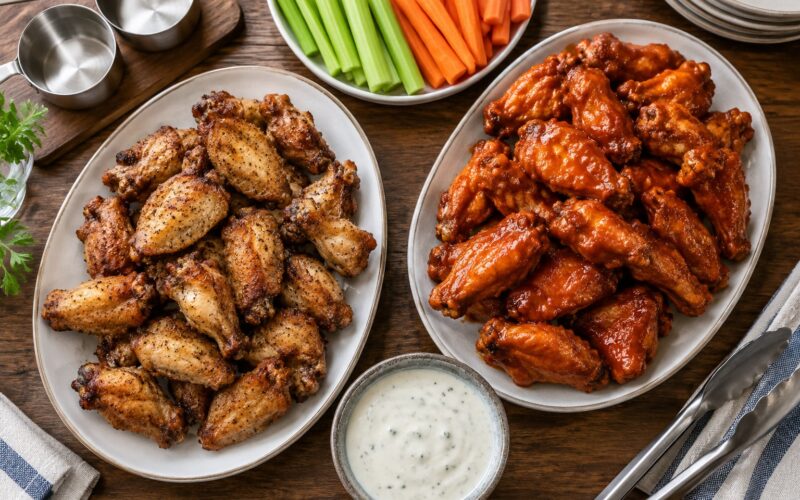
To make crispy baked chicken wings in the oven, pat the wings dry, toss them with aluminum-free baking powder and seasoning, set them skin-side up on a wire rack over a rimmed sheet pan, and bake at 425F for 45 to 50 minutes, turning once or twice. No deep fryer, no oil, about an hour from tray to touchdown.
Most people assume crisp skin means hot oil. It doesn’t. It means dry skin, moving air underneath it, and enough heat to drive the last of the moisture off.
Baking gets you there with a fraction of the mess, and the finished wings taste like the ones from a bar because the skin genuinely blisters. A full sheet goes in the oven at 425F, and you can watch the texture turn in about 40 minutes.
Table of Contents
- What You Need
- How to Make Crispy Baked Chicken Wings in the Oven: Step-by-Step
- Prepare and Dry the Wings
- Season the Wings
- Bake Until the Skin Is Crispy
- Add Sauce or Finish and Serve
- Common Mistakes
- Frequently Asked Questions
- Should I cover my chicken wings when I bake them in the oven?
- What is better for crispy wings, baking powder or cornstarch?
- Is it better to bake chicken wings at 350 or 400?
- Can you put too much baking powder on wings?
- Can I bake frozen chicken wings instead of fresh ones?
- How do I keep baked wings crispy until serving?
- Conclusion
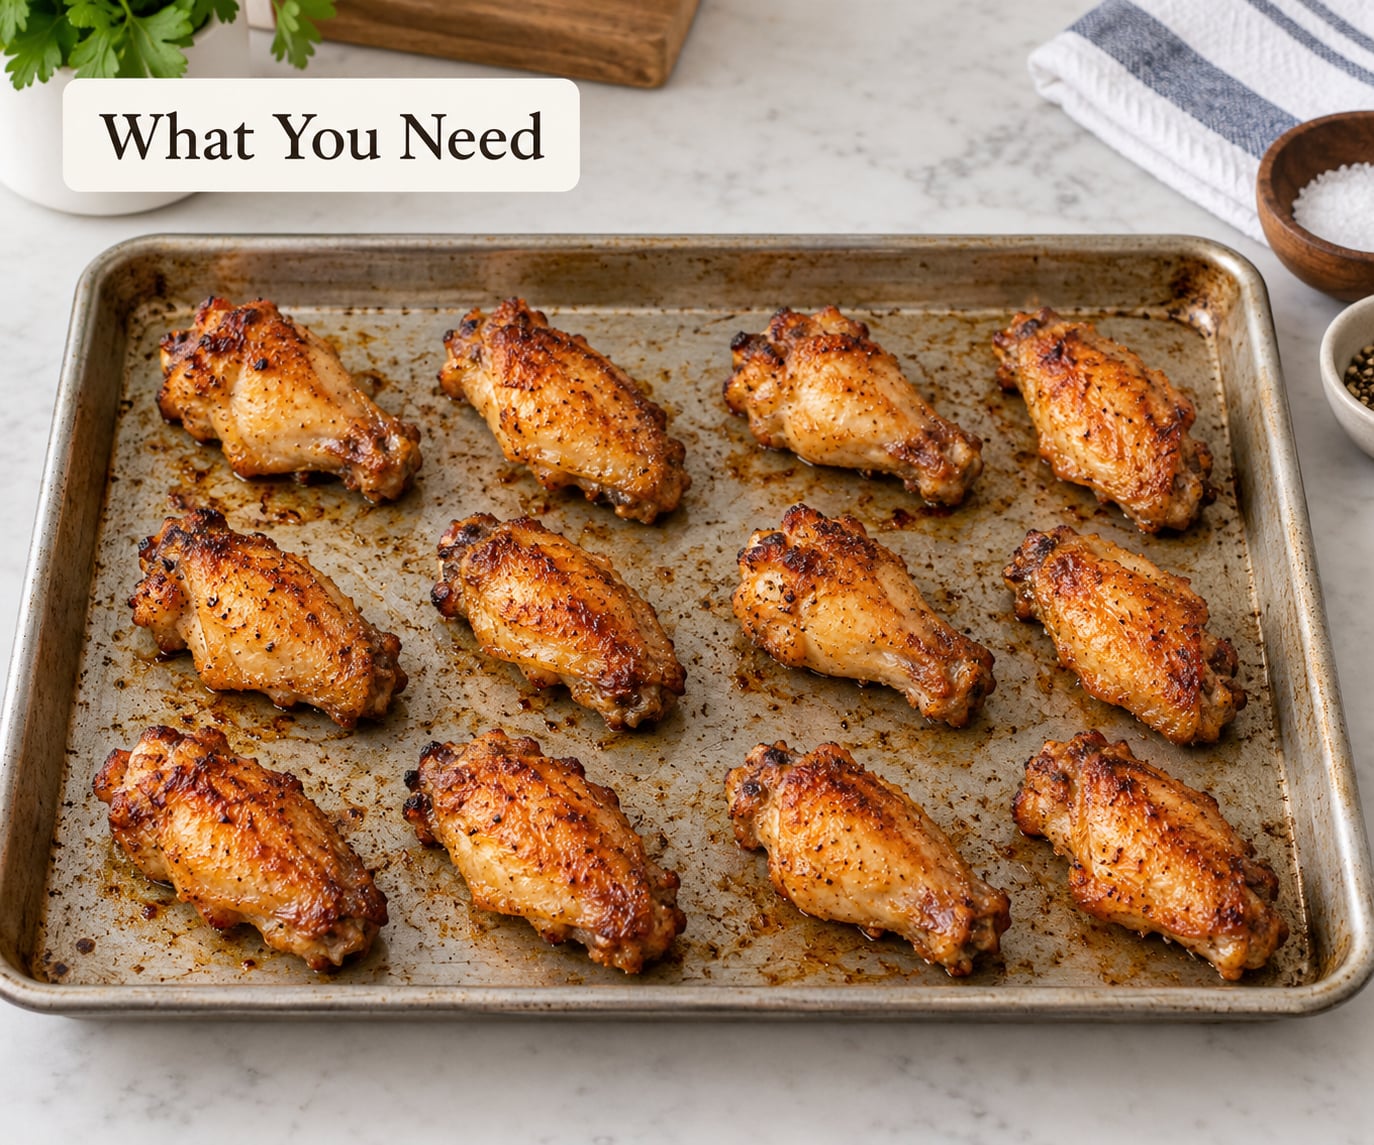
What You Need
The wings are the easy part. A rimmed baking sheet, a wire cooling rack, and a few pantry spices do the rest.
- Chicken wings — about 3 to 4 pounds, which feeds roughly 8 people as a party appetizer. Flats and drumettes work best, and whole wings are fine if you cut them yourself.
- Aluminum-free baking powder — 1 tablespoon per pound of wings. Not baking soda, and not a double-acting powder you can substitute one-for-one.
- Kosher salt — about 1 teaspoon per pound, plus more to taste at the table.
- Black pepper — 1 teaspoon per pound.
- Garlic powder and paprika — 1 teaspoon each per pound. Smoked paprika works if you want a deeper color.
For equipment, a rimmed sheet pan matters more than people expect. The raised edge stops wing fat and juices from pooling under the rack, where they’d turn to steam. Line it with foil or parchment for easier cleanup if you like, but skip cooking spray on the pan itself, since a slick surface encourages sticking.
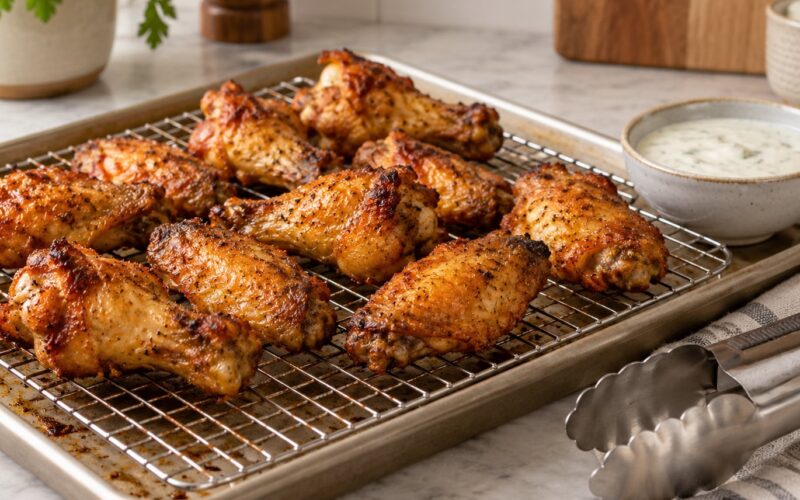
A wire cooling rack set inside the sheet pan is the single biggest upgrade. It lifts the wings an inch off the metal so hot air moves underneath, which is the difference between crispy skin and a rubbery underside.
You’ll also want an instant-read thermometer. Poultry is safe to eat at 165F internal, and wings go pale and underdone long before they look done, so the thermometer settles the argument faster than cutting one open.
How to Make Crispy Baked Chicken Wings in the Oven: Step-by-Step
Prepare and Dry the Wings
Pat every wing dry with paper towels, working over the sink or the counter in case water runs off. This takes two minutes and it decides whether the batch turns out well. Surface moisture turns to steam in a hot oven, and steamed skin never crisps, no matter how long you bake it.
For better results, salt the wings and leave them uncovered in the refrigerator for 4 to 24 hours before baking. The salt draws a little water out of the meat, and the skin reabsorbs some of it, so you get seasoning that reaches deeper and skin that dries further. A rinse isn’t needed, and pat them dry again right before they go on the pan.
If you bought whole wings, cut them into two drumettes and one flat with kitchen shears, or ask the butcher to do it while you wait. Scoring the skin with a sharp knife in two or three shallow slashes per wing is optional, and it gives seasoning somewhere to sit.
Season the Wings
Toss the dry wings with the baking powder, salt, pepper, garlic powder, and paprika in a large bowl until every piece is lightly dusted. Do it with your hands, right down to the crevices, then let the wings sit on the sheet pan for 10 to 15 minutes before they go into the oven.
Seasoning goes on before baking. Buffalo, barbecue, and glaze sauces go on after, because any liquid added early soaks the skin and softens it. That one habit accounts for more soggy wings than anything else.
Here’s how the coating options actually compare, because “baking powder or cornstarch” comes up constantly and the answer depends on what you want:
| Coating | Amount per pound | Result |
|---|---|---|
| Baking powder, aluminum-free | 1 tablespoon | Best all-round crispness and the flavor of the wing stays clean |
| Baking powder plus cornstarch | 1 tablespoon plus 1 teaspoon | Maximum crunch and the most even browning, slightly dryer meat |
| Cornstarch alone | 1 tablespoon | Very crisp, but the powdery coating can taste dusty and it browns faster |
| Baking soda | 1 teaspoon | Not a substitute. It browns the surface before the meat cooks through |
| Flour | 1 tablespoon | Cooks to a dull, floury shell rather than a brittle crunch |
| No coating | Zero | Still good, just softer and more forgiving to eat |
Once the wings are seasoned, keep the flour out of the bowl. A light coat of cornstarch mixed into the baking powder adds snap, but any wet marinade on the skin at this stage undoes all of it.
Bake Until the Skin Is Crispy
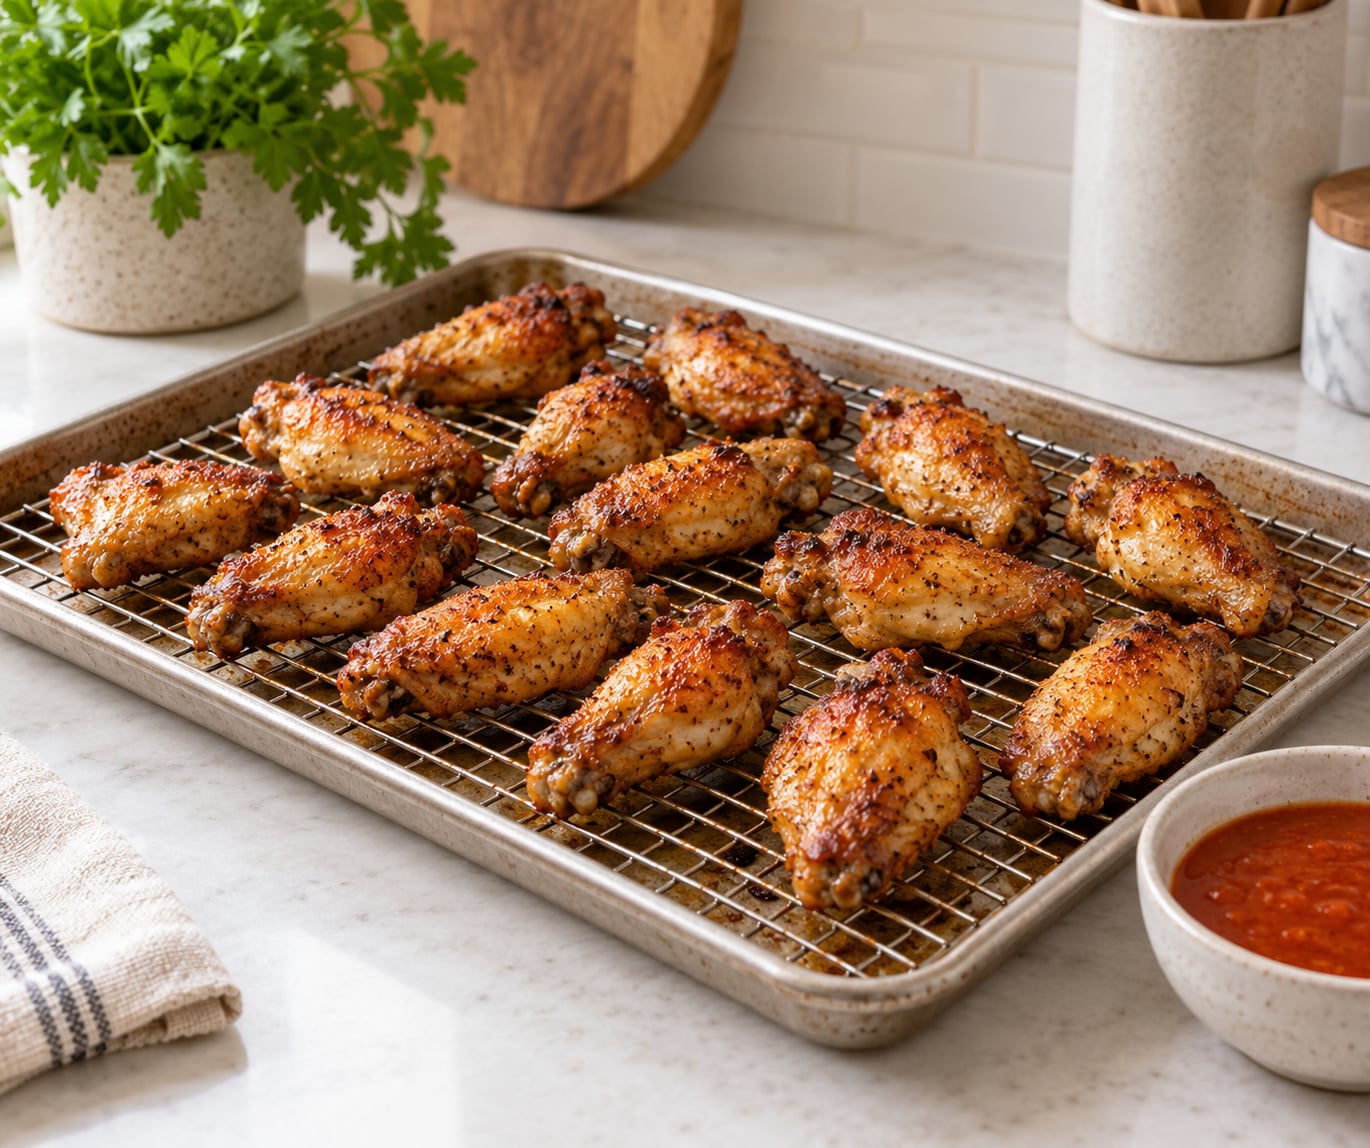
Heat the oven to 425F and set a rack in the upper-middle position, where air circulates without the wings sitting right under the heating element. Arrange the wings skin-side up on the rack with about half an inch between pieces. Touching wings steam each other, and steaming is the opposite of what you want.
Flip the wings at 20 minutes and again at 35 minutes, so both sides brown. Skipping the flips mostly works, though the underside stays paler and the whole batch looks less even.
Bake for 45 to 50 minutes total for party-size flats and drumettes, and up to an hour for large whole wings. Check the thickest piece with a thermometer and pull the tray when it reads 165F, or when the juices run clear and the meat pulls easily from the bone. Let the wings rest for 5 minutes before you sauce them.
Temperature is the one variable people argue about most, so here is the honest comparison:
| Oven temperature | Approximate time | What to expect |
|---|---|---|
| 350F | 60 to 75 minutes | Even, gentle browning, but the skin stays soft and bends rather than cracks |
| 375F | 50 to 65 minutes | Better color, still not enough drive to crisp the skin all the way through |
| 400F | 45 to 55 minutes | Good result for drumettes, workable for flats, browning in patches |
| 425F | 45 to 50 minutes | The sweet spot. Deep golden skin, crisp, meat still juicy, minimal adjustment needed |
| 450F | 30 to 40 minutes | Fastest and crispiest, but check early since the meat can dry out before the skin darkens |
If you use a convection oven, drop the temperature by 25F and start checking at 30 minutes, since moving air browns wings faster. On a conventional oven, give the tray 2 extra minutes under the broiler at the very end, watching it the whole time.
Add Sauce or Finish and Serve
Toss the rested wings with sauce right before they hit the table, and only with enough to coat. A light hand keeps the skin audibly crisp; a heavy pour turns it glossy and soft within a few minutes.
For a quick buffalo sauce, warm half a cup of hot sauce with three tablespoons of butter until the butter melts, then toss. Honey barbecue, honey garlic, lemon pepper, ranch, and blue cheese all work equally well, and each has a different balance to aim for.
Rest wings on a wire rack rather than a plate, so the underside doesn’t steam against a flat surface. Serve with celery, carrot sticks, and a bowl of extra dip, and count on about 25 wings per person when wings are the main event at a party.
Common Mistakes
Nearly every disappointing tray traces back to one of seven things. Each one has a simple fix.
Wet skin. Wings go straight from the packaging into the oven without being dried. Fix: pat them thoroughly with paper towels, and dry-brine them overnight if you have the time.
Crowding the pan. Wings packed shoulder to shoulder trap steam. Fix: leave half an inch of space, and use a second sheet pan in a rotation rather than doubling up.
Low oven temperature. Anything under 400F roasts the wings instead of crisping them. Fix: 425F, and preheat the oven fully before the tray goes in.
Too much baking powder. More than roughly 2 tablespoons per pound leaves a soapy, bitter taste, and the skin can taste chalky. Fix: measure it, don’t free-pour, and use a container you can see the level in.
Aluminum-based baking powder. It works, but a larger amount leaves a sharp, metallic taste that people describe as soapy. Fix: check the label and pick an aluminum-free brand.
Sauce added too early. Tossing wings in sauce before baking, or letting sauced wings sit, softens the skin. Fix: bake plain, rest, then sauce at the last second.
Flipping too often or not at all. Constant handling breaks the skin you’re trying to build. Fix: flip twice, at 20 and 35 minutes, and leave them alone in between.
For game day, cook wings up to a day ahead, cool them uncovered, and refrigerate. Spread them on a rack, not a plate, and reheat in a 350F oven for 10 to 15 minutes, or in an air fryer at 400F for about 6 minutes. The microwave is the one method to avoid, since the skin comes out soft no matter how long you blast it.
Frozen wings work fine. Bake them from frozen at 425F and add 10 to 15 minutes to the total, spreading them out so they don’t touch. Skip the seasoning step for frozen wings, since the surface is already salted.
Frequently Asked Questions
Should I cover my chicken wings when I bake them in the oven?
No. Covering the tray traps steam around the wings, and steam is what keeps skin soft. Bake them uncovered on a wire rack so hot air moves around them. If you want the tops to brown faster without drying out the meat, move the tray under the broiler for the last two minutes and watch it closely.
What is better for crispy wings, baking powder or cornstarch?
Baking powder is the better all-round choice. About 1 tablespoon per pound raises the pH of the skin so it dries and browns at a higher temperature. Cornstarch alone gives extra snap but can taste dusty. Use 1 tablespoon baking powder plus 1 teaspoon cornstarch per pound if you want the crispest result possible.
Is it better to bake chicken wings at 350 or 400?
Neither is ideal. 350F roasts wings and leaves the skin soft, while 400F is decent for drumettes but still shy of what you want. Bake at 425F for 45 to 50 minutes, which gives deep golden skin with the meat still juicy. If your oven runs hot, drop to 400F and check the wings 10 minutes early.
Can you put too much baking powder on wings?
Yes, and it is an easy mistake with a one-pound can. More than about 2 tablespoons per pound leaves a soapy, bitter taste and a chalky skin. Measure the powder rather than pouring it straight from the container, and check that the small amount you use is distributed evenly over every piece before it goes on the pan.
Can I bake frozen chicken wings instead of fresh ones?
Frozen wings work well and often need less seasoning, since they are already salted. Set them on a rack with space between them, bake at 425F, and add 10 to 15 minutes to the total cook time. Check with a thermometer and pull them at 165F internal, with the skin golden and the meat opaque at the thickest point.
How do I keep baked wings crispy until serving?
Keep them on a wire rack rather than a plate, uncovered, so the underside doesn’t steam against something flat. Sauce them only at the last second, and hold sauced wings for no more than 15 minutes. If you need longer, keep them in a single layer in a 200F oven, though the skin softens slightly over time.
Conclusion
The first step is the one that matters most: pat the wings dry. Everything after that is heat and time. Season with about 1 tablespoon of aluminum-free baking powder and 1 teaspoon of kosher salt per pound, spread the wings skin-side up on a wire rack with space between them, and bake at 425F for 45 to 50 minutes, turning at 20 and 35 minutes.
Check the thickest piece and pull the tray at 165F internal rather than trusting the clock alone, since wing size varies more than any recipe card admits. Rest five minutes, then add sauce right before serving, so the skin still cracks under your teeth when the first bite lands.