How to make steak tender without a marinade comes down to three things: salt the steak well ahead of cooking, break the muscle fibers apart gently, and stop cooking at the right temperature. No soaking bowl, no overnight wait, no liquid clinging to your pan. Most of the work is a few minutes of hands-on time plus however long you want to salt ahead.
The reason people reach for a marinade first is that it is the most advertised method. It is also the slowest and the least effective on a thick steak. Liquid only works on the outer inch or so, and the flavor it leaves is often more herb-and-vinegar than beef.
Salt does more than season. It draws moisture out of the surface, and that moisture turns the meat’s own juices into a concentrated brine that soaks back in. Beating the steak separates the long muscle fibers so a knife has shorter strands to cut through. Together those two steps fix most of what people blame on the cut.
What they cannot fix is overcooking, a dull knife, or slicing with the grain. Handle those three and almost any steak lands in tender territory.
Table of Contents
- What You Need
- Step-by-Step
- Choose and Prepare the Right Steak
- Make Steak Tender Without a Marinade by Salting It Ahead
- Break Down Tough Fibers Gently
- Cook to Temperature, Not Just Time
- Rest Before Slicing
- Common Mistakes
- Pounding too hard
- Cutting against the grain
- Salting and cooking immediately
- Holding high heat the whole time
- Skipping the thermometer
- Slicing too soon
- Poking holes with a fork
- Attempting to rescue a badly overcooked steak
- Resting the steak while the oven stays on
- Tips for the Best Results
- Frequently Asked Questions
- Does baking soda make steak tender without a marinade?
- Can oil or Worcestershire sauce tenderize steak when there is no time for a marinade?
- What is the most tender steak cut when I cannot use a marinade?
- Should I pound every steak, or can it make the meat fall apart?
- Is pan-searing or grilling better for tender steak without marinating?
- Conclusion
What You Need
None of this requires special equipment, and each item on this list has one job.
- The steak. Ribeye, sirloin, strip, flank, skirt, flat iron, tri-tip, top round, or chuck. Thicker cuts give you more room to work with thickness.
- Coarse salt. Kosher salt or a coarse sea salt. The crystals dissolve at different rates, and coarse grains season the surface more evenly than fine table salt.
- A tenderizing tool. A meat mallet, a Jaccard needle tenderizer, the flat side of a heavy cleaver, or a wooden rolling pin. A cast iron skillet works in a pinch if you tap it firmly with your palm-side fist.
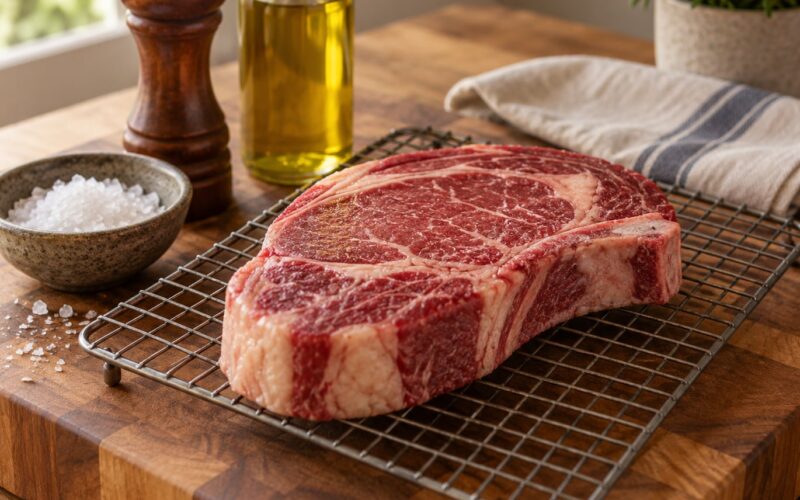
- A heat-safe surface. A wire rack set over a tray or a rimmed baking sheet. A rack keeps air moving under the meat so the bottom does not go soggy or spotty.
- A neutral oil. Enough to prevent sticking on the grill or in the pan. Avocado, canola, or grapeseed all take heat well.
- An instant-read thermometer. This is the single tool that separates tender steak from tough steak. Time is a rough guess; temperature is not.
- Optional finishing extras. Flaky salt, cracked black pepper, garlic, rosemary, butter, or Worcestershire sauce for the last minute. These add flavor, not tenderness.
Step-by-Step
Follow these five steps in order and the steak does most of the improving on its own.
Choose and Prepare the Right Steak
Cut selection sets the ceiling on tenderness, and no technique breaks through that ceiling. Ribeye, tenderloin, filet mignon, strip, and flat iron are naturally tender because their muscles do little work. Flank, skirt, top round, bottom round, and chuck steak are the opposite: heavily used muscles full of connective tissue.
When you can, buy a naturally tender cut and skip straight to salting. When you are working with a tough one, the pounding and slower cooking below become non-negotiable rather than optional.
Trim the exterior fat down to about a quarter inch. That fat is not what makes it tough, but it insulates the steak and stops your crust from browning properly. Cut the steak into serving-size pieces if it is wider than your pan, since an overhang cooks unevenly and the thin part overcooks before the thick part is done.
Let the steak come to room temperature for 20 to 30 minutes before cooking, no more. Leaving raw beef out for hours is a food safety problem, and the tenderness gain from warming a cold steak is small anyway. A slightly cold steak actually sears better because the surface has more margin before it overcooks.
Make Steak Tender Without a Marinade by Salting It Ahead
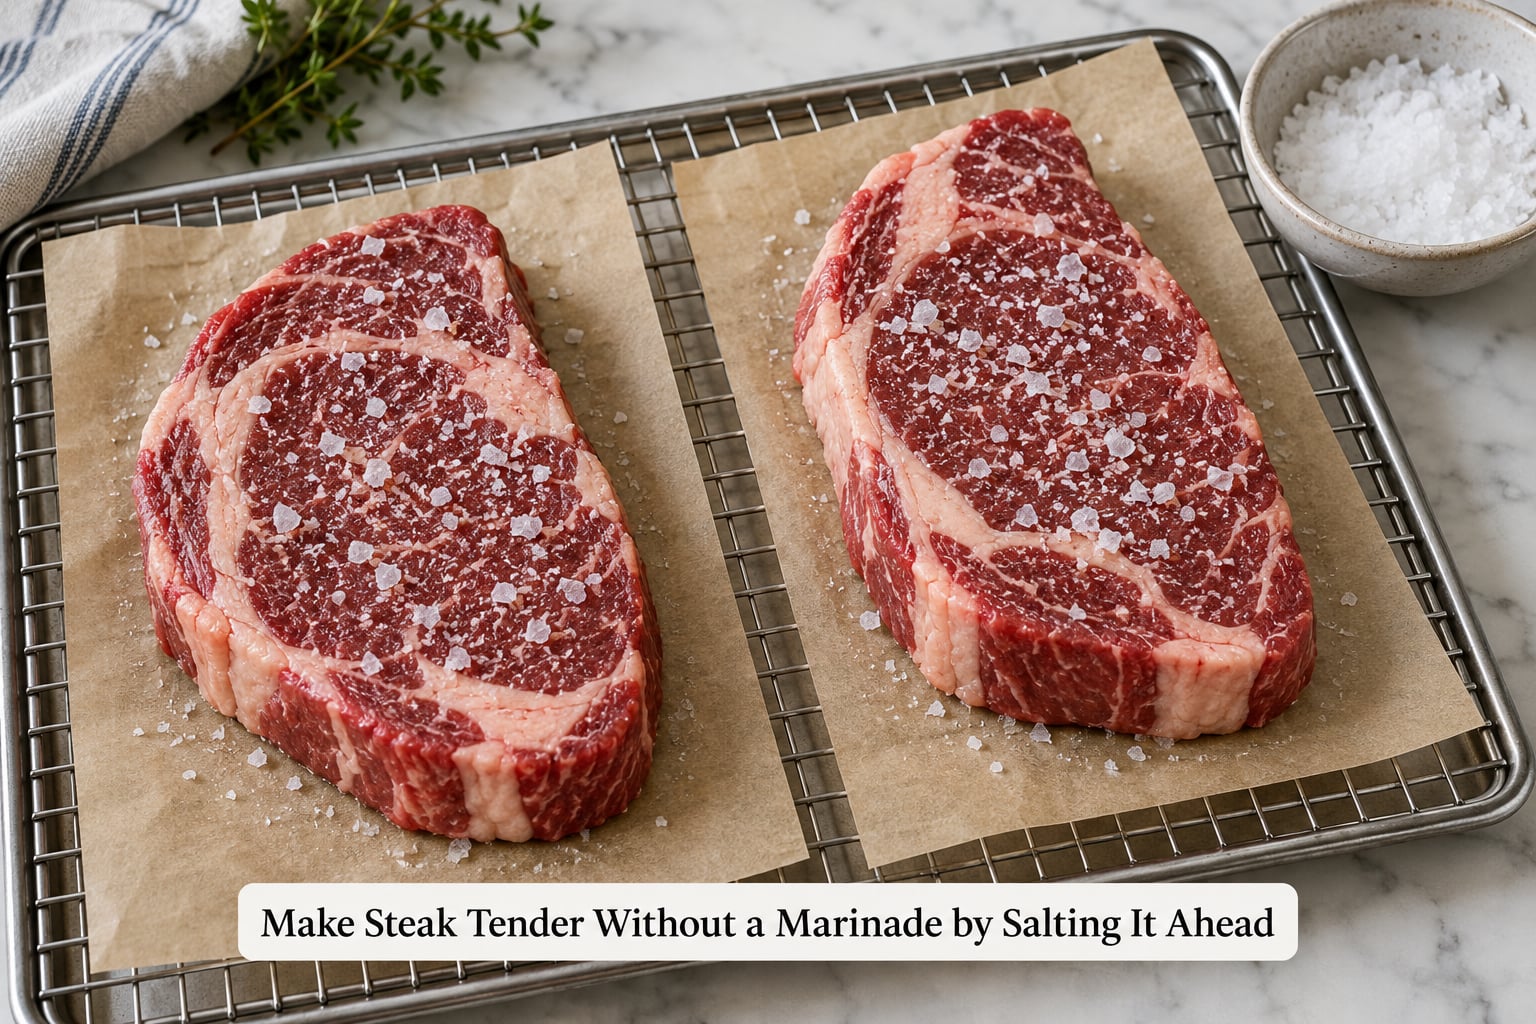
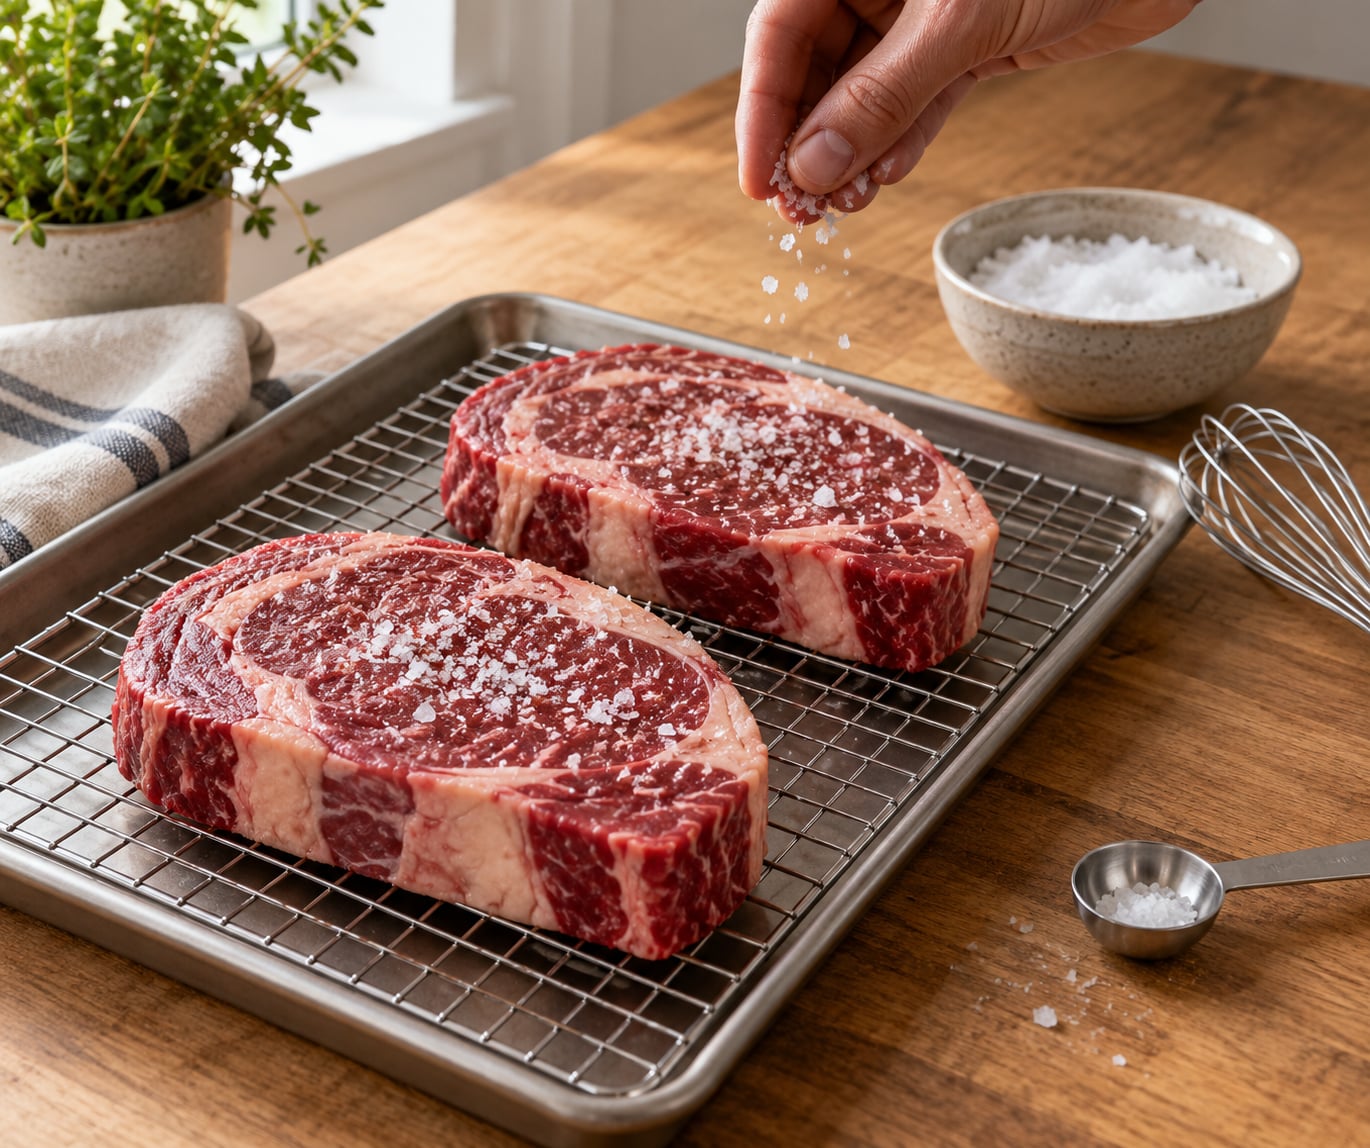
Salt is the single most useful ingredient in this whole process, and it needs time. Generously coat the top, turn the steak, and coat the bottom with kosher or coarse sea salt. Roughly one teaspoon per side per pound of beef is a reasonable starting point.
The waiting time scales with thickness. A steak one inch thick or thinner only needs about one hour. Anything one and a half to two inches wants two to three hours. A thick roast-style cut can sit for six to eight hours in the refrigerator without harm.
Longer is not automatically better. Salt only travels a short distance into the meat on its own, so a 24-hour dry brine still concentrates seasoning in the outer layer rather than seasoning the center evenly. That is why the surface can taste salted while the middle still tastes flat, and why rinsing is not part of this method.
Those same hours do two things a quick rub cannot. The surface dries into a tacky film that sears instead of steams, and the salt relaxes the proteins at the outer edge so the steak cooks more evenly from crust to center.
Keep the steak in the refrigerator for the whole wait, uncovered on the rack. Come back, pat the surface dry if it is wetter than you like, and cook straight away.
Break Down Tough Fibers Gently
Muscle fibers run in long parallel bundles, and that length is exactly what makes a steak stringy when you chew. Cutting across them later shortens them, and pounding does the same thing ahead of time by breaking the connective tissue that holds them together.
Cover the steak with plastic wrap or a sheet of parchment, then hit it with the flat side of a heavy cleaver or the textured face of a mallet. Work from the center outward in overlapping strokes until the whole surface has been covered once. You are aiming for an even thickness of roughly three-quarters inch, not a thin flat disc.
Two mistakes make this go wrong. Hitting too hard in one spot shreds the meat into an uneven pile, and overworking a tender cut like filet mignon destroys a texture that was already fine. Flank, skirt, round, and chuck handle pounding well. Ribeye and tenderloin usually do not need it.
You will know the coverage is right when the surface shows a faint crosshatch of indentations from edge to edge and the steak feels like one even slab. Stop there.
A Jaccard tenderizer does the same job with needles rather than force. It punctures instead of smashing, which keeps the texture intact, though the punctures push surface bacteria inward, so treat the result like ground meat and cook it to at least 160 degrees F.
Cook to Temperature, Not Just Time
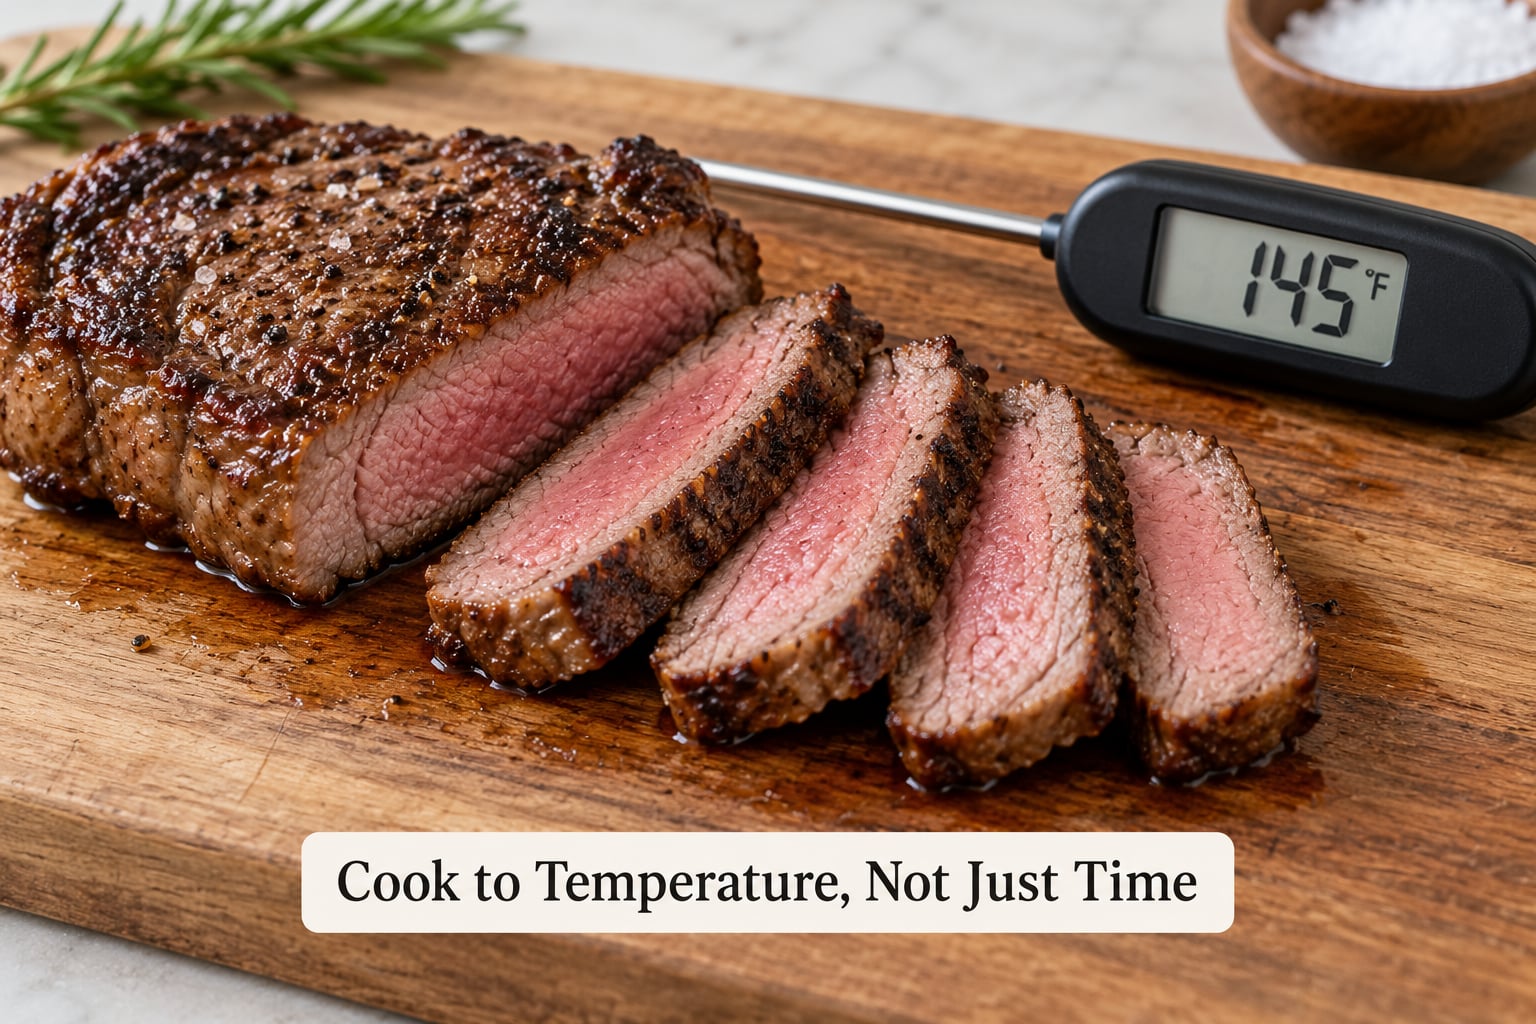
Heat is what converts collagen into gelatin, and collagen only converts in the moist, gently heated middle of the temperature range. Blast-searing the outside hard while the center is still raw leaves tough tissue untouched. Overcook past the safe point and the tightened muscle fibers squeeze out moisture and turn rubbery. That is the trap most home cooks fall into with budget cuts.
Pat the steak dry, oil it lightly, and salt the surface again right before it hits heat. For a skillet, preheat a heavy pan over high heat until a drop of water skates and vanishes, then lay the steak away from you. Leave it alone for two to three minutes to build a crust. For a grill, do the same over direct heat with the lid closed.
Thickness decides the timing more than the cut does. A three-quarter inch steak usually needs about three minutes per side. A two inch steak needs eight to ten minutes per side, and after the first four minutes on each side you can finish it with butter, rosemary, and a few splashes of Worcestershire in the pan until the thermometer agrees.
Pull the steak at 125 degrees F for rare, 130 for medium rare, 135 for medium, and 145 for medium well, then move it straight to a warm plate. The USDA safe minimum internal temperature for whole cuts of beef is 145 degrees F, and carryover cooking will add several more degrees during the rest. Start checking temperature at the halfway point of your estimated time and trust the number rather than the clock.
Rest Before Slicing
Resting is the step people skip because they are hungry, and it is the step that decides whether the steak is juicy or dry. While the steak cooks, its muscle fibers contract and squeeze juice toward the center. Cutting immediately releases that juice onto the board instead of into the meat.
A general rule is five minutes of rest per half inch of thickness. A one inch steak gets about ten minutes. A two inch steak gets twenty. Keep it loosely tented with foil on a warm plate, and skip the tight wrapping, which softens the crust you worked for.
Before slicing, press the surface gently with a fingertip. If it springs back immediately, it needs more time. A steak ready to eat gives slightly under pressure and slowly returns to shape.
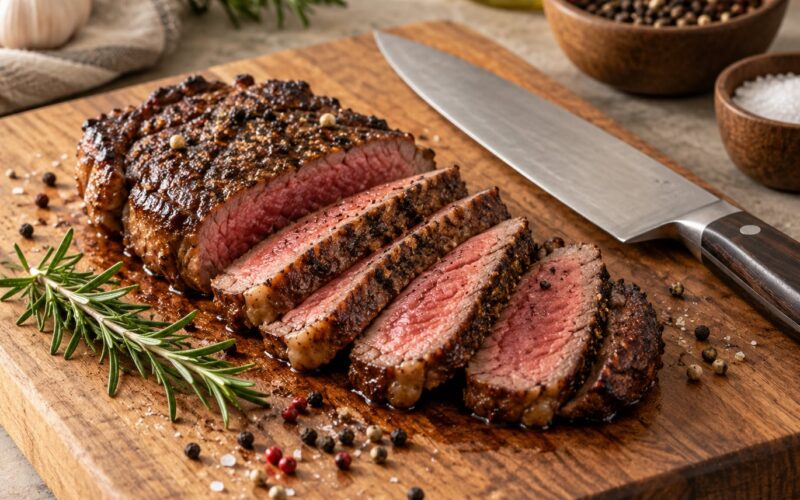
Then cut across the grain. Identify the grain by looking at the cut face for the direction the fibers run, usually the direction the meat stretched in the animal. On a T-bone or a flat iron, the fibers on one side often run a different direction than the other, so check each section. Slice perpendicular to those lines in thin, angled cuts and the same steak goes from stringy to almost restaurant-soft.
Common Mistakes
Most disappointing steaks trace back to one of these nine errors.
Pounding too hard
The fix: aim for even thickness, not thinness. If the steak starts tearing or sticking to the mallet, you are going too far. Salting already softened the outer layer, so heavy pounding mostly just damages the texture.
Cutting against the grain
The fix: look at the cut face before you cut, not after. It costs two seconds and it is the difference between a steak that chews and one that does not. Every other technique on this list is wasted if the slices run parallel to the fibers.
Salting and cooking immediately
The fix: wait at least one hour for a thin steak, longer for a thick one. An instant rub seasons the surface and dries it, which helps the sear, but it does not give the salt time to relax the outer proteins.
Holding high heat the whole time
The fix: hard sear first, then moderate heat to finish. A thick steak cooked entirely over screaming heat burns outside and stays cold and tough in the middle.
Skipping the thermometer
The fix: probe the thickest part after the first side flips to learn your skillet’s actual timing, and again at the end. Every pan, stove, and steak is different enough that the recipe time is only a starting point.
Slicing too soon
The fix: five minutes per half inch, minimum. If you must cut early, slice it thinner and warm the plates, which reduces how much juice you lose.
Poking holes with a fork
The fix: stop. Fork pricks push juices out and let bacteria in without breaking fibers in any useful way. If you want mechanical tenderizing, use a tool designed for it and cover the whole surface.
Attempting to rescue a badly overcooked steak
The fix: serve it in thin slices with a pan sauce, or repurpose it. Once beef passes well past medium well, the fibers are set and squeezed dry. No salt, no mallet, and no rest brings that back. Next time, pull it earlier.
Resting the steak while the oven stays on
The fix: move it to a warm plate and turn the heat off or down. Over an hour of residual oven heat, a thin steak resting on a hot plate keeps cooking and dries out. Warm plate, cool oven.
Tips for the Best Results
- Use a sharp carving knife. A dull knife tears fibers instead of severing them, and no amount of technique fixes that. Hone before you start and sharpen every few months.
- Treat different cuts differently. Ribeye and tenderloin need salt and a hot pan. Chuck, round, and flank need salt, gentle pounding, and either low-and-slow cooking or a long rest. Giving every steak the same treatment is why some meals disappoint.
- Adjust salt to thickness, not to cut name. The inch of steak is the only variable that matters for how long it needs the salt.
- Thicken thinner cuts slightly. A half inch flank steak is easier to tenderize than a quarter inch one. If you can, ask the butcher to pound or butterfly it, or fold the thin end under itself before pounding.
- Cook thick steaks in a pan, not a grill. A two inch steak over indirect grill heat dries out before it catches up. Start it in a cast iron skillet, then move it to a low oven or the cool side of the grill to finish.
- Add the butter and sauce near the end. Butter baste during the final two minutes for flavor. Earlier and the milk solids burn and turn bitter before the steak is cooked through.
- Grill steaks thicker than a pound-and-a-half. A thin steak cooked straight over a grill burns on one side and dries on the other. Sear briefly, move to indirect heat, and open the grill vents.
- Rest boneless cuts a little longer. Without a bone holding things together, a boneless steak gives up its juice a bit faster. Ten extra minutes costs you nothing.
Frequently Asked Questions
Does baking soda make steak tender without a marinade?
Yes, and it is one of the few marinade-free methods that softens more than the surface. Baking soda raises the pH of the meat, which slows how quickly muscle proteins tighten when they hit heat, so the steak stays tender longer. Coat the steak lightly, let it sit about an hour, then rinse the soda off thoroughly and pat the surface dry before cooking. Leaving it on for hours gives the steak a soapy taste and a mushy texture, so rinse it every time.
Can oil or Worcestershire sauce tenderize steak when there is no time for a marinade?
No, not in any meaningful way. Oil coats the surface and Worcestershire sauce seasons it, which is useful, but neither softens muscle fibers or relaxes proteins the way salt, mechanical tenderizing, and controlled heat do. With no time for a dry brine, salt the steak right before cooking, pound it gently if the cut is tough, and pull it off the heat at temperature instead. Those three steps take under ten minutes and do more than an hour of soaking.
What is the most tender steak cut when I cannot use a marinade?
Tenderloin, also called filet mignon, is the tenderest cut available, followed closely by ribeye. Both come from muscles that do very little work, so they need almost no help to stay tender. If you want a bolder flavor at a lower cost, a strip steak, sirloin, or flat iron is still naturally tender. Save flank, skirt, top round, and chuck steak for the days when you have time to salt them ahead and pound them.
Should I pound every steak, or can it make the meat fall apart?
Skip it on naturally tender cuts like ribeye and tenderloin. Pounding already fine meat turns it grainy and spongy because the fibers break down faster than they can spring back. Pound the working cuts instead: flank, skirt, top round, bottom round, and chuck. Even then, use controlled, even strokes to reach a uniform three-quarter inch rather than hammering one spot until it tears.
Is pan-searing or grilling better for tender steak without marinating?
A hot skillet gives you more control, which usually matters more for tenderness. You control the heat, you can baste, and you can move the steak to lower heat or the oven to finish without losing the crust. A grill produces excellent flavor and a great crust, but thin steaks burn before they cook through and thick ones dry out on the way. Either works well. The pan is easier for beginners and for steaks thicker than an inch.
Conclusion
Start with the steak you actually have. If it is a tender cut like ribeye or sirloin, salt it, hit the pan hot, and stop at temperature. If it is flank, round, or chuck, salt it an hour or two ahead, pound it to an even thickness, cook it gently enough to convert the connective tissue, and rest it properly.
Whichever cut it is, remember the sequence that does all the work: choose a cut suited to your method, salt ahead of time, pound gently if the fibers are long, cook to 145 degrees F or your preferred doneness using a thermometer rather than the clock, rest five minutes per half inch, and slice across the grain. Learn how to make steak tender without a marinade and a weekend steak stops being a gamble.