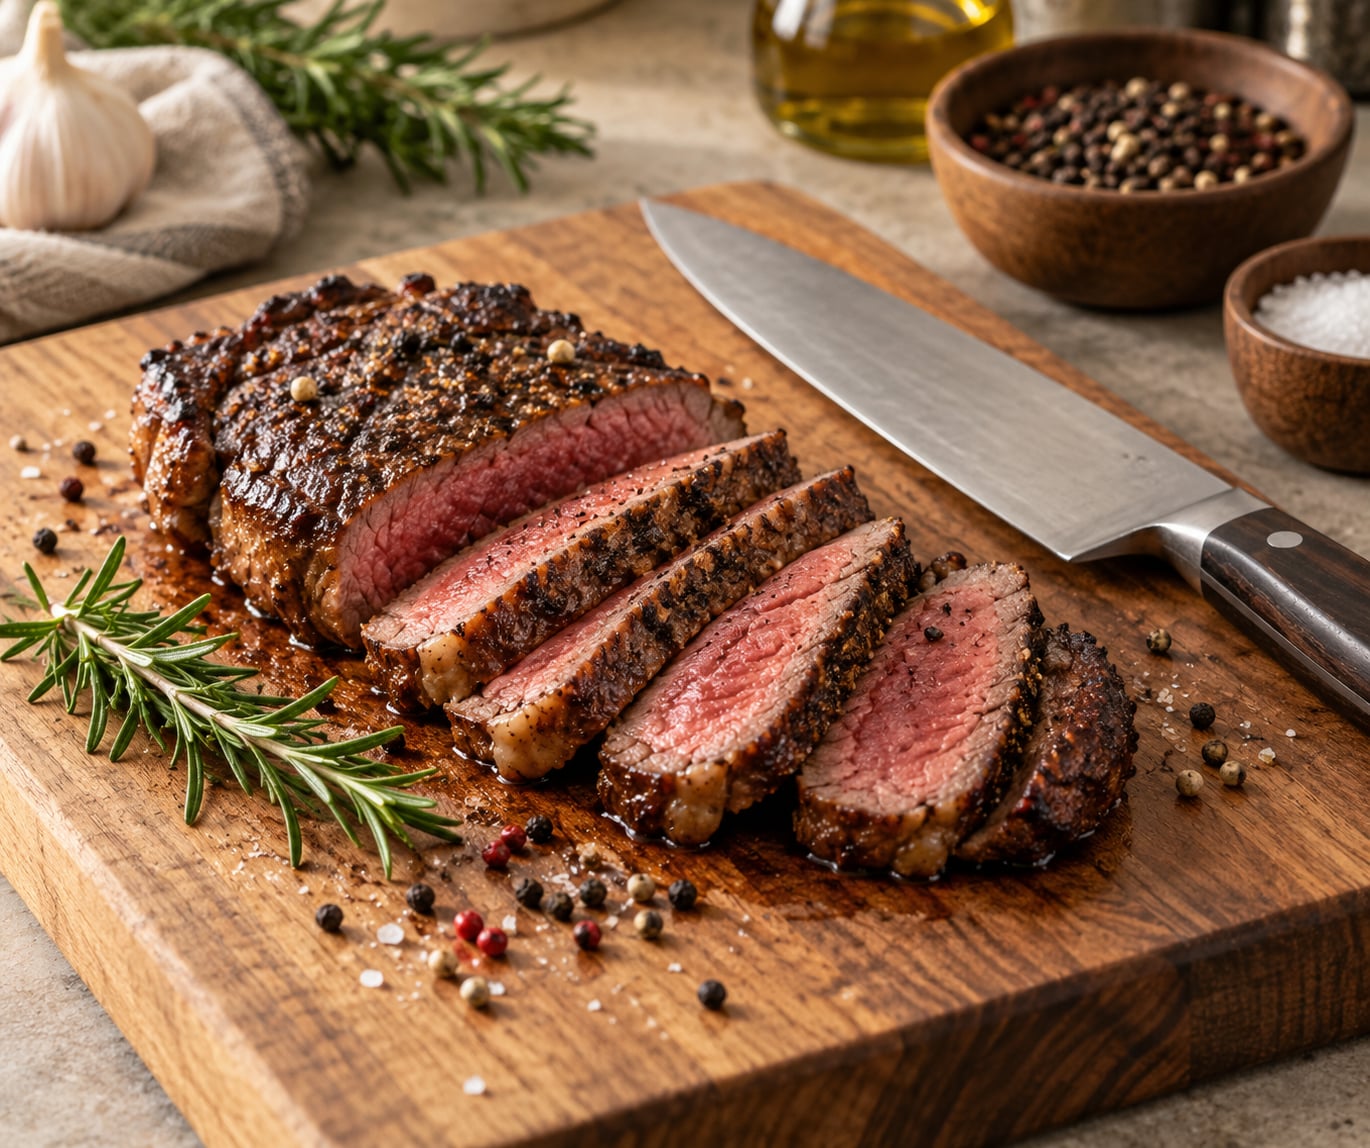
To slice steak against the grain, set your knife perpendicular (at a 90-degree angle) to the muscle fibers you can see on the surface, then cut across them. Each slice then contains short fiber segments instead of long strands, which is the single biggest difference between a steak that eats tender and one that chews like rubber. Ten minutes of resting and one careful stroke per slice, and the same flank steak goes from tough to genuinely good.
I’ve watched people ruin a perfectly cooked steak in the ten seconds it takes to slice it. The thermometer read perfect, the crust was beautiful, and then the slices went on the plate long and stringy. Nothing about the cooking mattered at that point. Slicing direction decided the outcome.
This guide covers the whole job: spotting the grain on any cut, setting the angle, choosing a slice thickness, and the handful of cuts that trip people up. It takes about five minutes to learn and about three minutes to do once you know what you’re looking at.
Table of Contents
- What You Need
- Step-by-Step: How to Slice Steak Against the Grain
- How to Identify the Grain on Any Steak Cut
- Five Steps to Slice Steak Against the Grain, Start to Finish
- How to Position the Knife for Clean Slices
- Grain Direction by Cut
- How Thick to Cut Each Slice
- When to Cut With the Grain Instead
- Common Mistakes When Slicing Steak
- Frequently Asked Questions
- How do I know which way the grain runs in a steak?
- How do you know which way is against the grain?
- Does cutting steak against the grain really make it tender?
- Is it okay to cut or butterfly a steak before cooking it?
- How thick should steak slices be when cutting against the grain?
- What are the most common mistakes when slicing flank steak?
- Conclusion
What You Need
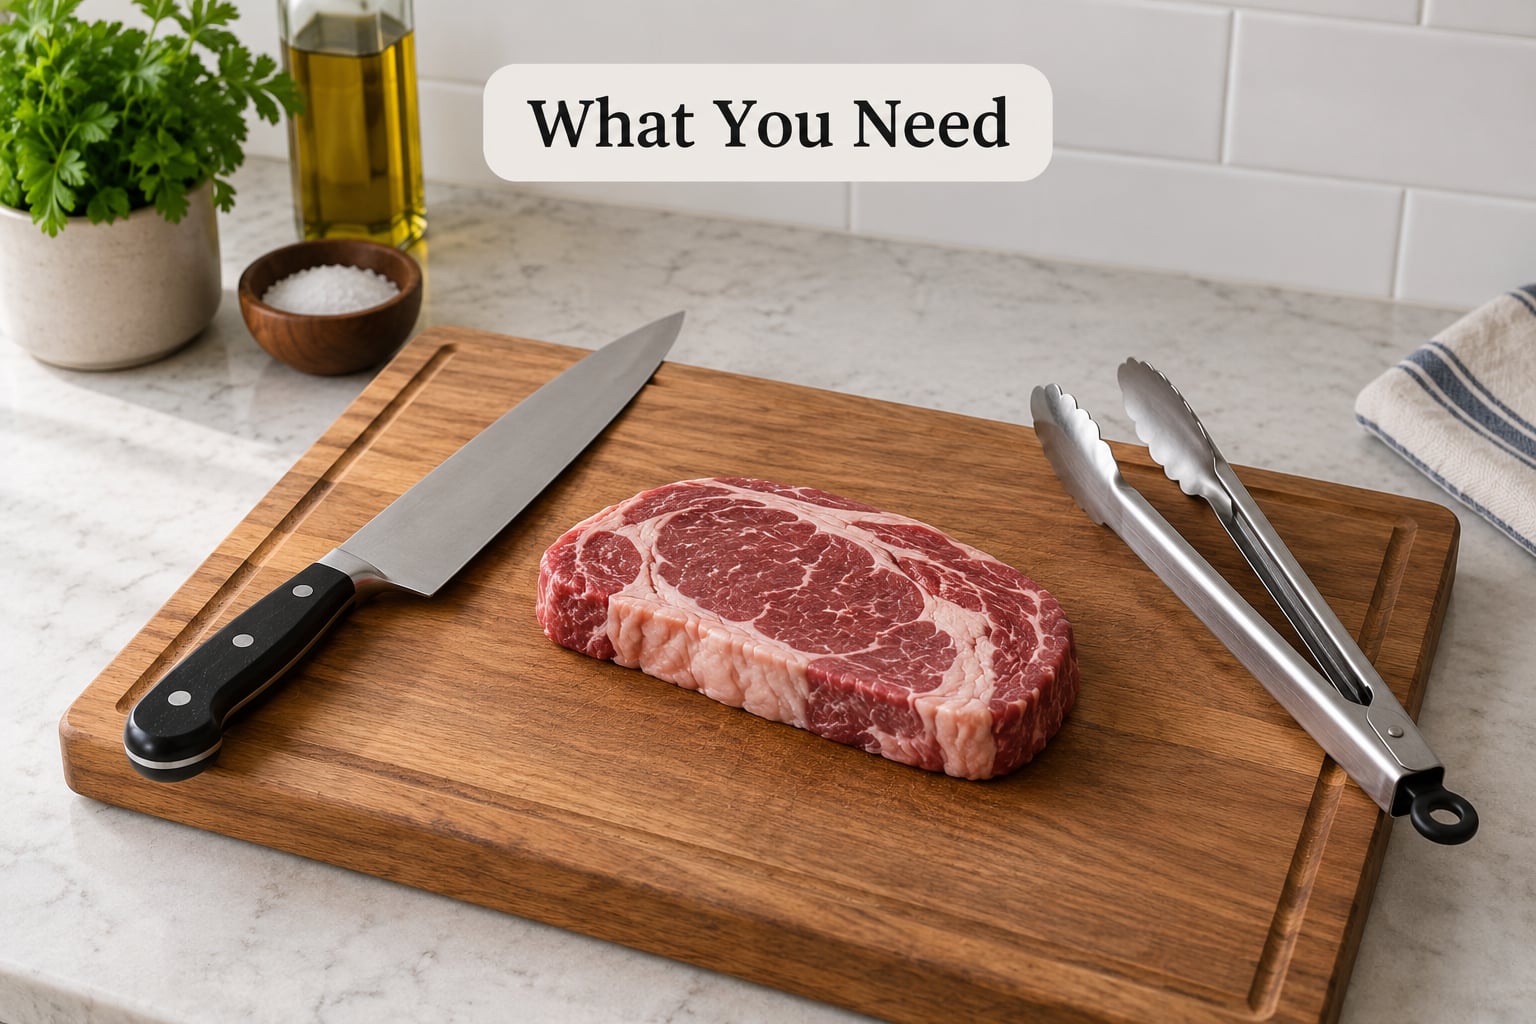
You need very little. A sharp knife, a stable board, and ten minutes of patience cover it.
A sharp knife is the one thing that actually matters. A chef’s knife around 8 inches works for most steaks. A longer slicing knife gives you a longer, straighter cut on big pieces like a rib roast or a porterhouse, and a carving knife with a narrower blade slides through a cooked roast with almost no resistance.
A dull blade tears fibers instead of severing them, so a correctly angled cut still chews tough. If your knife can glide through a sheet of paper without snagging, it is sharp enough. If not, run it a few times through a honing steel before you start; honing straightens the edge, it does not replace a proper sharpening every year or two.
A board that does not move. Wood or a thick composite board is better than glass, which dulls knives fast. Whatever you use, put a damp paper towel underneath it or set it on a non-slip mat. A board that slides while you push is how fingers end up in the wrong place.
Tongs or a fork to move the steak and hold it steady while you find the grain. A sharpener, if your knife is not already sharp. An instant-read thermometer is optional for slicing but worth having for the rest, since timing the rest is part of the job.
Step-by-Step: How to Slice Steak Against the Grain
How to Identify the Grain on Any Steak Cut
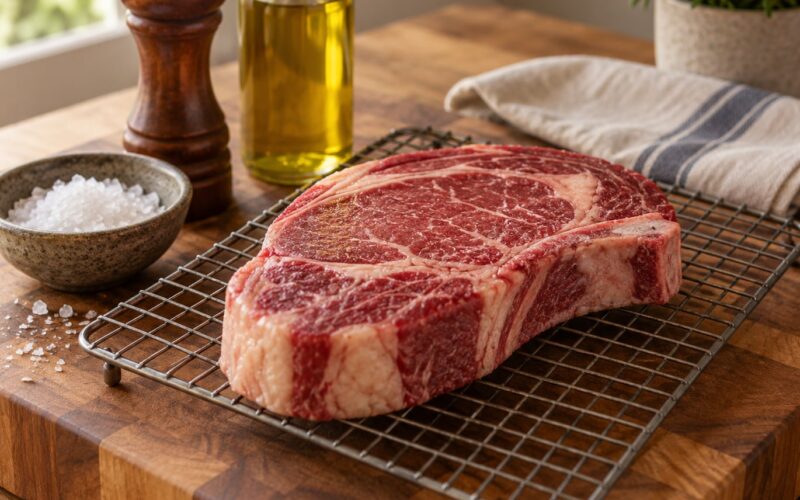
The grain is the direction the muscle fibers run. Before cooking it looks like pale, slightly wavy parallel lines across the meat. After cooking those same lines show up as darker streaks, and on a seared crust they’re easier, not harder, to see once you look at the cut face rather than the browned top.
Method one: look for the lines. Turn the steak over and find the flat cut face. You are looking for striations, the same fine parallel lines you would see in a piece of wood. Ignore the white streaks of fat. Marbling runs in every direction, and confusing fat with fiber is the most common misread in a home kitchen. The fat is brighter, thinner and more broken up; the fibers are darker, tighter and continuous across most of the muscle.
Method two: the finger test. Run a fingertip lightly along the surface in one direction, then the other. The direction that feels like fine ridges, almost like corduroy, is the grain. The direction that feels smooth against the grain. Cooks argue about which way to read this, so do it both ways and trust whichever one gives you visible ridges, then confirm with method three.
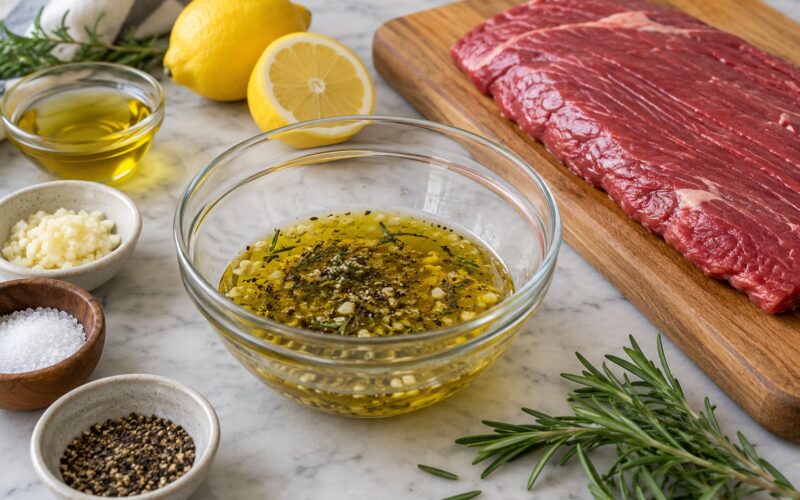
Method three: score the raw meat. Before it hits the heat, cut a shallow notch a quarter inch deep straight across the grain. After cooking, that mark still shows under the crust and gives you a reference line even when the surface is charred or the fibers are hard to read. This is the single most useful trick when cooking a thick brisket or a reverse-seared steak that develops a heavy bark.
Two cuts deserve special attention because people get them backwards.
Flank steak and skirt steak look nearly identical and run in opposite directions. Both are thin and wide, and both come from the same general area, which is why they are constantly swapped. Flip the steak, find the lines, and trust what you see rather than what you remember. A user on r/CookingForBeginners described the honest experience of guessing: they started marking the raw meat because the memory approach kept failing.
New York strip and sirloin run their grain vertically or diagonally, not lengthwise. That is why the intuitive “cut across the short side” rule misses on a strip steak. One experienced cook on r/steak put the fix in degrees: on a strip, the grain runs vertically, so slicing across it means a steep diagonal rather than a straight cut at the ends.
And here is some good news that relieves a lot of pressure. Filet mignon, T-bone, NY strip and ribeye are already cut across the grain by the butcher, because that’s how the primal is broken down. A cross-section from a properly sliced strip steak shows small round circles, not long ovals, right out of the package. If you see that shape, you are already there.
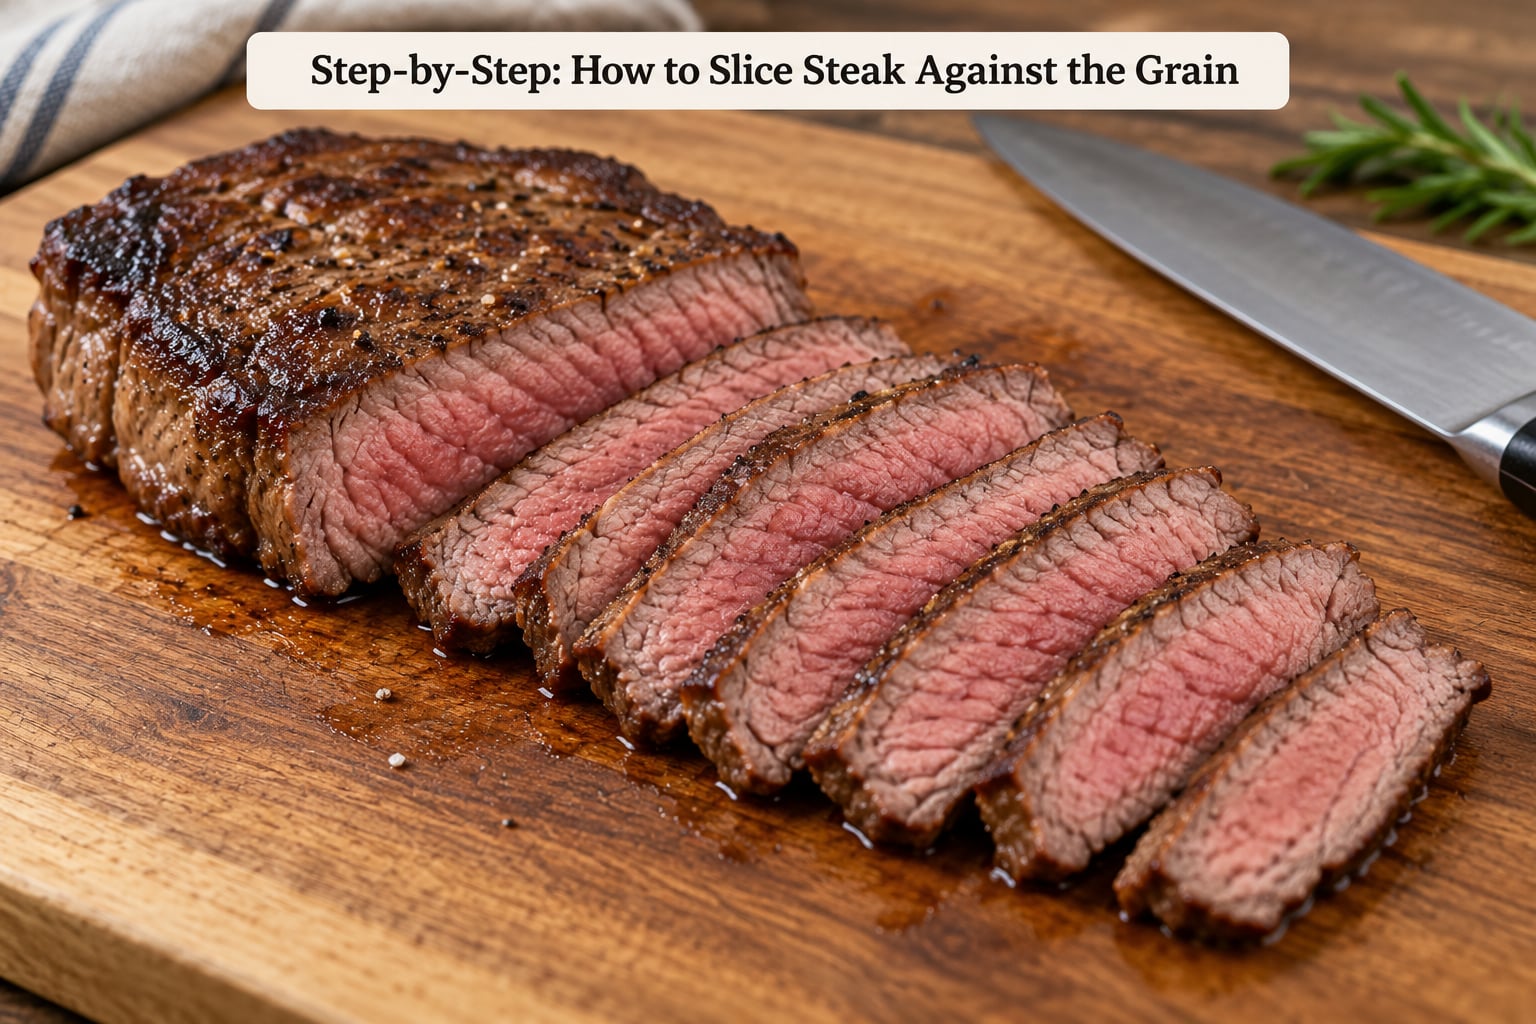
The round cross-section test is the fastest way to confirm you got it right. Cut one slice and look at the cut face. Circles and short dashes mean you cut across the fibers. Long ovals and streaks mean you cut with them. This check is the community’s most-repeated self-verification, and it takes one slice and two seconds.
Five Steps to Slice Steak Against the Grain, Start to Finish
1. Rest the steak for 5 to 10 minutes. A whole steak coming off the heat needs at least 5 minutes, and a large roast wants closer to 15. Resting lets the muscle fibers relax and the juices redistribute. Slice immediately and you lose that juice onto the cutting board, then mistake the dryness for a grain problem. Thin cuts like flank and skirt need only a few minutes; a thick ribeye can sit 10 without trouble.
2. Find the grain. Turn the steak onto the board with the cut face up. Look for the parallel lines, or run the corduroy finger test, or follow the notch you scored before cooking.
3. Rotate the steak until the fibers run perpendicular to your knife. Most people skip this and then wonder why their slices still came out long. Physically turning the steak is faster than trying to steer the blade at an awkward angle around it.
4. Set the knife at a 90-degree angle and cut down. The spine of the blade sits parallel to the board and the edge travels straight down through the fibers. One slow, continuous stroke, no rocking and no sawing back and forth.
5. Watch for grain that shifts as you cut. Large composite cuts contain more than one muscle, and the fiber direction can change halfway across. Hanger, porterhouse and brisket are the usual offenders. Re-check every few slices, and if the direction changed, rotate the piece rather than forcing the original angle. When a steak is too large or oddly shaped to cross-cut in one clean motion, split it into two pieces first and slice each piece against its own grain. That’s the standard beginner workaround and it works every time.
How to Position the Knife for Clean Slices
Hand position matters more than any technique trick. Curl the fingertips of your free hand back and let your knuckles ride the spine of the knife, fingertips tucked behind your knuckles. The blade is guided by the flat of the index finger and the side of the thumb. If your knuckles are doing the work and the fingertips are out of the way, you can cut hard without any risk at all.
For a clean stroke, start the heel of the blade at the far edge and draw it toward you in one movement, letting the sharp edge do the work. Rocking the blade back and forth, or sawing, tears the surface and the slice comes out ragged and dry. If you feel yourself pushing, the knife is probably dull or the board is moving.
The 45-degree bias is worth adding on tough cuts. On flank, skirt and hanger, angle the blade so the tip of the knife hits the board before the spine does, with the spine still crossing the grain. You now have a 90-degree cut across the fibers plus an angled face that exposes more surface. The result is more sauce coverage and faster marinating, and the long fibers get sliced on two axes at once.
On a tenderloin, you are just cutting medallions across the grain. On a rib roast carved for the table, set the slices a quarter inch or a third of an inch thick and keep them consistent, because uneven slices cook and cool differently on the plate.
Grain Direction by Cut
This is the chart most guides skip. Cut name matters because the grain does not always run the way the shape suggests.
| Cut | Where the grain runs | How to slice it | How much it matters | Best slice thickness |
|---|---|---|---|---|
| Ribeye | Lengthwise, with a curve near the rib | Straight across, perpendicular | Moderate | 3/8 inch |
| NY strip | Vertical or diagonal, not lengthwise | Steep diagonal across the face | Moderate | 1/4 inch |
| Filet mignon | Across the short dimension | Medallions straight across | Low | 1 to 1.5 inch |
| T-bone | Across the short dimension | Straight across each side | Low | 1/4 inch |
| Sirloin | Lengthwise | Straight across | Moderate | 1/4 inch |
| Flank steak | Lengthwise along the long edge | Across, bias cut at 45 degrees | Very high | 1/8 inch |
| Skirt steak | Across the long edge, opposite flank | Across, bias cut at 45 degrees | Very high | 1/8 inch |
| Hanger steak | Vertical through the thick center | Diagonal across the center | Very high | 1/8 inch |
| Flat iron | Lengthwise | Straight across | Moderate | 1/4 inch |
| Brisket flat | Lengthwise | Across, after trimming the cap | Very high | 1/8 to 1/4 inch |
| Brisket point | Crosswise to the flat | Across its own direction, sliced separately | High | 1/8 inch |
| Pork tenderloin | Across the short dimension | Straight across | Low | 1/2 inch |
| Chicken breast | Lengthwise | Halve crosswise, then slice | Very high | 1/4 inch |
For brisket, pull the fat cap off the flat before you slice. The cap sits on top, and once it is removed the flat grain is easy to see. Slice the point separately, against its own direction, because it runs crosswise to the flat. Combining the two first guarantees one of them is wrong.
How Thick to Cut Each Slice
Thickness is a trade-off between tenderness and juice retention. Thinner slices give your teeth less fiber to get through, and thicker slices hold more juice.
1/8 inch for fibrous cuts: flank, skirt, hanger and brisket point. These already have long working fibers, so every extra fraction of an inch in length per slice adds chew.
1/4 inch as the standard: sirloin, strip, flat iron, chicken and most roasts. This is the everyday answer and it works for the majority of what gets cooked in a home kitchen.
3/8 inch for tender marbled cuts: ribeye and similar. These have short fibers and lots of intramuscular fat, so a thicker slice stays juicy while still cutting cleanly.
If you are unsure, cut one slice at the thinner end of the range, chew it, then adjust. Two slices of feedback beats guessing through the whole steak.
When to Cut With the Grain Instead
Cutting against the grain is right for eating, and wrong for a few specific jobs.
Carving a roast for presentation. Slices cut across the grain fall apart when you lift them with the serving tongs. Roast beef and prime rib carved for a table look better and hold together better when sliced with the grain, often at an angle. Since the grain run is long, those slices taste fine until the very last bite of each one.
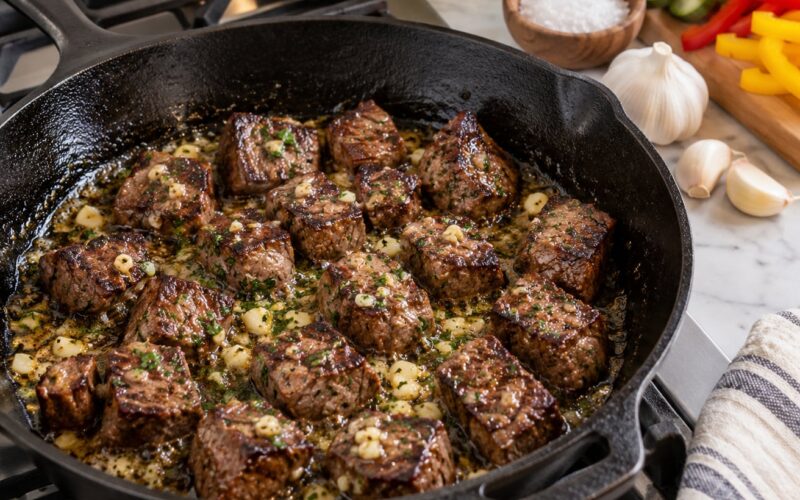
Portioning raw meat for marinating or kebabs. When you are breaking a steak into chunks so marinade and seasoning reach more surface, cut with the grain to make the pieces easier to work with. This is portioning, not slicing, and the two get confused constantly. Once the pieces go into the pan, they are small enough that the fiber direction stops mattering much.
Shredding meat. Pulled pork and braised beef are torn apart along the grain on purpose. You are deliberately following the fibers, because the goal is long strands rather than short ones.
Common Mistakes When Slicing Steak
Cutting with the grain. The most common mistake by a wide margin, and the fix is the round cross-section check. Cut one slice, look at the face, and if you see long ovals instead of small circles, rotate the steak 90 degrees and try again.
Slicing straight off the heat. No rest means the fibers are still tight and the juices run out the moment you cut. Cooks often blame the grain when the real problem was cutting within seconds of the grill. Wait at least 5 minutes.
Using a dull knife. A dull blade drags fibers aside and tears them instead of cutting them, so even a perfectly angled slice comes out ragged and feels tough. Hone before you start, and if the knife skates on food, stop and fix it.
Sawing back and forth. Back-and-forth motion is a sign you are pushing too hard or the knife is not sharp. Use one long stroke from the heel of the blade.
Confusing marbling with grain. Fat runs in every direction, so chasing the brightest white streak leads you straight into the fibers. Follow the darker, tighter, continuous lines instead.
Cutting too thick on fibrous cuts. A quarter-inch slice of flank steak cut against the grain will still chew. Go to 1/8 inch on anything from the belly, the skirt or the point.
Setting the angle once and never rechecking. On hanger or porterhouse the grain changes direction mid-cut. Look again every few slices.
Forgetting to trim the brisket cap. The cap hides the grain. Remove it first, then read the flat.
One thing slicing will not fix: a steak cooked past medium, or one held at high heat until the surface is gray and the interior is dry. Tenderness has two inputs, heat and direction, and you can only control one of them at the slicing board.
For food safety, whole cuts of beef are done at 145 degrees Fahrenheit with a three-minute rest, and any leftovers reheat to 165 degrees. Grain direction is a texture question, never a safety one.
Frequently Asked Questions
How do I know which way the grain runs in a steak?
Turn the steak onto the flat cut face and look for the darker parallel lines of muscle fiber, which are easy to confuse with fat if you are not looking for them. Then run a fingertip along the surface both ways and note which direction feels ridged like corduroy. If you plan to cook it first, score a shallow notch straight across the grain on the raw meat so you have a reference line under the crust.
How do you know which way is against the grain?
Against the grain is the direction perpendicular to those fiber lines. The fastest confirmation is the round cross-section test: cut one slice and look at the cut face. Circles and short dashes mean you cut across the fibers. Long ovals and streaks mean you cut with them, so rotate the steak a quarter turn and cut again. That check takes about two seconds and removes all the guessing.
Does cutting steak against the grain really make it tender?
Yes, and it is the largest single change you can make at the slicing board. Muscle fibers are long protein strands bundled like cables. Cutting with the grain leaves long intact strands your teeth must tear through, which reads as chewy. Cutting across them severs the bundles into short segments that break easily. On working-muscle cuts like flank, skirt, hanger and brisket it can be the difference between edible and inedible.
Is it okay to cut or butterfly a steak before cooking it?
Yes. Cutting a steak into pieces before cooking is a different operation from slicing, and the two get confused often. If you are breaking a steak down for marinating or kebabs, cut with the grain so the pieces are easy to work with. Leave an intact steak whole, cook it, rest it for 5 to 10 minutes, then slice it across the grain. Portioning does not replace proper slicing later.
How thick should steak slices be when cutting against the grain?
Use 1/8 inch for fibrous cuts such as flank, skirt, hanger and brisket point, 1/4 inch as the everyday standard for sirloin, strip and flat iron, and 3/8 inch for tender marbled cuts like ribeye that hold juice well. Thinner slices reduce the length of fiber in each bite, thicker slices keep more juice. Cut one slice at the thin end, taste it, then adjust the rest.
What are the most common mistakes when slicing flank steak?
The big ones are slicing with the grain, cutting slices too thick, slicing before the meat has rested, and using a dull knife. Flank steak also gets confused with skirt steak, which looks nearly identical but runs its grain in the opposite direction, so check the lines on the actual piece rather than assuming. Bias the knife at 45 degrees and slice at about 1/8 inch for the best result.
Conclusion
Do this first: let the steak rest 5 to 10 minutes after cooking, then turn it onto a cut face and find the grain. Follow the darker parallel lines, confirm with your fingertip, and rotate the steak so those fibers run perpendicular to your knife.
Set the blade at a 90-degree angle, hold the claw grip, and take one stroke per slice. Then cut one slice and look at the face before you commit to the rest of the steak. Circles mean you are right, long streaks mean rotate a quarter turn and go again.
That is the whole technique, and it takes three minutes. It will not rescue a steak you overcooked, but on every cut from flank to ribeye it is the difference between eating meat and chewing it.