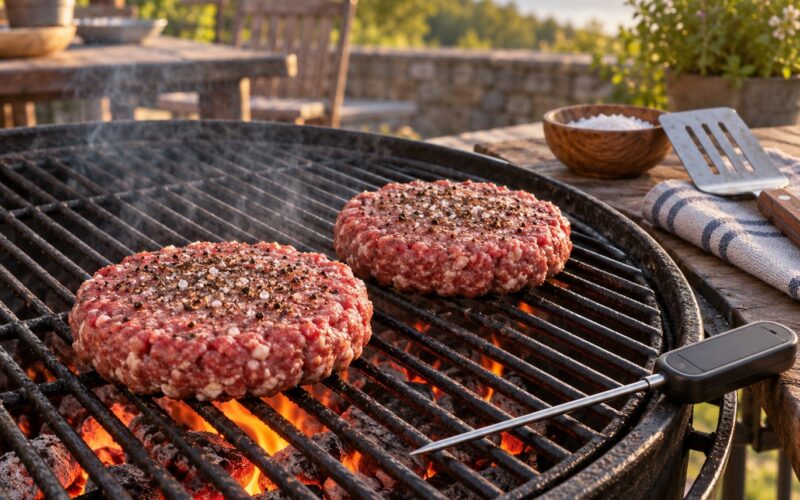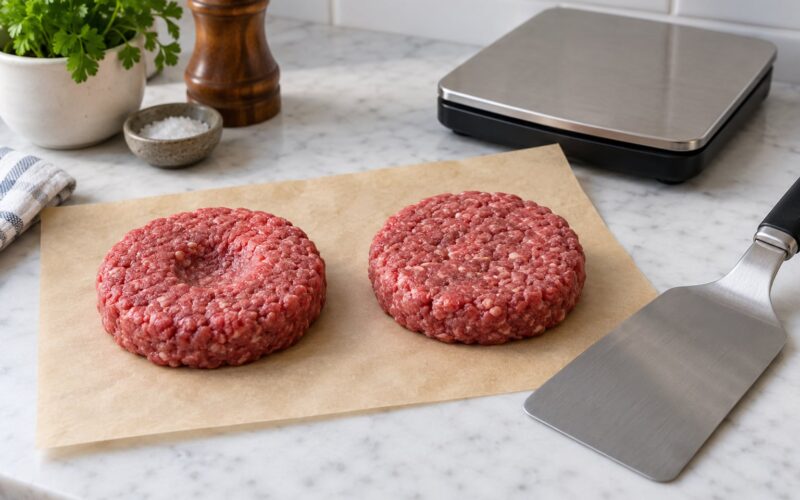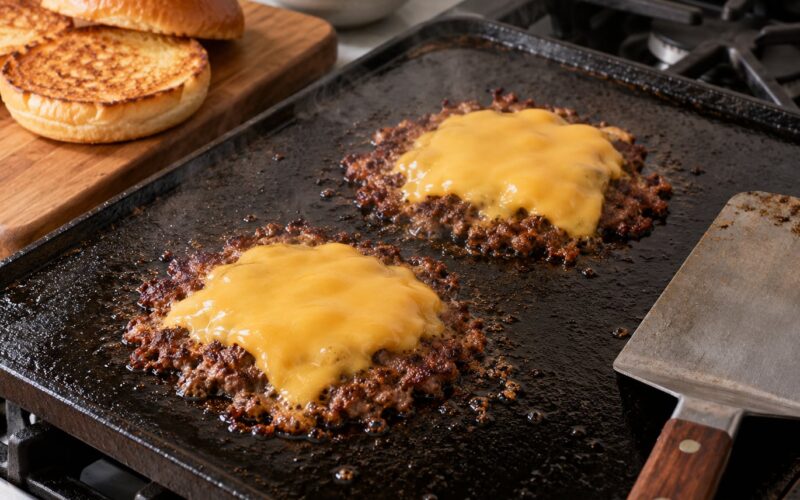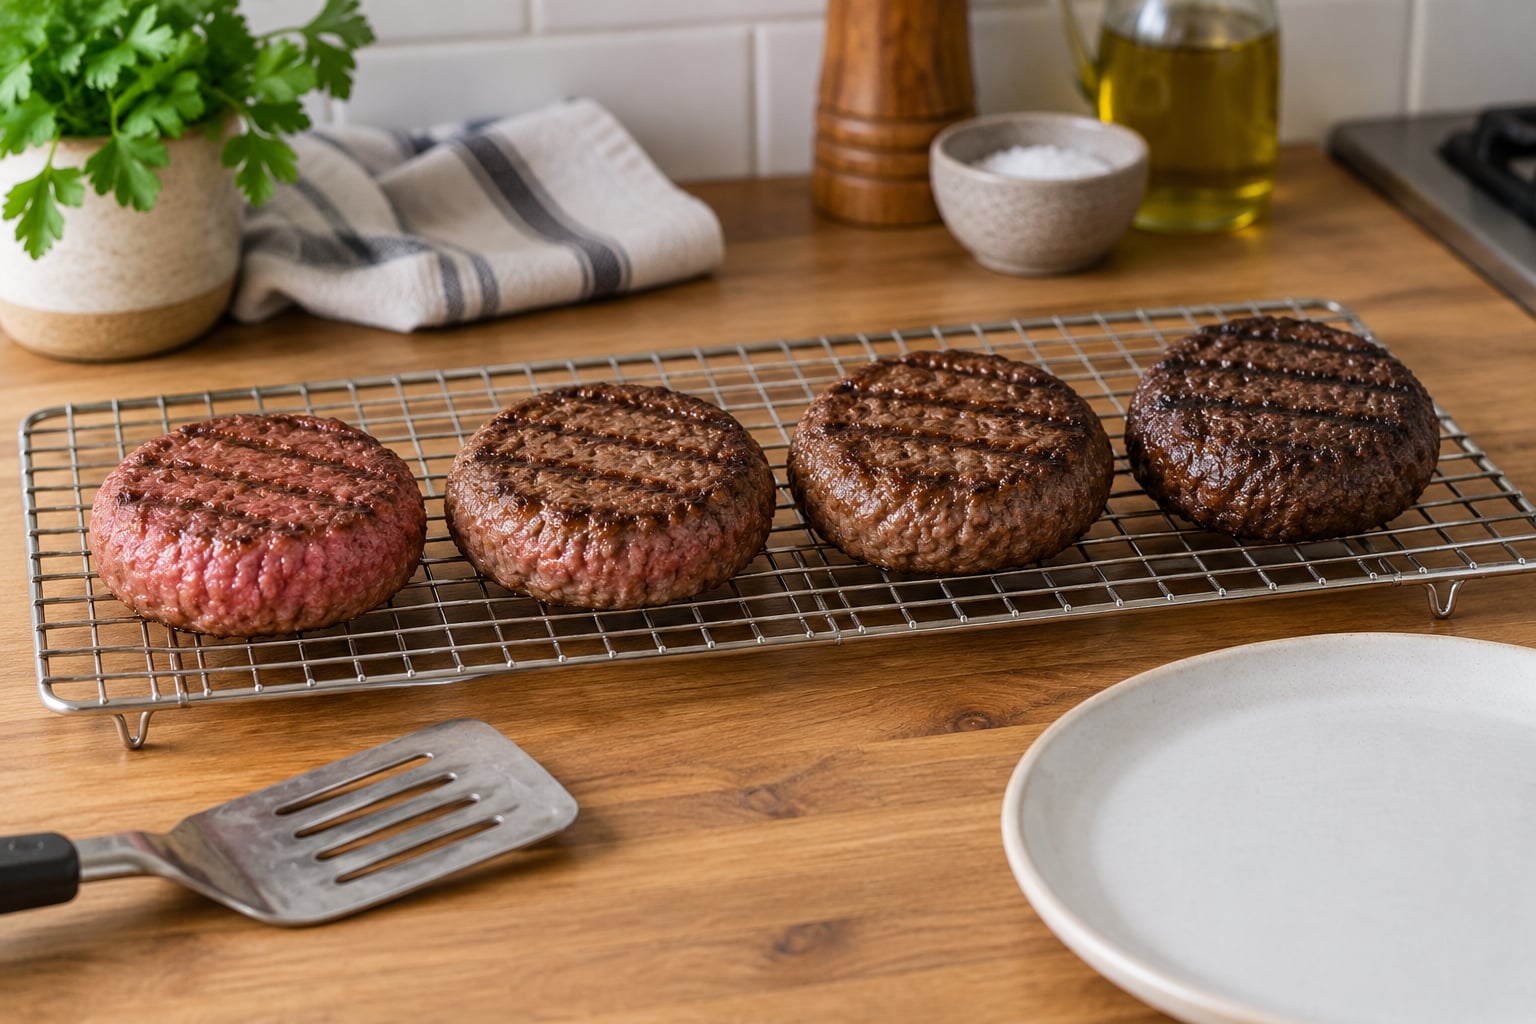
You can tell burger doneness without a thermometer by pressing the center of the patty with a fingertip and comparing the feel to the base of your thumb, then watching the juices bead on the top until they run clear instead of pink. Two or three minutes of practice and those two cues together tell you more than the clock does. The honest catch: touch and color tell you how a burger tastes, not whether it is safe, and only a thermometer reading of 160°F / 71°C settles that.
A thermometer is still the best tool in the drawer. Plenty of people cook without one anyway, and a lot more own one that never comes out of the cupboard, so here is how to cook well without reaching for it.
Table of Contents
- What You Need
- Step-by-Step: How to Tell Burger Doneness Without a Thermometer
- Step 1: Choose a Thickness You Can Judge
- Step 2: Use the Firmness and Spring Test
- Step 3: Check the Juices and Surface Moisture
- Step 4: Cut and Inspect a Small Burger
- Step 5: Compare Color and Avoid Trapped-Color Errors
- Step 6: Rest, Tent, and Choose the Best-Case Doneness
- Common Mistakes
- Frequently Asked Questions
- Is the touch test reliable for telling whether a burger is done?
- Can a burger be safe to eat when the center is still pink?
- What is the best burger thickness when using no thermometer?
- How do I tell if a burger is done when it is frozen?
- Should I press or cut a burger to check doneness?
- Does a browned exterior mean the center of the burger is fully cooked?
- Conclusion
What You Need
Almost nothing. Grab a wide metal spatula, a pair of tongs, and a clean plate. That is the whole kit.
Two things matter more than the tools. The first is knowing how thick your patty is before it hits the heat, because a quarter-inch smash burger and a three-quarter-inch patty cannot be judged the same way. The second is learning one baseline on your own hand, so “firm” means something specific rather than a guess.
If you own an instant-read thermometer, do not put it in the cupboard. A clean one costs less than a takeout order and it turns the touch test from a guess into a calibration. Cook the same burger both ways once and your fingers learn fast.
Step-by-Step: How to Tell Burger Doneness Without a Thermometer
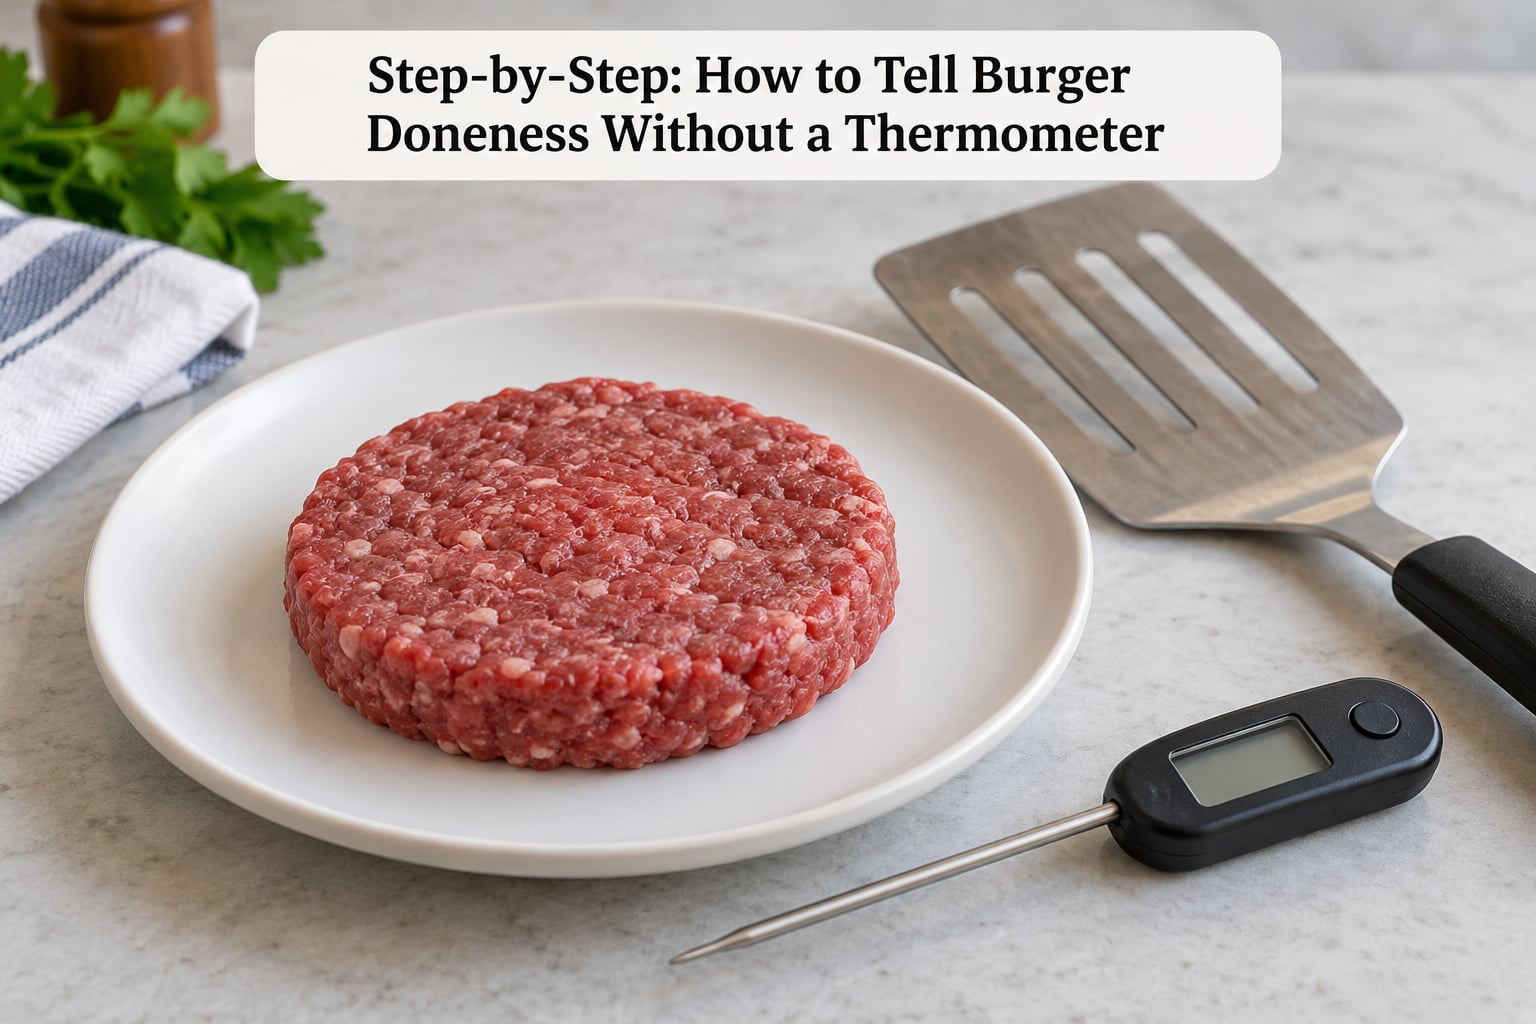
Work through these in order. Each step removes a bit of uncertainty, and by the last one you have three or four independent signals agreeing with each other instead of one guess you have to trust blindly.
Step 1: Choose a Thickness You Can Judge
A patty of even thickness, roughly a half inch, is the easiest thing in the world to judge by hand. The center sits a predictable distance from the heat, so the firmness you feel under the thumb roughly matches the color you see in the middle. Irregular, thin or lumpy patties defeat you before you start, which is why hand-shaped beef that never got packed in a factory is always harder to read.
Measure thickness once with a ruler before the first burger goes down, then use timing as a supporting cue rather than the whole method. Cook times below assume a preheated surface and patties at room temperature.
| Pattiness | Charcoal or gas grill | Cast iron pan | Griddle | Air fryer (400°F / 200°C) |
|---|---|---|---|---|
| 1/8 inch smash patty | 60 to 90 seconds per side | 60 to 90 seconds per side | 45 to 60 seconds per side | 3 to 4 minutes total |
| 1/2 inch, about 4 oz | 3 to 4 minutes per side | 3 to 4 minutes per side | 3 to 4 minutes per side | 5 to 7 minutes total |
| 3/4 inch, about 6 oz | 4 to 5 minutes per side | 4 to 5 minutes per side | 4 to 5 minutes per side | 8 to 10 minutes total |
| 1 inch, about 8 oz | 5 to 6 minutes per side | 5 to 6 minutes per side | 5 to 6 minutes per side | 10 to 13 minutes total |
| Frozen 1/4 lb patty | 2 minutes sear, then 4 to 6 minutes indirect | 4 to 5 minutes per side, covered | 4 to 5 minutes per side | 9 to 12 minutes total, no sear |
Thick patties want a different tactic: sear hard for two minutes per side, then move them to a cooler zone or turn the heat down and finish them slowly. A frozen patty needs an entirely separate approach. Sear the outside, then let it cook through on indirect heat for several minutes, because a frozen center takes far longer than the outside can survive before burning.
One user on DiscussCooking described thinning the middle of a thick patty into a doughnut shape, which gives the center edges to cook from and fixes most raw-middle problems before they start.
Step 2: Use the Firmness and Spring Test
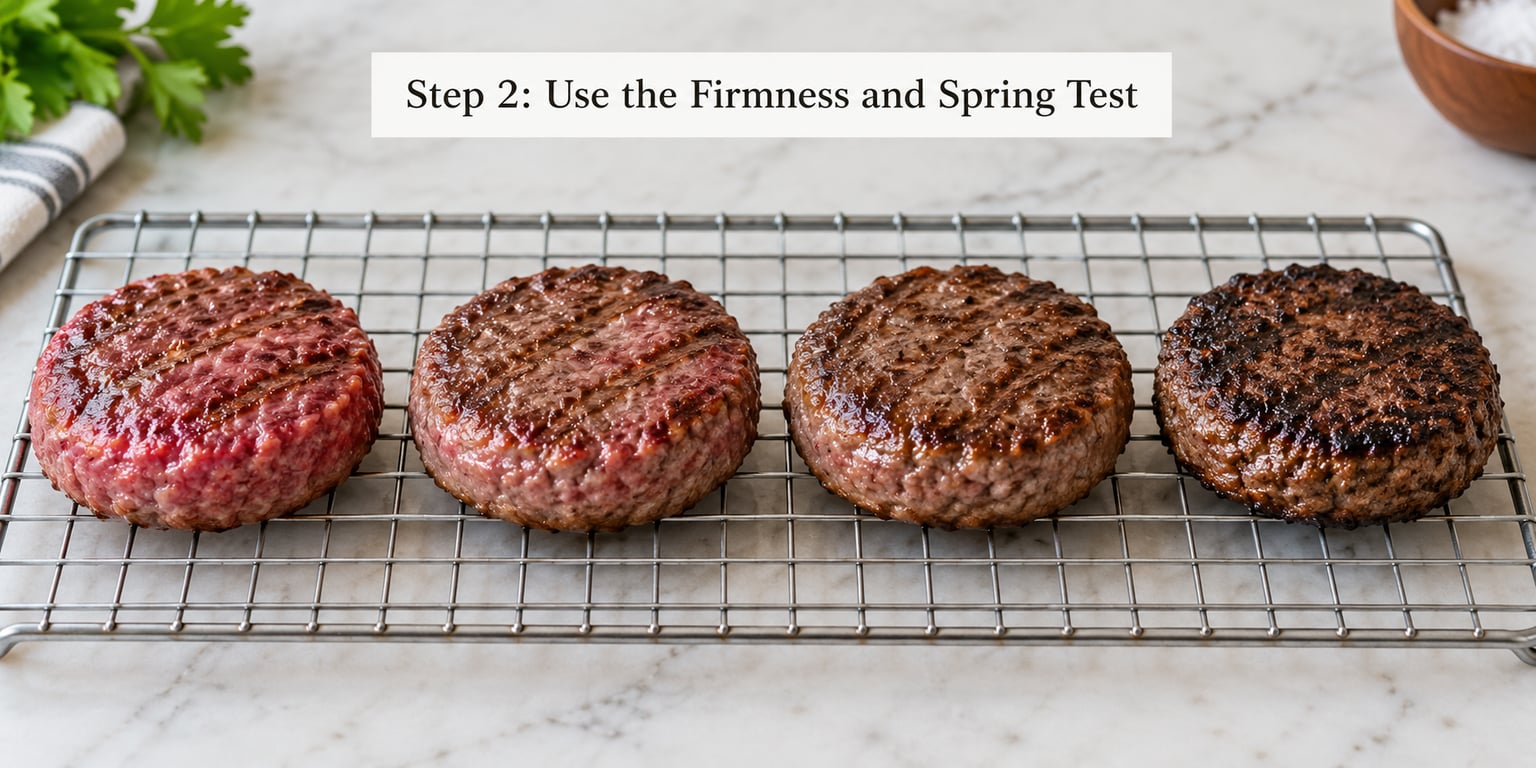
Press the raw meat with your fingertip before it cooks. Memorize that feeling. Ground beef firms up steadily as its proteins cook and tighten, so the same press that sinks halfway into raw meat meets rising resistance as the burger finishes. Compare that progression to the base of your thumb and the pad below it.
The reference most cooks use comes from Applestone Meat: rare feels like the soft squishy pad at the base of the thumb when your hand is relaxed, medium feels like the heel of a relaxed hand, well done feels like the heel of a clenched fist, and overcooked feels like the tip of your nose.
Press once, briefly. You are reading resistance, not leaving a dent. Lift your finger and watch whether the patty springs back quickly or stays dented. A slow rebound means it is still rare in the middle; an instant, hard spring means you have gone too far.
Here is how to tell burger doneness without a thermometer, mapped out level by level:
| Doneness | What the press feels like | Hand reference | Center color | Typical internal temperature |
|---|---|---|---|---|
| Rare | Very soft, sinks deep, no spring | Soft pad at base of relaxed thumb | Deep red, loose | 120 to 125°F / 49 to 52°C |
| Medium rare | Soft with slight resistance, faint dent | Pad at base of thumb | Red with a pink sheen | 130 to 135°F / 54 to 57°C |
| Medium | Springy, dent fills in slowly | Heel of a relaxed hand | Pink to light pink | 135 to 145°F / 57 to 63°C |
| Medium well | Firm, springs back fast, still slight give | Between relaxed and clenched heel | Mostly brown, hint of pink | 145 to 155°F / 63 to 68°C |
| Well done | Hard, immediate rebound | Heel of a clenched fist | Gray-brown all the way through | 160°F / 71°C and up |
| Overcooked | Rigid, no give at all | Firm like the tip of your nose | Dry, pale, contracted | Above 170°F / 77°C |
Treat this as a cue, not a guarantee. Several people who post on cooking forums say the touch test is a skill you build over a season of burgers, not a trick you learn in one cook. They are right. The table is a starting point, and your own calibration beats it after a dozen patties.
Step 3: Check the Juices and Surface Moisture
Look at the top of the patty as it cooks. Early on, beads of juice bead up and they are pink-red. As the burger cooks, those beads thin out, run toward the edges, and turn clear or faintly cloudy. Clear surface juice on top of the patty is the most-cited real-world cue on cooking forums, and Andy M. on DiscussCooking describes the same progression.
One important correction: that red liquid is not blood. It is myoglobin, a protein that gives red meat its color, and it releases when you cut or press the meat. Calling it blood is the single most common misunderstanding in this whole topic.
Do not rely on clear juice alone. Surface juice can run clear while the very center is still cool and undercooked, and pressing hard enough to squeeze juice out of the patty tells you almost nothing since you have just changed what you are measuring. Watch the juice sit on top, do not squeeze it out.
Step 4: Cut and Inspect a Small Burger
Cutting the burger you plan to serve is how most people ruin a good patty. Every cut drains juice onto the board, and the burger never recovers it. So cook one extra patty, a small sacrificial one, and cut that instead.
Push a fingertip into the center of the sacrificial burger, then part it slightly. Red and loose means keep going. Pink and set means medium. Fully brown and firm means done. Judge by texture as much as color: set meat holds its shape, raw meat slumps.
If you cut a patty and find it pink, do not push it back into the pan for another three minutes. Put it on the heat, cover it with a lid or a bowl for 30 to 60 seconds, and check again. A short covered finish evens out the temperature without wringing out the juice.
Step 5: Compare Color and Avoid Trapped-Color Errors
Color is the weakest of the three cues, and the reasons why are worth understanding. The pink-red in beef comes from myoglobin, and heating turns that protein into a browner form. That happens gradually and unevenly, so surface color leads the center and tells you very little about what is happening inside.
Three specific traps catch people out. Chopped or ground meat can stay pink after reaching a safe internal temperature because the muscle structure is destroyed and nothing tells the color to change. Charred, almost black surfaces say nothing about the middle either, since charring happens at temperatures well below what the center needs. And bright red color can survive in a sealed or wet surface, which is why a slick, glossy patty fools people more often than a dry one.
The rule from food safety forums is worth repeating: color is not a good indicator of doneness, temperature is. Use browning to tell you that heat is being applied, and use touch plus a cut sample to tell you whether the center is where you want it.
Step 6: Rest, Tent, and Choose the Best-Case Doneness
Decide your target before the patty goes on the heat. A medium burger that you end up checking and second-guessing takes longer and dries out more than one you cook once, judge, and pull.
Then rest it for three to five minutes on a warm plate. Carryover cooking means residual heat keeps raising the center temperature after you pull it off, and a rest lets that finish evenly instead of cooking the outside to rubber. Tent loosely with foil if the patty is thick, since a tight wrap softens the crust.
For ground beef, the USDA safe minimum internal temperature is 160°F / 71°C. If a guest is pregnant, elderly, very young or immunocompromised, cook that burger through and check it. Poultry burgers need 165°F / 74°C with no pink anywhere, and a rare center is not a safe center for ground meat.
Common Mistakes
Trusting one cue. Touch alone, juice alone or color alone will each mislead you at some point. Two or three agreeing signals is the difference between a judgment and a coin flip.
Believing a browned exterior. A blackened crust with a raw middle is the most common failure in home grilling, and it happens fastest on a thick patty cooked over high heat straight from the fridge.
Treating a gray rare burger as cooked. A rare patty cooked hard can have a gray-brown crust and a cool red center. The color will actively mislead you here.
Pressing the patty with a spatula. Several DiscussCooking users warn against this specifically. It squeezes out steam and flavor, and it is why so many burgers come out dry.
Confusing marbled beef with ground beef. A steak burger made from a well-marbled cut behaves like a whole muscle cut and can go pink in the middle longer. Ground beef is comminuted, which is exactly why it carries the 160°F rule.
Cooking frozen patties with no extra margin. A frozen center needs indirect time to thaw and cook. Sear the outside, then move the burger away from direct heat rather than cranking the burner up.
Starting cold meat on a screaming hot grate. Cold beef sears its outside while the middle is still catching up. Letting patties sit at room temperature while you preheat the grill narrows that gap considerably.
Flipping repeatedly. One flip is enough. Every extra turn restarts the sear clock and costs you more crust than it buys you.
Frequently Asked Questions
Is the touch test reliable for telling whether a burger is done?
It is reliable once your fingers are calibrated, and unreliable the first three or four times you try it. Press the raw patty before cooking so you know what soft feels like, then compare the cooked center to the pad at the base of your thumb. Treat touch as one signal among two or three, never as proof of safety.
Can a burger be safe to eat when the center is still pink?
Sometimes, because chopped ground beef can stay pink after cooking through, but color alone is not a safety test and the USDA recommends 160u0026deg;F / 71u0026deg;C for ground beef. The red liquid is myoglobin, not blood, so its color tells you about a protein, not about doneness. If you are not measuring temperature, cook ground beef through and accept the firmer texture.
What is the best burger thickness when using no thermometer?
About a half inch, even from edge to center. That thickness gives the center a predictable distance from the heat, so the firmness you feel under your thumb lines up with the color inside. Thin smash patties cook so fast that timing beats judgment, and patties thicker than three-quarters of an inch are better handled with a sear-then-finish method.
How do I tell if a burger is done when it is frozen?
Give frozen patties more time than the chart suggests and use indirect heat for the last few minutes. Sear two minutes per side over direct heat, then move the burger to a cool zone or cover the pan and let it finish for four to six minutes. Clear surface juice, a firm center press and no resistance when you split a sacrificial patty are your three checks.
Should I press or cut a burger to check doneness?
Press, lightly, once. A quick fingertip press on top of the patty tells you about firmness without opening it. Cutting drains juice and dries the burger, so save the cut for a small sacrificial patty you cooked alongside. If the burger you are serving is already cut and looks pink, cover it and give it 30 to 60 seconds more heat rather than searing it again.
Does a browned exterior mean the center of the burger is fully cooked?
No. Browning happens at the surface long before the center reaches temperature, which is why a blackened crust regularly hides a raw middle. Treat browning as proof that heat is being applied, not proof of doneness. Judge the center with the press test, the surface juice and, when you can, a temperature reading.
Conclusion
Start with three things the next time you grill without a thermometer. Know the thickness before the patty hits the grate, press the center once and compare it to the base of your thumb, and watch the juice on top until it runs clear instead of pink. Judge the burger you are serving by feel, and cut a throwaway patty when you want real confirmation. And if anyone at the table needs food that is cooked all the way through, use a thermometer for that one.