Burgers puff up because steam and rendered fat expand in the middle of an evenly thick patty with nowhere to go. How to keep burgers from puffing up in the middle comes down to four things: keep the beef cold, shape it loosely, press a thumb indent into the center, and give it a hot surface plus a short chill before the heat. Ten minutes of shaping saves you a meatball.
The domed patty rolls on the bun, sends mustard down your wrist, and cooks unevenly from edge to center. That is still the most common complaint I see at backyard cookouts, and it is also one of the easiest problems to fix once you know what is causing it.
Table of Contents
- What You Need
- Step-by-Step
- 1. Choose ground beef with the right fat content
- 2. Weigh and divide the patties into even portions
- 3. Shape the patty thin and leave a shallow indent
- 4. Chill the patties before cooking
- 5. Press or hold the patties flat on the grill
- 6. Flip only when the edges set and the center stops releasing
- 7. Let the burger rest before serving
- Common Mistakes
- How to Keep Burgers From Puffing Up in the Middle: Quick Troubleshooting
- Frequently Asked Questions
- Why do burgers puff up in the middle?
- Should I make a hole in the middle of a burger patty?
- Why do my burgers puff up in the air fryer?
- Why put an ice cube on your burger while grilling?
- Is 500 degrees too hot for burgers?
- How long should I grill a half pound burger at 400 degrees?
- Conclusion
What You Need
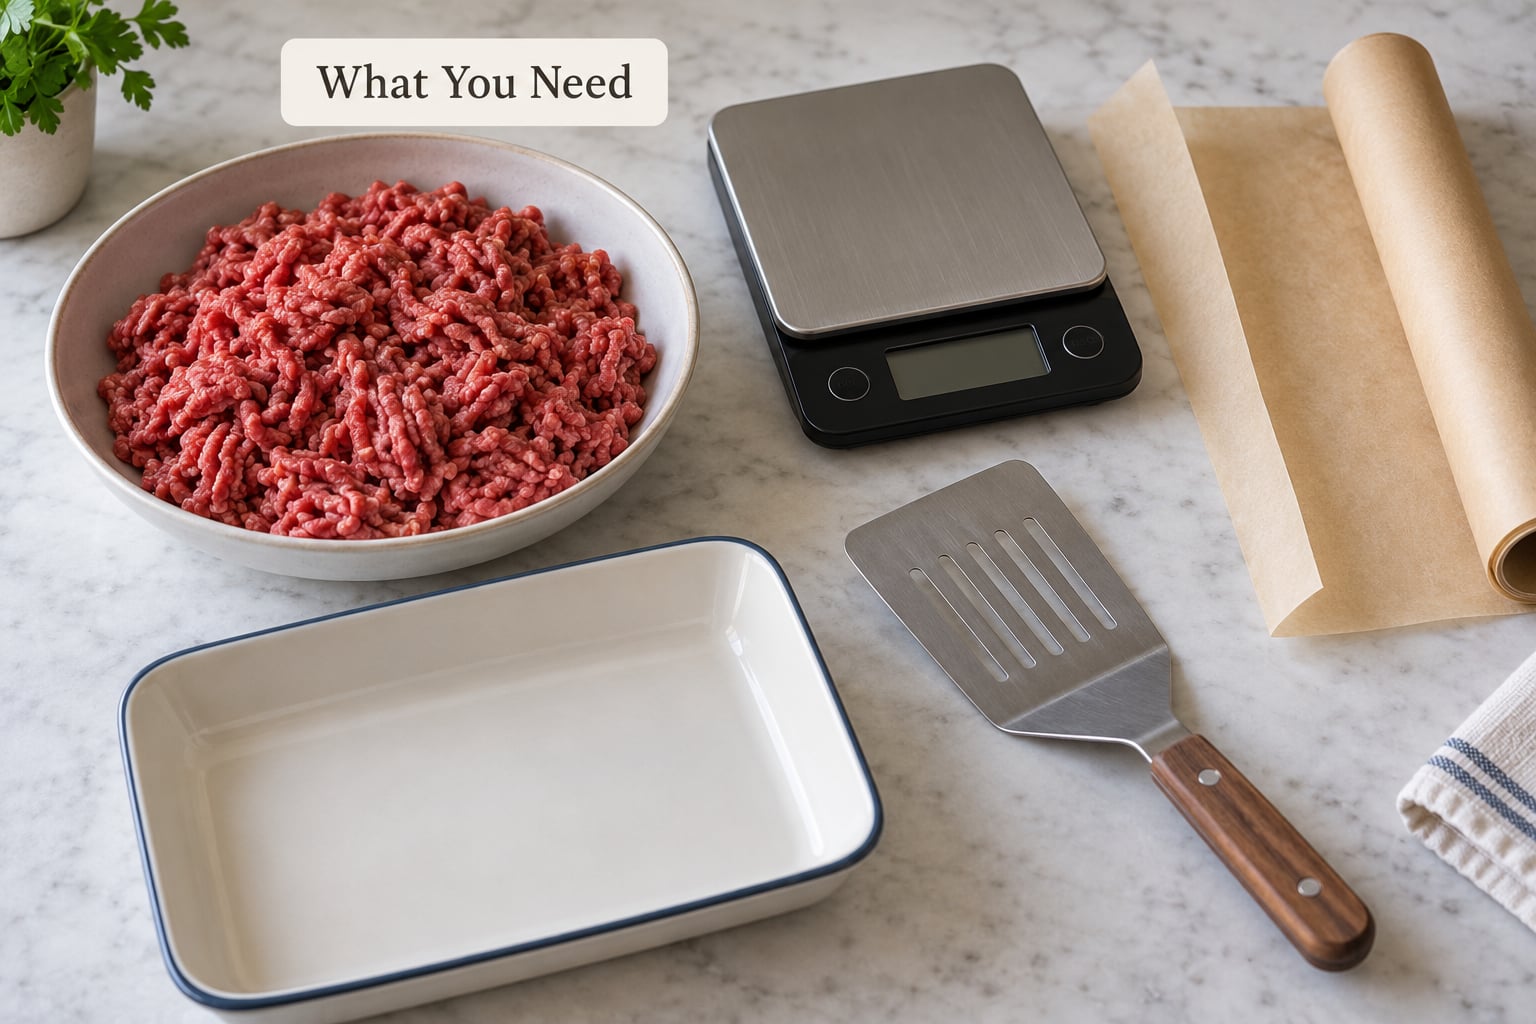
None of this is specialized equipment. You need a cold working surface, an even portion, and one firm thumb.
- 80/20 ground beef or ground chuck. Around 20 percent fat is the practical starting point. Very lean meat has little to render and little to bind, so it shrinks hard and domes more.
- A digital kitchen scale. Even weight matters more than perfect shape. A four-ounce patty cooks at the same rate as its neighbour; a five-ounce patty next to a three-ounce one does not.
- Parchment or wax paper. A nonstick surface keeps the meat from sticking to your hands and tearing at the edges, which is where most patties start to curl.
- A shallow dish and fridge space. Shaped patties rest here while they chill.
- A wide, thin spatula or a grill press. You use it to keep a patty in full contact with the cooking surface, not to squash juices out of it.
- An instant-read thermometer. Ground beef is done at 160 F. Guessing at time is how you end up pressing a dry patty.
Step-by-Step
1. Choose ground beef with the right fat content
Ground chuck at 80 percent lean is the easy answer. Fat renders out under heat, and that rendering is what keeps the patty juicy while the crust sets around it. Leaner blends go tight and bouncy in the middle instead, so they balloon more.
Handle the meat three times: once to take it out of the package, once to shape it, once to put it on the paper. Every extra knead aligns the proteins and makes a firm, springy puck that resists a flat shape.
2. Weigh and divide the patties into even portions
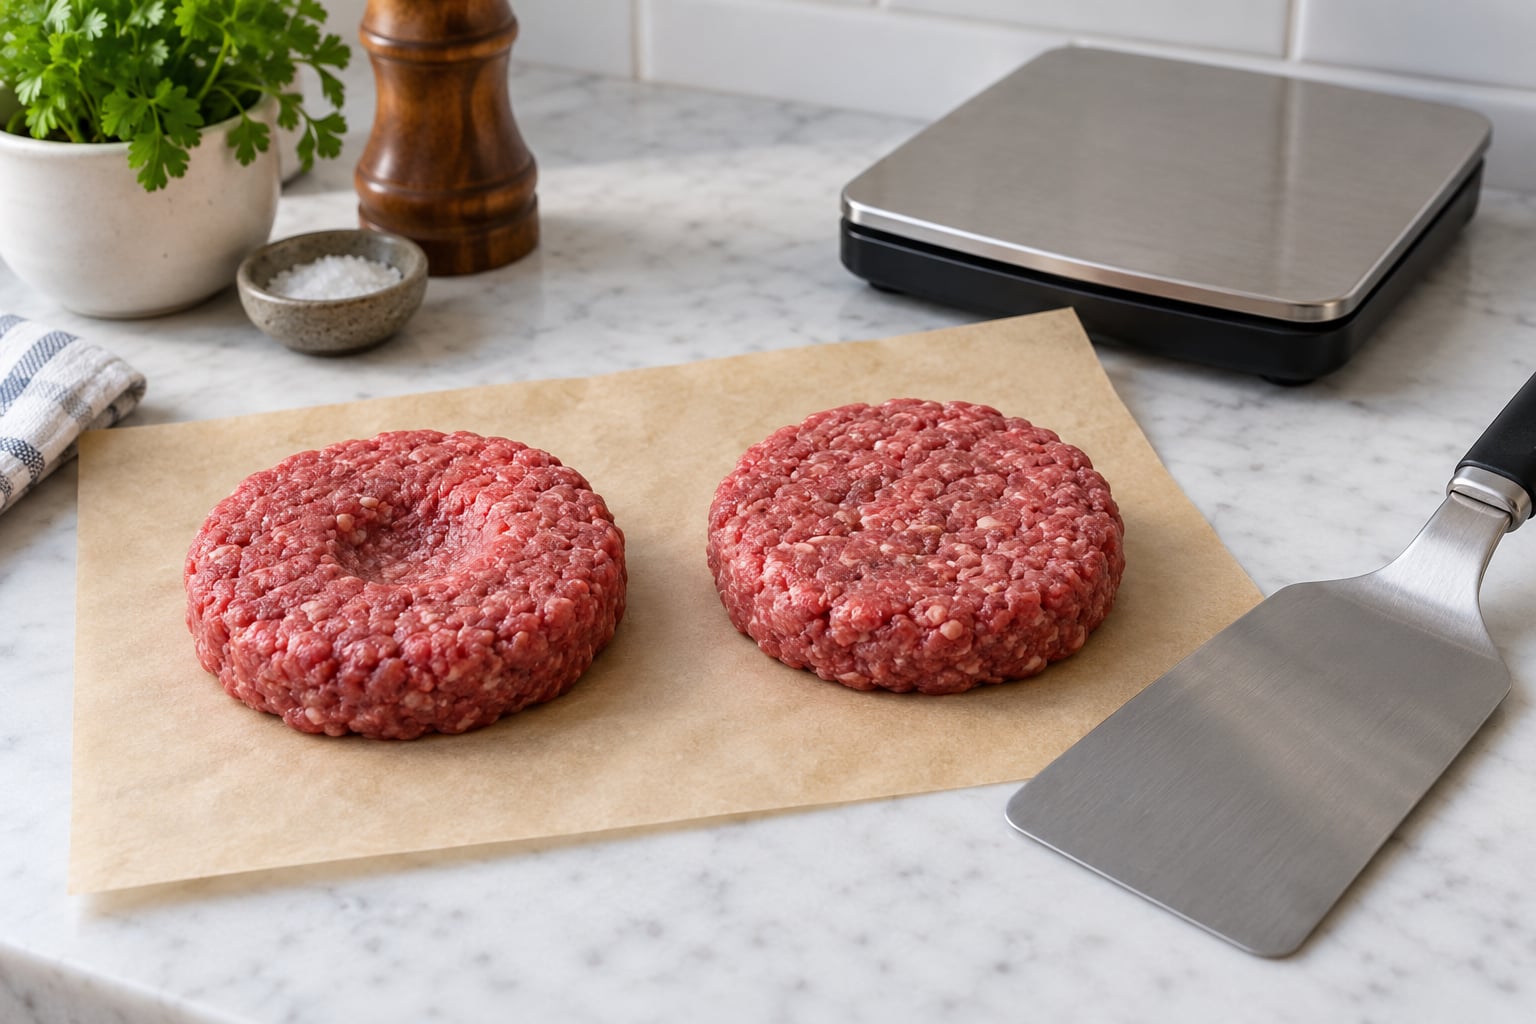
Weigh each one. About four ounces suits a standard bun, and matching weights mean matching cook times. Put four ounces on the paper, shape it, then weigh the next one to confirm rather than eyeballing.
Make each patty a little wider than the bun, roughly a quarter inch of overhang on each side. A patty that matches the bun diameter exactly has nowhere to shrink to.
3. Shape the patty thin and leave a shallow indent
Pat the meat into a disk about three-quarters of an inch thick. Press with the flat of your palm and stop. Packing the meat dense squeezes out air pockets and leaves a slab that has nowhere to expand.
Then press your thumb straight down into the center, about a third of the way to the paper, and no deeper. That dimple fills with juice and steam as the patty cooks and rises to level with the rest instead of over the top. The back of a spoon works if you prefer, and the indent does not add meaningful cooking time.
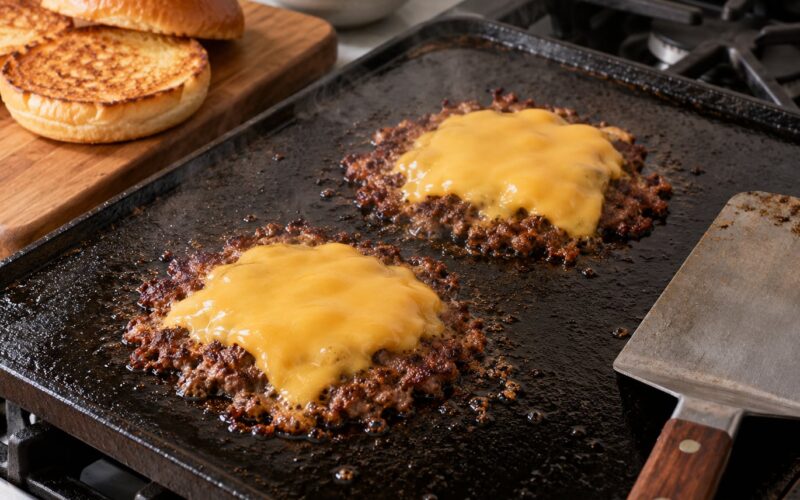
If you are deliberately chasing lacy, crinkly smash-burger edges, skip the indent. That method cooks an unindented ball smashed hard against a ripping-hot surface on purpose, and the dome is the point.
4. Chill the patties before cooking
Refrigerate shaped patties for 15 to 30 minutes. Cold fat firms up, so the patty holds its flat shape through the first minute of cooking instead of slumping and curling at the edges.
This is the step people skip, and it is the one I would keep if you only kept one. A chilled patty also shrinks less, which means less of the center pushing upward.
5. Press or hold the patties flat on the grill
Set the patty down and press once, gently, across the whole surface for a second or two. That is it. Pressing only around the rim pushes liquid toward the center, which is the exact problem you are trying to fix, and repeated hard pressing squeezes out the juices you paid for.
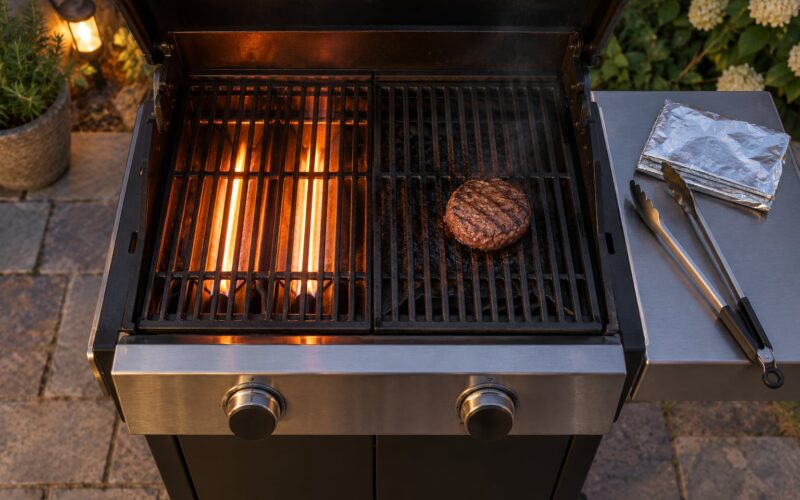
If a patty starts to lift or curl while cooking, lay the wide spatula flat on top and rest your hand on it lightly until the edges set. Keep that up on two-zone fires where one side runs hotter than the other.
6. Flip only when the edges set and the center stops releasing
Watch the patty instead of the clock. You are ready to turn when the edges look set and browned, the surface has lost its wet shine, and the released juices have stopped flowing. Usually that is two to four minutes per side on a grill at 400 to 450 F.
Turn it exactly once. Repeated flipping tears the crust that has just set, which is why patties that dome also tend to break apart when you try to move them.
7. Let the burger rest before serving
Rest the patty two to three minutes on a wire rack, not on a plate. A wire rack stops the underside from cooking from residual heat, and a plate steams the bottom soft.
Resting lets the juices settle and the patty firm slightly, so it holds its shape in the bun instead of slowly slumping into a dome under the weight of the toppings.
Common Mistakes
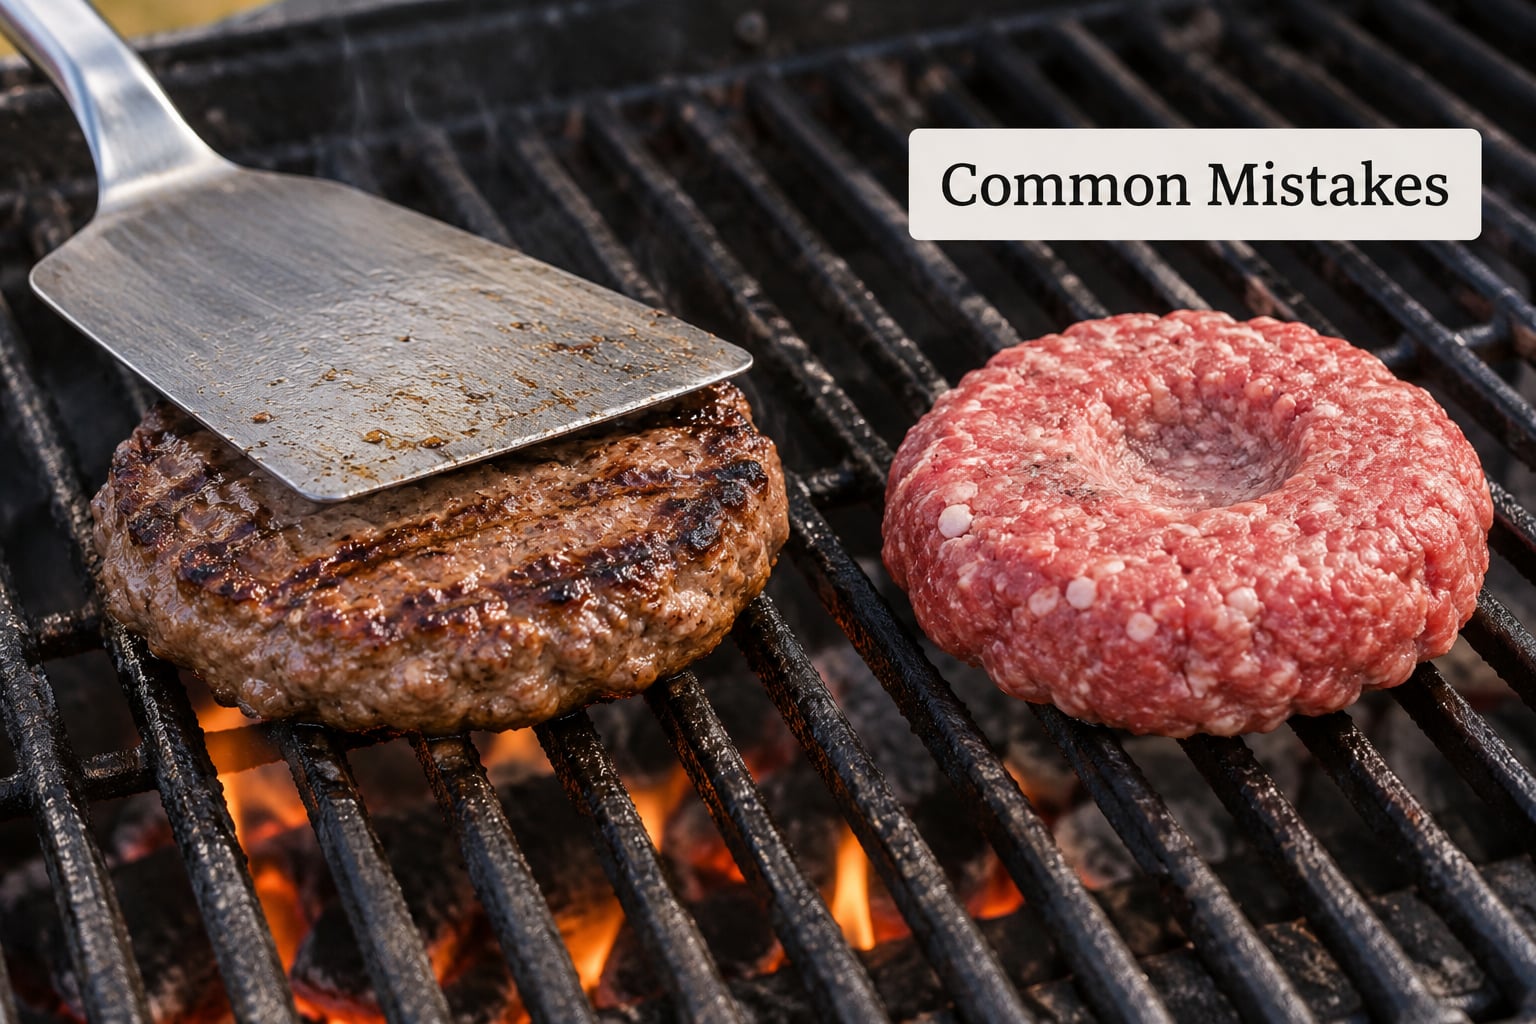
Almost every puffy burger traces back to one of seven things. Find yours and the fix takes about a minute.
- Uneven portions. A fat patty next to a thin one cooks at different rates, and the fat one domes while the thin one dries out. Fix: weigh every patty instead of eyeballing it.
- Overworked meat. Kneading and packing make patties firm and springy. Fix: three touches, then leave it alone.
- Loose edges and crumbly meat. The ragged rim is where patties curl into a taco shape. Fix: too lean a blend, and pat the edges back together before the indent.
- Very lean beef. Under 15 percent fat, patties shrink hard and the center bulges. Fix: use 80/20, or add a little more fat in the blend.
- A hot spot on the grill. One side cooks fast, steam builds, and the center lifts. Fix: build a two-zone fire and keep the patty on the cool half until the lid does the work.
- Pressing only the edges. It looks like flattening and actually funnels liquid to the center. Fix: one gentle press over the whole surface.
- Flipping repeatedly. Every turn breaks the forming crust. Fix: one flip, timed on set edges rather than on the clock.
Two more worth naming. A grill press held down the whole cook dries the patty and squeezes out what you are trying to keep, so use it only for the first few seconds. And a grill basket is worth having if fat drips flare up and char the underside before the middle ever cooks through.
How to Keep Burgers From Puffing Up in the Middle: Quick Troubleshooting
If you read nothing else, run this list before the next cook.
- Weigh the beef into equal portions, about four ounces each.
- Keep the beef and your hands cold, and work the meat no more than three times.
- Press each patty to an even three-quarters inch, loose rather than packed.
- Leave a shallow thumb indent in the center of every single patty.
- Chill shaped patties 15 to 30 minutes before they meet the heat.
- Press once across the whole surface, never just the rim.
- Flip once, on set edges and a dry-looking top, not on a timer.
- Rest two to three minutes on a wire rack before building the burger.
Air fryer users get the same causes and a different fix. The hot, fast-moving air cooks the outside before the inside can set, so the center steams itself into a cone and the patty often folds or falls apart when you open the basket. Shape those patties slightly thinner, press a deeper indent, and give the basket a light spray of cooking oil so the flat side does not weld to the liner before the top can set.
| What you see | Likely cause | Fix |
|---|---|---|
| Balloon or meatball shape | No indent, patty too thick | Three-quarters inch thick with a thumb indent |
| Breaks apart when flipped | Flip before the edges set, or cooked too cold | Wait for set edges and flip once |
| Shrinks hard and puffs | Blend too lean | Move up to 80/20 ground beef |
| Curls like a taco | Loose edges, cold pan, overworked meat | Chill the patties, press the edges closed, hot surface |
| Cone in the air fryer | Fast air sets the outside first | Thinner patty, deeper indent, basket not overfilled |
If a patty has already started to dome mid-cook, you can still save it. Press the wide spatula flat on top and hold it down gently while the underside finishes, or move it to the cool side of the grill with the lid closed so the trapped steam cooks through instead of expanding further. Cut into the thickest part and check for doneness rather than trusting appearance, and still hit 160 F before serving.
Frequently Asked Questions
Why do burgers puff up in the middle?
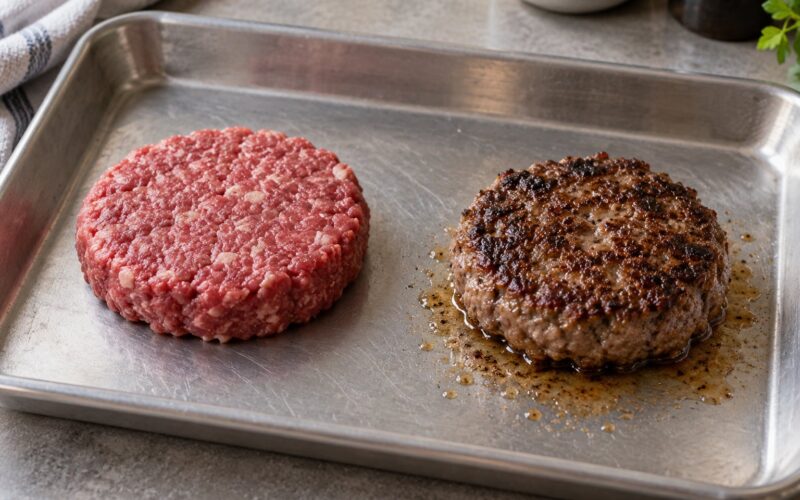
Steam and rendered fat expand inside the patty as it cooks, and an evenly thick center has nowhere for that expansion to go. The crust sets first while the middle is still loose, so the center bulges upward and the patty rounds over. A thumb indent made before cooking gives that expansion a reservoir to fill, so the patty rises to level instead of doming.
Should I make a hole in the middle of a burger patty?
You are close, but a hole is not what you want. Press your thumb straight down into the center of the patty, roughly a third of the way to the paper, and stop. A punched hole opens a path for juices to run out during cooking, which dries the burger. The indent stays blind at the bottom and fills with liquid as the patty cooks.
Why do my burgers puff up in the air fryer?
Hot moving air sears the outside of the patty well before the center can set, so moisture flashes to steam inside a sealed shell and the burger rises into a cone. Shape air fryer patties slightly thinner than grill patties, press a deeper center indent, and leave space between patties so air circulates. A light oil spray on the basket side stops the flat face sticking to the liner.
Why put an ice cube on your burger while grilling?
The ice cube trick is about moisture, not shape. As the cube melts it steams inside the patty and keeps the center juicy while the outside sears. A spoonful of finely chopped mushroom or a splash of water works the same way. None of these stop a patty from doming, so add the indent and the chill time as well if puffing is your problem.
Is 500 degrees too hot for burgers?
500 F is a hot but workable grill temperature, and it gives you the crust that most people want. Too hot means the fat ignites before the center cooks, which chars the outside and leaves a raw middle, and the flare-up pushes juices outward. Hold a two-zone fire, start the patty on the cool side with the lid down, and check for 160 F with a thermometer.
How long should I grill a half pound burger at 400 degrees?
At 400 F, expect roughly four to five minutes per side for a thick patty, and less for a thin one, so go by the food and not the clock. Flip once when the edges look set and the top has lost its wet shine. Check with an instant-read thermometer in the thickest part and pull it at 160 F, since the patty keeps cooking after it leaves the grill.
Conclusion
Start with the three moves that matter most: weigh the beef into equal four-ounce portions, press each patty to an even three-quarters inch, and leave a shallow thumb indent in the center. Chill the shaped patties 15 to 30 minutes, then cook them on a hot surface and flip once. The rest is seasoning.