To make BBQ wings sticky and glossy, cook the wings until the skin is crisp and reaches 165°F / 74°C, then reduce your sauce until it is thick, glossy and sticky, and brush it on in two or three thin layers under high heat. The glaze sets in minutes and clings instead of sliding off.
The whole thing takes about an hour, start to finish, and most of that is the oven doing its job. The part that trips people up is the sauce: a thin bottle of barbecue sauce will never lacquer anything. It puddles in the tray, runs off the skin, and goes matte. What you want is a reduction.
Here is exactly how to make BBQ wings sticky and glossy, step by step, including the fix for wings that turn out matte, burnt or swimming in sauce.
Table of Contents
- What You Need
- Step-by-Step
- 1. Dry-brine or Season the Wings
- 2. Cook the Wings Until Crispy
- 3. Make the Sticky BBQ Sauce
- 4. Glaze the Wings in Stages
- 5. Rest, Reheat, and Serve
- Common Mistakes
- Tips for Extra-Glossy Game-Day Wings
- Frequently Asked Questions
- How do I make my chicken wings sticky?
- How do you get barbecue sauce to stick to wings?
- How do I make my wing sauce sticky?
- How do you get wing seasoning to stick?
- Should I add BBQ sauce before or after cooking the wings?
- Can I make sticky BBQ wings ahead of time?
- Conclusion
What You Need
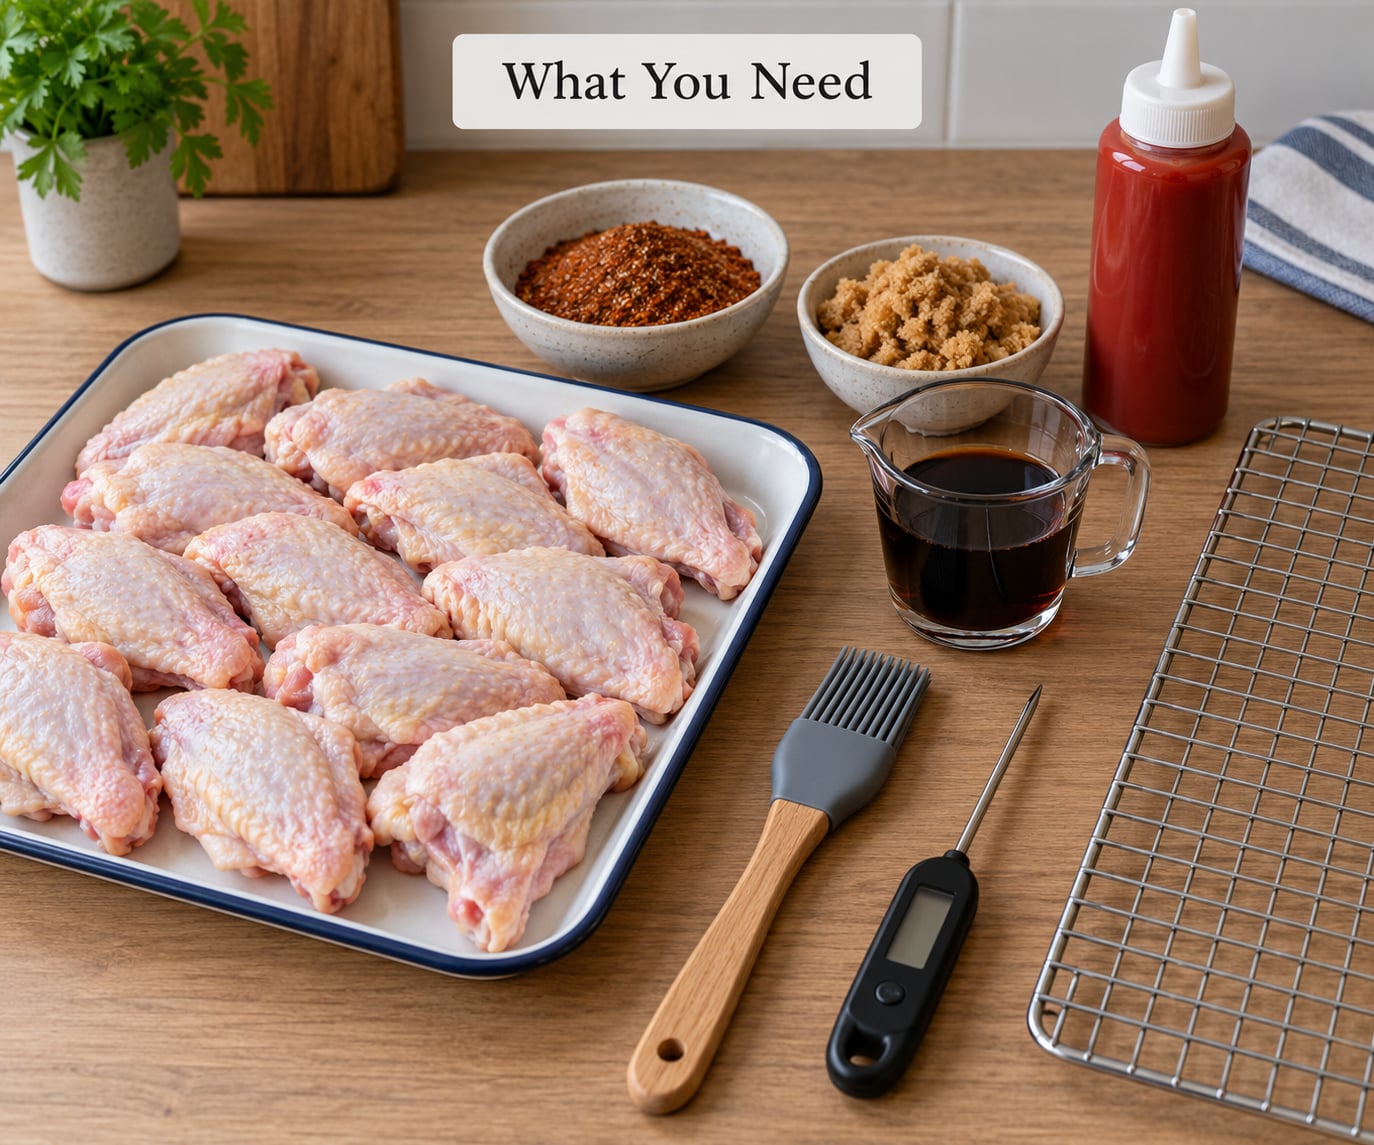
For the wings:
- 2 to 3 pounds of chicken wings, party-cut (flats and drumettes) or whole, your call
- Kosher salt and coarse ground black pepper
- Garlic powder, onion powder and smoked paprika
- Cayenne or chili flakes, optional, for heat
For the sticky glaze:
- 1 cup barbecue sauce, jarred or homemade
- 1/4 cup brown sugar or honey
- 1/3 cup ketchup, for body and a smooth base
- 2 tablespoons cider vinegar or balsamic vinegar
- 1 to 2 tablespoons Worcestershire sauce or soy sauce
- 1 teaspoon smoked paprika or a dash of liquid smoke, optional
For the equipment:
- A heavy baking sheet or rimmed pan, plus a wire rack if you have one
- Tongs
- A basting brush or silicone pastry brush
- A small saucepan for reducing the sauce
- An instant-read meat thermometer
A wire rack is the single cheapest upgrade you can make. Wings sitting on a rack get hot air under them, so the skin keeps crisping after you sauce them instead of going soft in a puddle of sauce.
On temperature and timing: poultry is safe to eat at 165°F / 74°C measured at the thickest part, which for a wing means the drumette near the bone. Most people push to 175°F / 79°C because the extra heat loosens the connective tissue and gives you that fall-off-the-bone texture. Either target works, 175°F is just more forgiving.
On storage: cooked wings keep 3 to 4 days in the fridge, covered loosely on a rack so condensation does not drip onto the skin. Freeze them sauced on a tray first, then bag them once solid, and they will hold for about two months. Reheat at 400°F / 205°C for 8 to 10 minutes rather than microwaving, which turns the glaze leathery.
Step-by-Step
1. Dry-brine or Season the Wings
How to make BBQ wings sticky and glossy starts long before the oven, and the first job is drying the skin. Pat every wing with paper towels until the skin feels almost tacky. Moisture is the enemy of both crispness and adhesion: wet skin steams instead of browning, and dry rub will not hold on to it.
Mix the dry rub: 2 teaspoons salt, 2 teaspoons black pepper, 2 teaspoons garlic powder, 2 teaspoons onion powder, 2 teaspoons smoked paprika, and up to 1 teaspoon cayenne if you want heat. Season both sides of every wing, working it into the crevices around the joints where a lot of rub likes to hide.
If you want a stronger bind, mix 1 tablespoon of yellow mustard into the dry rub until it forms a damp paste. Mustard is mostly water and acid with a little emulsified oil, and it does two jobs: it holds the seasoning on through cooking, and it helps the first coat of glaze grip later. This is the same trick used on competition grill chicken, and it works just as well on wings.
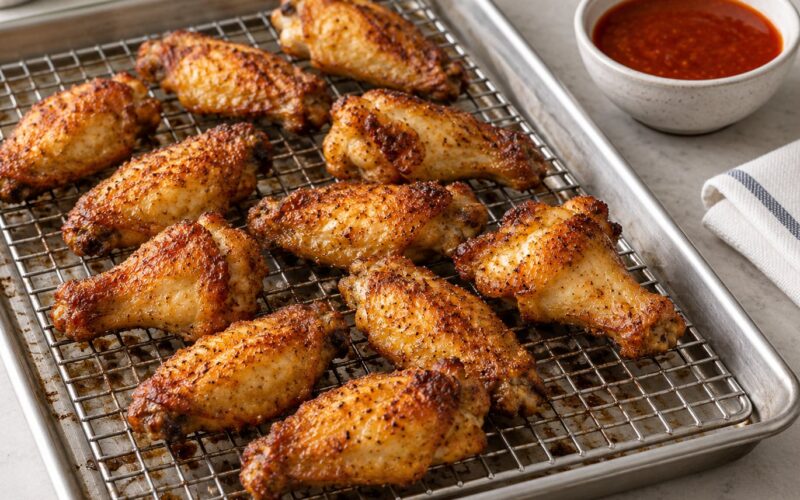
Toss the seasoned wings on a rack set over a tray, cover loosely, and leave them uncovered in the fridge for at least 30 minutes or up to overnight. That uncovered rest is a dry brine. Salt draws a little moisture out of the skin, and the surface it leaves behind is dry enough to crisp and sticky enough for seasoning to hold.
2. Cook the Wings Until Crispy
The wings are ready to sauce when the skin is crisp and the thickest part hits 165°F / 74°C, or 175°F / 79°C for a softer, more tender bite. Sauce earlier than that and the glaze burns long before the meat is safe to eat.
Oven: Heat to 400°F / 205°C. Set the wings skin-side down in a single layer with real space between them, touching wings steam each other and will never crisp. Cook 30 to 40 minutes depending on size, flipping once at the halfway mark, until the skin is deep golden and the thermometer reads done in the thickest drumette.
Air fryer: Heat to 380°F / 195°C. Cook 14 to 18 minutes, flipping every 5 minutes, until the skin is crisp and the thickest part reads 165°F / 74°C or higher. Air fryers brown fast at the edges, so check early rather than trusting the clock.
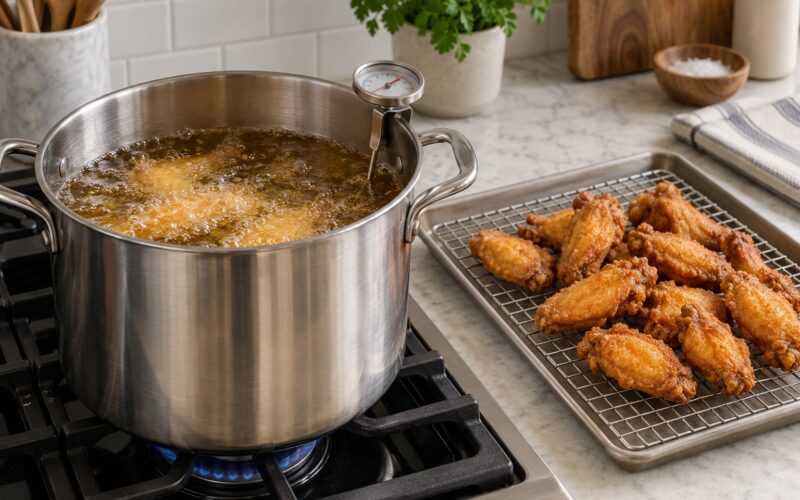
Stovetop shortcut: Put a heavy skillet over medium-high heat with a thin layer of neutral oil. Lay the wings down in batches so they are not crowded, press each one for 20 seconds to stop them curling, then cook 5 to 6 minutes per side until deeply golden. Transfer to a rack. This is the fastest route to glossy wings and the least forgiving one, so move fast once the sauce goes on.
Grill and smoker: Finish over a two-zone fire, skin-side over indirect heat for the cook, then move to direct heat for the last few minutes per side to render the fat and set the skin. Smoked wings at 225°F / 110°C take around 2.5 to 3 hours until they hit 175°F / 79°C, then go over direct heat for the last 5 minutes to crisp.
3. Make the Sticky BBQ Sauce
Sticky wings come from a sauce with enough body to cling and enough sugar to set. A thin bottled sauce has the sugar but not the body, so you build the body by reducing it: simmer the sauce and let water evaporate, which concentrates the sugar and thickens it until it coats the back of a spoon.
Combine 1 cup barbecue sauce, 1/4 cup brown sugar or honey, 1/3 cup ketchup, 2 tablespoons cider vinegar, and 1 to 2 tablespoons Worcestershire or soy sauce in a small saucepan. Bring it to a simmer over medium heat.
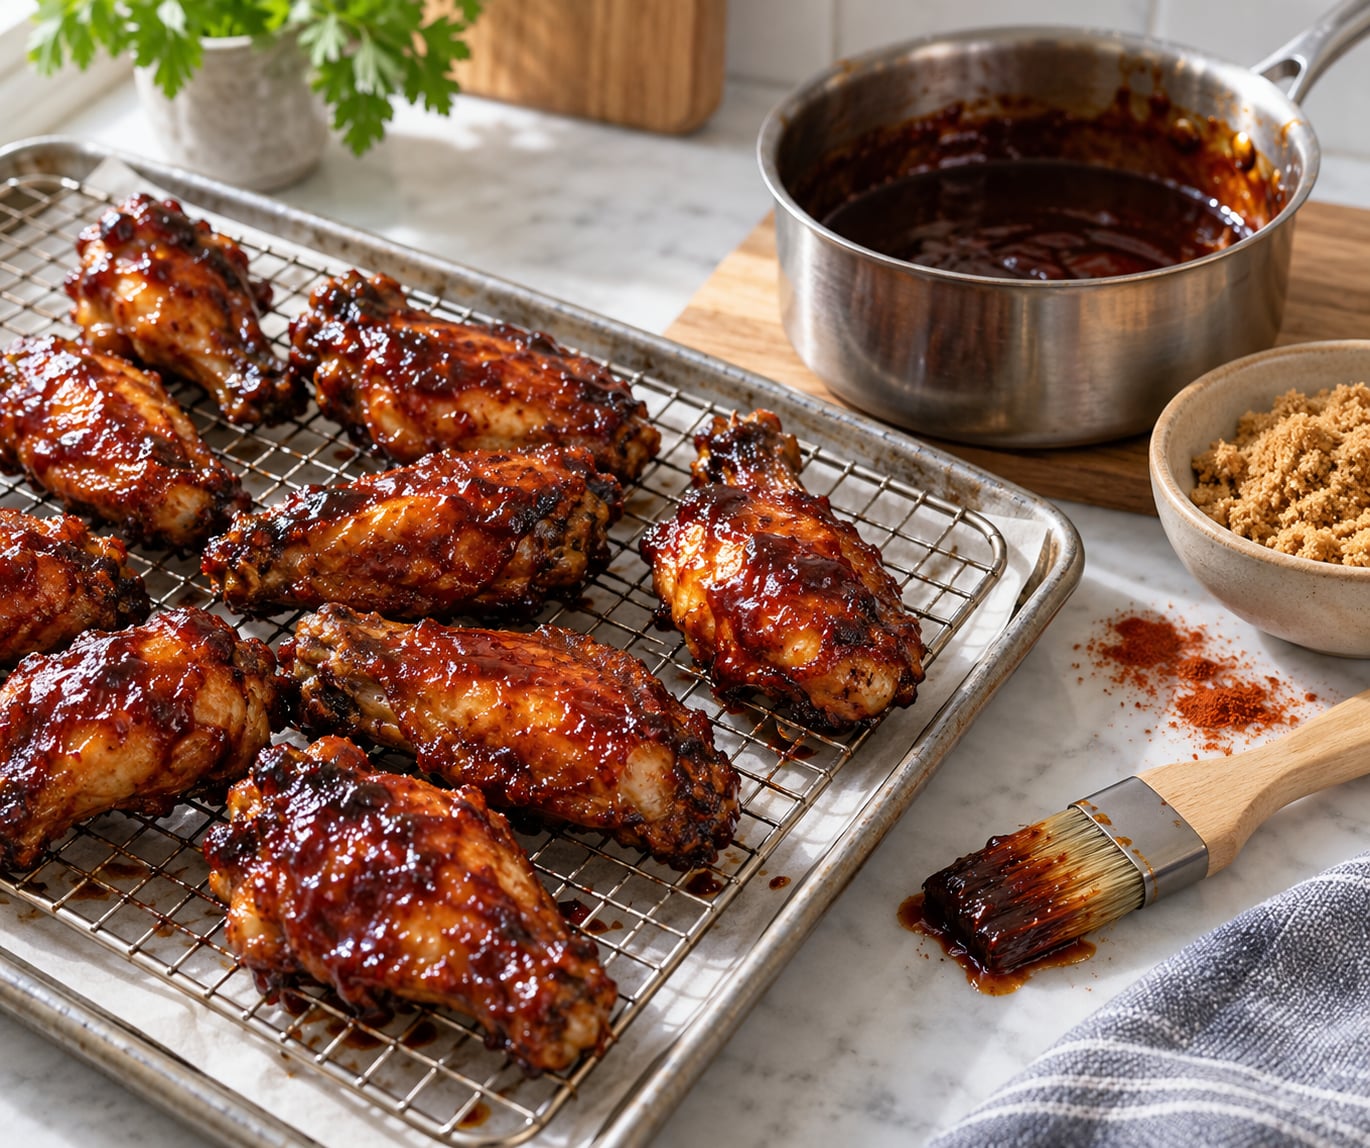
Simmer for 10 to 15 minutes, stirring often, until it thickens to the texture of warm maple syrup and a spoon drawn through the pan leaves a clean line that fills back in slowly. That “thick, glossy and sticky” stage is the target. If you overshoot and it turns to brick, splash in a little hot water or a splash of the thin barbecue sauce and bring it back up.
Adjust the balance once it is reduced, not before:
- Too sweet? Add a spoonful of cider vinegar at the very end. It will look like it loosened things too much, but the heat carries it off in a minute.
- Too flat? A pinch more salt or a dash of Worcestershire fixes it.
- Not smoky enough? Stir in a teaspoon of smoked paprika or a few drops of liquid smoke off the heat.
- Too thick to brush? Whisk in a tablespoon of hot water or apple juice until it falls off the brush in a steady ribbon.
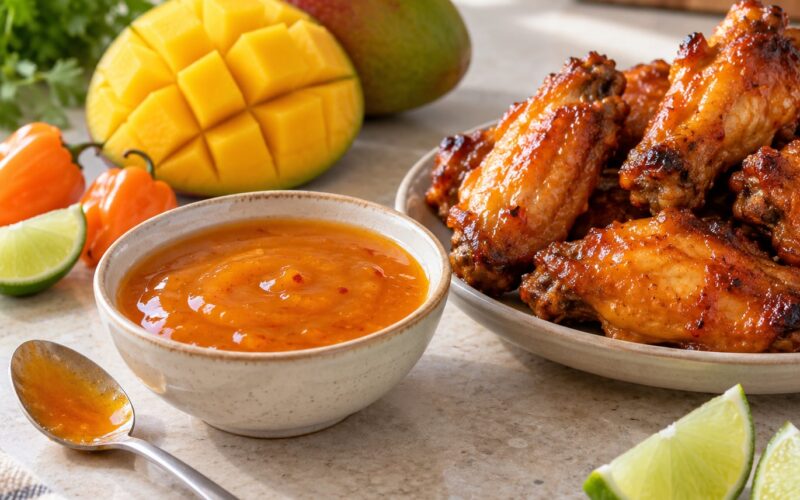
Pour half of the finished glaze into a small bowl for serving and keep the rest for brushing. That reserved sauce is what keeps the platter looking wet and shiny an hour into a party, and it stops you from dipping every wing and turning them to mush.
4. Glaze the Wings in Stages
Gloss comes from thin layers cooked twice. One thick coat sits on the surface, bubbles, and scorches before the middle ever sets. Thin coats flash across the skin and lock on.
Turn the oven up to 425°F / 220°C, or move the wings under the broiler for 2 to 3 minutes with the rack in the middle, and stay close. Broilers go from golden to black fast, so this is the step that produces most scorched wings.
Brush the wings with a thin first coat. Use a light hand, coat the skin but let some of it stay visible, and get the underside too since wings sit at odd angles. Return the tray for 4 to 5 minutes, until the glaze looks set and slightly darkened at the edges rather than wet and reflective.
Rotate the wings with tongs so the previously underside faces up. Brush on the second thin coat and give it another 4 to 5 minutes. A third coat is optional and worth it if the glaze was thin.
The cues to watch for are specific. A finished wing looks uniformly wet-looking and reflective, with a smooth translucent layer you can still see the skin texture through, and the edges have darkened to a deep amber. The glaze should feel tacky if you touch it lightly with a clean finger. If it feels glassy and hard, it has gone too far, and the wing is on the edge of bitter.
5. Rest, Reheat, and Serve
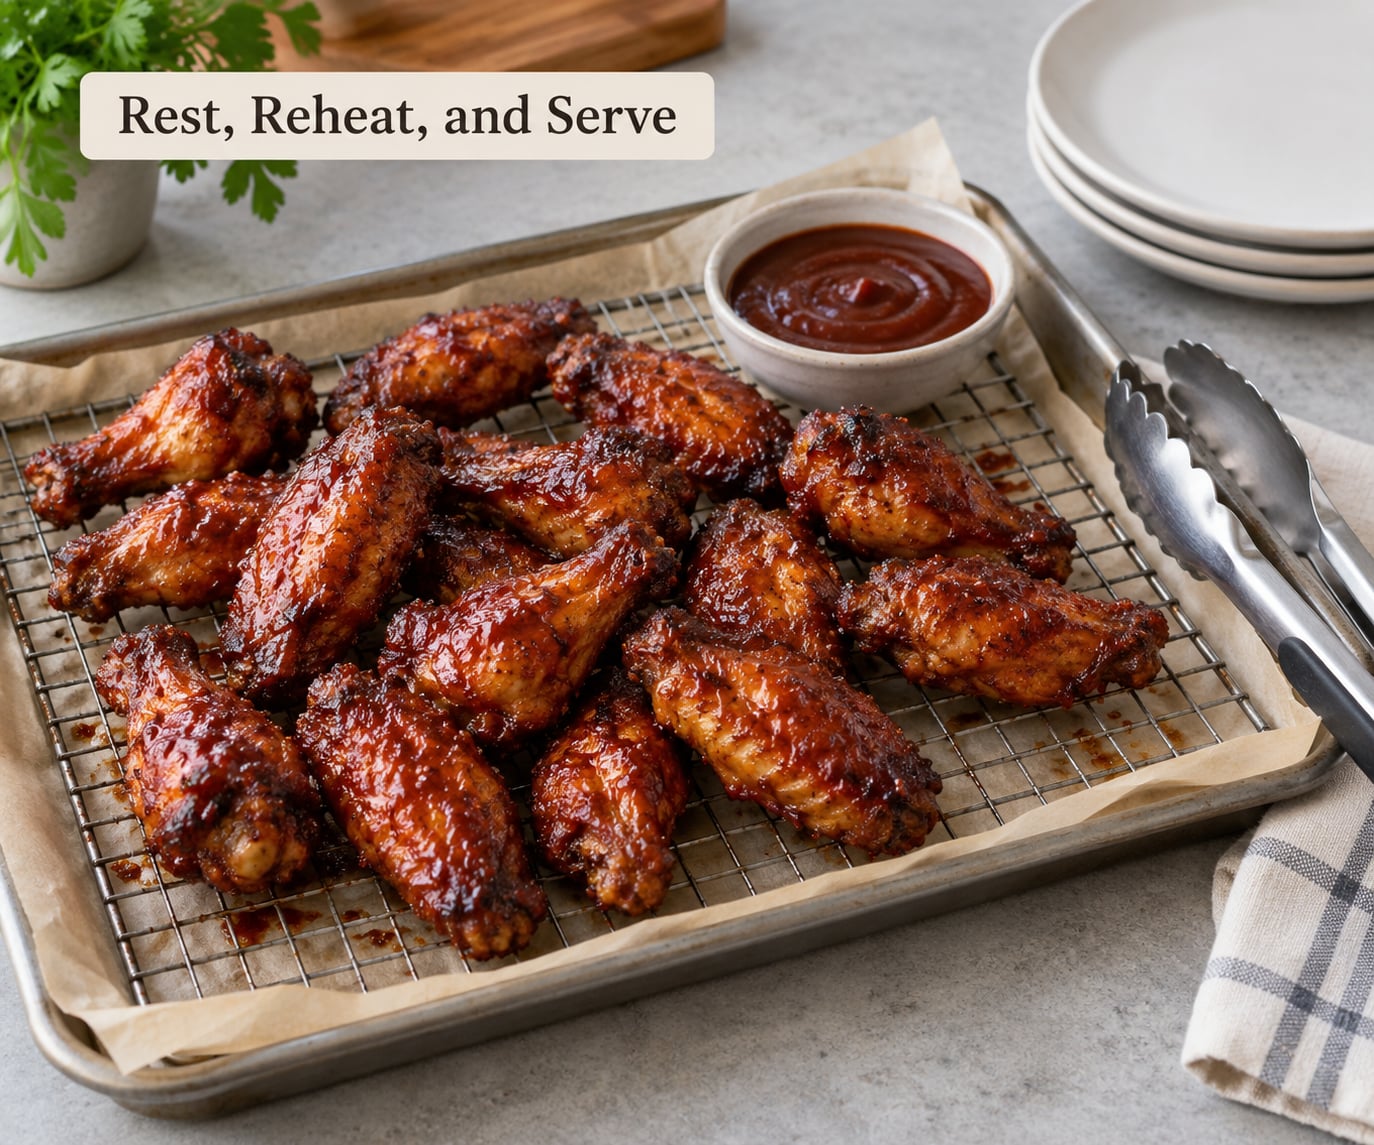
Pull the wings out and rest them on the rack, not in the pan, for 5 minutes. The trapped heat keeps the glaze moving, and resting lets the sugars set into something you can bite without the coating smearing off.
For a party, hold them in a single layer on a rack over a sheet pan in a 200°F / 95°C oven for up to an hour. If you must stack them, put parchment paper between the layers so the glaze does not stick to the wings below it. A wire rack keeps the underside from steaming, which is what makes soggy wings.
To reheat leftovers, spread them on a rack and blast the oven at 400°F / 205°C for 8 to 10 minutes. Reheat uncovered. A covered dish traps steam, and the glaze goes dull and the skin goes soft.
At the table, set out the reserved glaze in a small bowl for dipping, plus a cool blue-cheese or ranch-style dip for people who want a break from the sweetness. Hot wings pair well with a cold, crisp drink: a lager, a hard cider, or a sparkling water with lime. Salty, cold and sharp cuts straight through the glaze.
Common Mistakes
The wings are sticky but dull. The glaze never got hot enough to caramelize, or it was too thin to hold a wet sheen. Push the sauce to the thick, glossy and sticky stage before it goes near the wings, and finish under higher heat so it bubbles and darkens.
The glaze went dark and bitter. Sugar burns before it thickens, so a sweet sauce needs a shorter, hotter blast rather than a long cook. Reduce the sauce on the stove where you can stir it, glaze in two or three thin layers, and watch the last two minutes at high heat closely.
The sauce slid off or pooled in the tray. Thin sauce, wet skin, and a crowded pan all push liquid onto the sheet instead of onto the wing. Dry the wings properly, reduce the sauce further, and space them out before saucing.
The skin went soft. That happens when sauce hits the wings early or when the sauced wings sit covered or in a sealed container. Sauce only in the last 10 to 15 minutes, and hold them uncovered on a rack.
The seasoning fell off. Wet skin and a sauce applied too soon are both causes. Dry the wings before seasoning, leave the rub to set for 30 minutes uncovered in the fridge, and wait until the skin is crisp before any sauce goes on.
The wings were dry and tough. Overcooking before the sauce goes on is the culprit. Take them off the heat at 165°F / 74°C, and use the resting period and the sauce moisture to do the rest of the work.
The batch looked flat compared to a restaurant plate. Restaurant glaze is reduced further than most home recipes. Push the simmer a few minutes past syrup thickness until it drags, then brush thinner and add a second coat.
Tips for Extra-Glossy Game-Day Wings
Reduce a little past where you think you should. A glaze that looks slightly too thick in the pan relaxes into a smooth lacquer once it hits a hot wing, and it will not run off the way a thinner one does.
Add a splash of hot sauce to the finished glaze, off the heat, for shine with a slow burn underneath. Honey instead of brown sugar gives a slightly more translucent, glassier coat, while brown sugar adds a deeper caramel note and a firmer set.
Always keep a little vinegar in the bowl. A few drops of cider vinegar in the sauce right before serving keeps the shine high and keeps the sweetness from flattening out after it cools.
Brush rather than toss for an even coat. Tossing is faster and coats more surface, but it knocks the skin and dumps the excess into the tray. If you toss, do it in the pan, then lift each wing out and blot the pooled sauce off the underside.
Rotate wings between each coat so the same edges do not take all the heat. Thin wings and drumettes brown at different rates, and rotating is what makes a whole batch look like it came from one plate.
Test the sauce a few days before the game. One small batch tells you whether your sugar and vinegar are balanced for your own taste, and it takes fifteen minutes.
Frequently Asked Questions
How do I make my chicken wings sticky?
Reduce the sauce, not the wings. Simmer barbecue sauce with a sweetener such as honey or brown sugar, ketchup and vinegar until it coats the back of a spoon and leaves a clean line that slowly fills in. Then brush that thick glaze onto wings that are already cooked and crisp, cooking for 4 to 5 minutes per thin coat under high heat. Thin bottled sauce on its own will always run off the skin.
How do you get barbecue sauce to stick to wings?
Three things help sauce grip: dry skin, a thick glaze and heat. Pat the wings dry before seasoning, reduce the sauce until it is syrupy, and apply it in two or three thin layers rather than one thick one. Rotating the wings between coats so all sides get hot and set is what keeps the glaze clinging instead of sliding off onto the tray.
How do I make my wing sauce sticky?
Cook it down. Simmer the sauce over medium heat for 10 to 15 minutes, stirring often, until it thickens to warm maple syrup consistency. Most bottled barbecue sauce loses roughly a third of its volume as water evaporates and the dissolved sugar concentrates. If it goes past that point and turns to brick, whisk in hot water or a splash of the thin sauce and warm it back up.
How do you get wing seasoning to stick?
Dry the skin first, then bind. Pat the wings with paper towels, mix a tablespoon of yellow mustard into your dry rub to make a damp paste, and coat both sides. Leave the seasoned wings uncovered in the fridge for at least 30 minutes or up to overnight. A dry brine draws moisture out of the surface, and that dry surface is what grips seasoning and turns crisp in the oven.
Should I add BBQ sauce before or after cooking the wings?
After, and close to the end. Sauce applied at the start burns long before the meat reaches a safe 165°F / 74°C, because sugar browns at a much lower temperature than chicken cooks. Cook the wings plain until crisp and done, then raise the heat and brush on the reduced glaze for the final 10 to 15 minutes in thin layers.
Can I make sticky BBQ wings ahead of time?
Yes. Cook the wings plain, cool them uncovered on a rack, and refrigerate for up to three to four days. Freeze sauced wings flat on a tray first, then bag them once solid, and they hold around two months. On the day, reheat uncovered on a rack at 400°F / 205°C for 8 to 10 minutes, then brush with the reserved glaze in the last few minutes to bring the shine back.
Conclusion
Start here: cook the wings plain until the skin is crisp and the thickest part reaches 165°F / 74°C, then reduce the sauce until it is thick, glossy and sticky before it ever touches a wing. Everything else is thin layers and patience.
The difference between good wings and the lacquered ones you remember from a pub comes down to that reduction, not to a secret ingredient. If you have time, simmer a small test batch a few days before the game so you know how sweet you want it and how long your own stove takes to get there.