To season a cast iron skillet, scrub the pan clean, dry it completely, wipe on a paper-towel-thin film of high-smoke-point oil, then bake it upside down at 450-500F for about an hour and let it cool in the oven with the door shut. Repeat the cycle three or four times, and the oil layers fuse into a hard, naturally nonstick surface that also keeps rust off the iron.
The active work takes maybe 20 minutes per coat. The oven does the rest, and if you are seasoning a new 12-inch skillet, budget about four hours from start to finish, most of it waiting.
That surface matters more here than on most cookware. A well-seasoned pan is what you use to sear burgers and wings hard enough to build a crust, to bake cornbread in a 450F oven, and to brown a roux without the sugar catching. Seasoning is not a factory step you skip; it is the whole point of buying iron in the first place.
Here is the short version before the detail:
- Strip rust, factory grease, or old failed seasoning.
- Dry the cooking surface, handle, and exterior fully.
- Wipe on a very thin film of oil, then wipe off the excess.
- Bake upside down at 450-500F for one hour.
- Cool in the oven with the door closed, then repeat three or four times.
- Cook with a little fat, dry the pan after washing, and wipe on oil.
Table of Contents
- What You Need
- Step-by-Step: How to Season a Cast Iron Skillet
- Step 1: Remove Rust and Old Residue Before You Season a Cast Iron Skillet
- Step 2: Rinse and Dry the Skillet Thoroughly
- Step 3: Apply a Thin Layer of Oil
- Step 4: Heat the Skillet and Let the Oil Smoke
- Step 5: Cool, Repeat, and Inspect the Seasoning
- Step 6: Cook and Maintain the Seasoned Surface
- Common Mistakes
- Leaving oil on the surface
- Skipping the dry
- Baking too cool
- Baking or cooling too fast
- Storing the pan damp, or stacked on its seasoned face
- Putting acid or wet food in the pan to store
- Treating it like a Teflon pan, or treating it like enamel
- Frequently Asked Questions
- How do I know if I seasoned my cast iron correctly?
- Why are there sticky spots on my cast iron after seasoning?
- Why is my cast iron seasoning flaking off?
- Can I wash a cast iron skillet with soap?
- How do I season a cast iron skillet without an oven?
- Is flaxseed oil the best oil for seasoning cast iron?
- Start This Afternoon
What You Need
The list is short. Most of it you already own, and none of it is expensive.
- The skillet itself. Bare or factory-preseasoned iron both work. Skip this whole process on enameled cast iron, because sanding or baking an enameled pan damages the glass surface permanently.
- Abrasive for the scrub. Coarse salt and a paper towel work for light residue, baking soda and water for a bit more, a chainmail scrubber for stubborn stuck food, and a coil stainless scrubber or 0000 steel wool when you are stripping a rusty thrift-store find down to metal.
- A dish brush or stiff nylon brush for the crevice where the pan meets the handle rib.
- Paper towels or lint-free shop towels for drying and for wiping on oil. Leave every lint fiber behind and it will bake into the seasoning.
- A high-smoke-point oil. Grapeseed, canola, vegetable, avocado, or lard. Flaxseed works too, and more on that below.
- An oven and a foil-lined lower rack for the bake, or just a burner if you are doing it stovetop-style.
One piece of advice from the people who own the most pans: do less than you think. The forum consensus is closer to “seasoning is mainly rust prevention, and if food sticks, the real culprit is usually heat control” than anything about glass-smooth surfaces and six perfect coats.
Step-by-Step: How to Season a Cast Iron Skillet
Before you start, decide which kind of pan you have, because the first step differs. A new factory-preseasoned skillet only needs a light scrub, a dry, and two or three thin coats. A thrift-store pan covered in orange rust and thirty years of carbon needs a real strip first. A gummy pan that has been over-oiled needs the excess scrubbed off before you add any more oil.
Step 1: Remove Rust and Old Residue Before You Season a Cast Iron Skillet
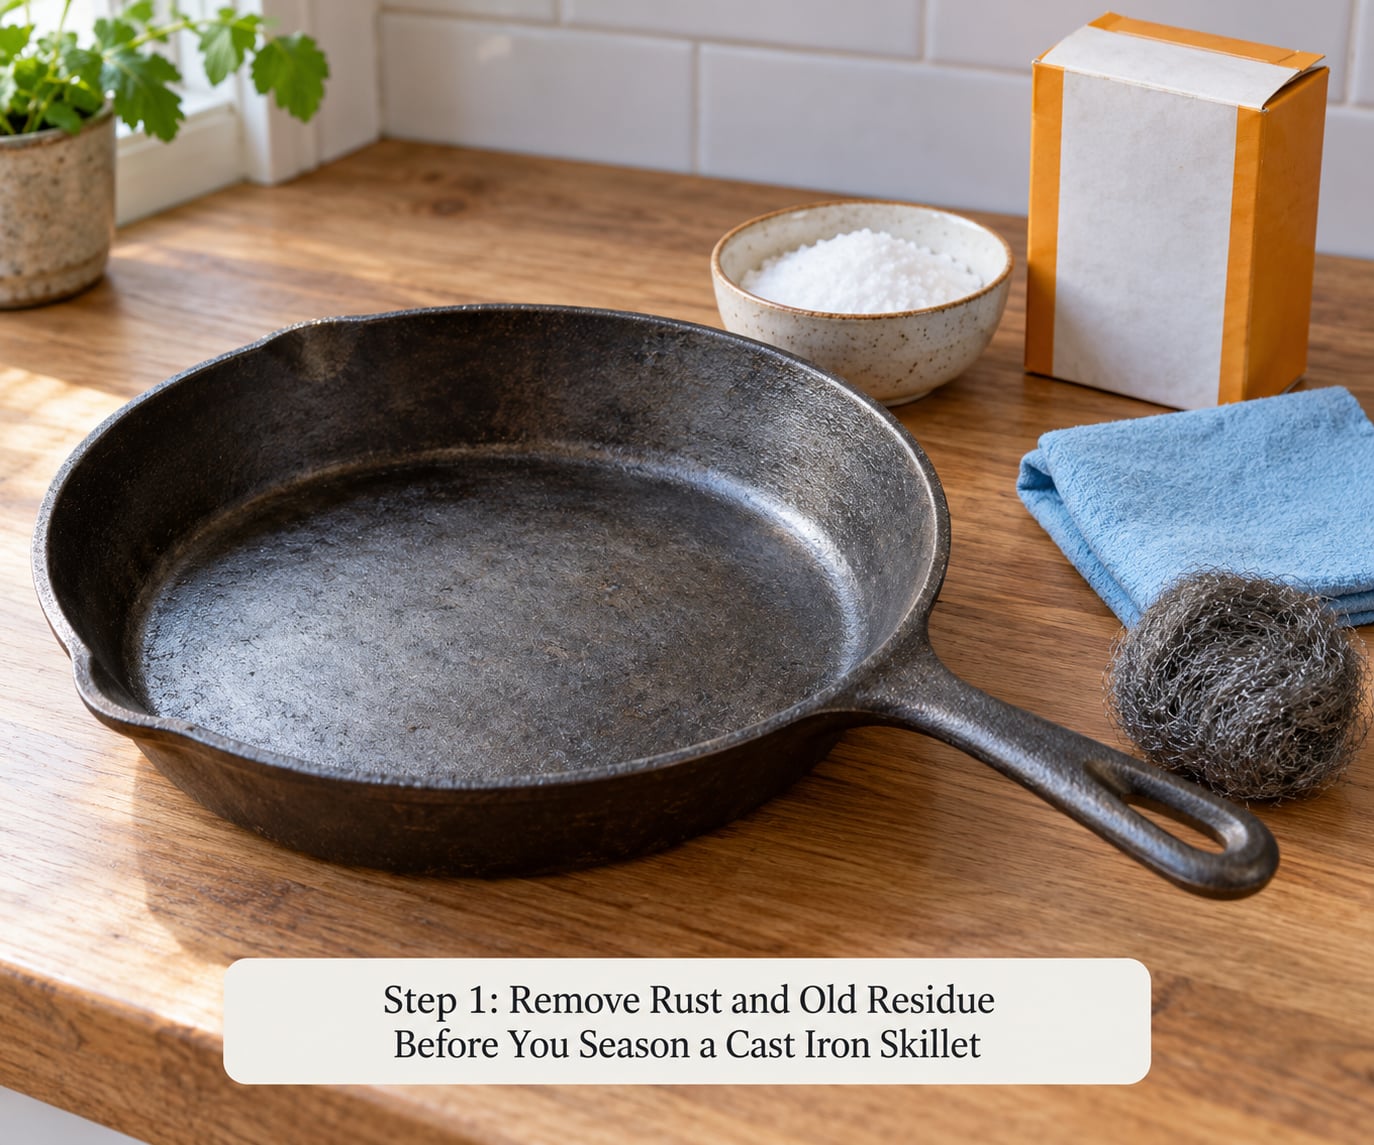
Work from the gentlest method that actually removes what is on the pan.
For factory grease and light film, add a small splash of water and a spoon of baking soda, scrub with a stiff brush, then rinse. For cooked-on carbon, roll a damp paper towel with coarse salt across the surface and scrub in small circles. Salt acts as a mild abrasive and picks up the gunk as it goes.
For rust, go harder: scrub with 0000 steel wool or a chainmail scrubber and a drop of oil until the rust gives up and grey metal shows through. Wipe the dust away with a damp towel and dry immediately.
What you are looking for is a clean, even grey or black surface with no orange patches, no sticky flakes, no loose powder.
Two warnings. Never soak cast iron in water, and never run it through the dishwasher, because both will strip the seasoning and drive rust into the pores overnight. And do not fire up a power sander trying to reach a mirror finish; smooth-seasoned pans exist, but they take decades of cooking, not an afternoon with a flap disc.
Step 2: Rinse and Dry the Skillet Thoroughly
Rinse the pan, then dry it while you are still standing at the sink. Wipe the cooking surface, the handle, the pour spouts if there are any, and the outside walls with a towel, then put the pan on a burner for two or three minutes on low or in a 200F oven for ten minutes. Heat evaporates the last film of water that a towel cannot reach.
Water is the enemy of every other step. A single damp spot becomes an orange freckle, and a damp pan seasons unevenly because oil beads where moisture sits.
Run a clean finger across the surface. If you can feel tackiness rather than dryness, keep going. Oil on wet iron also makes streaks that look like a defect for the life of the pan.
Step 3: Apply a Thin Layer of Oil
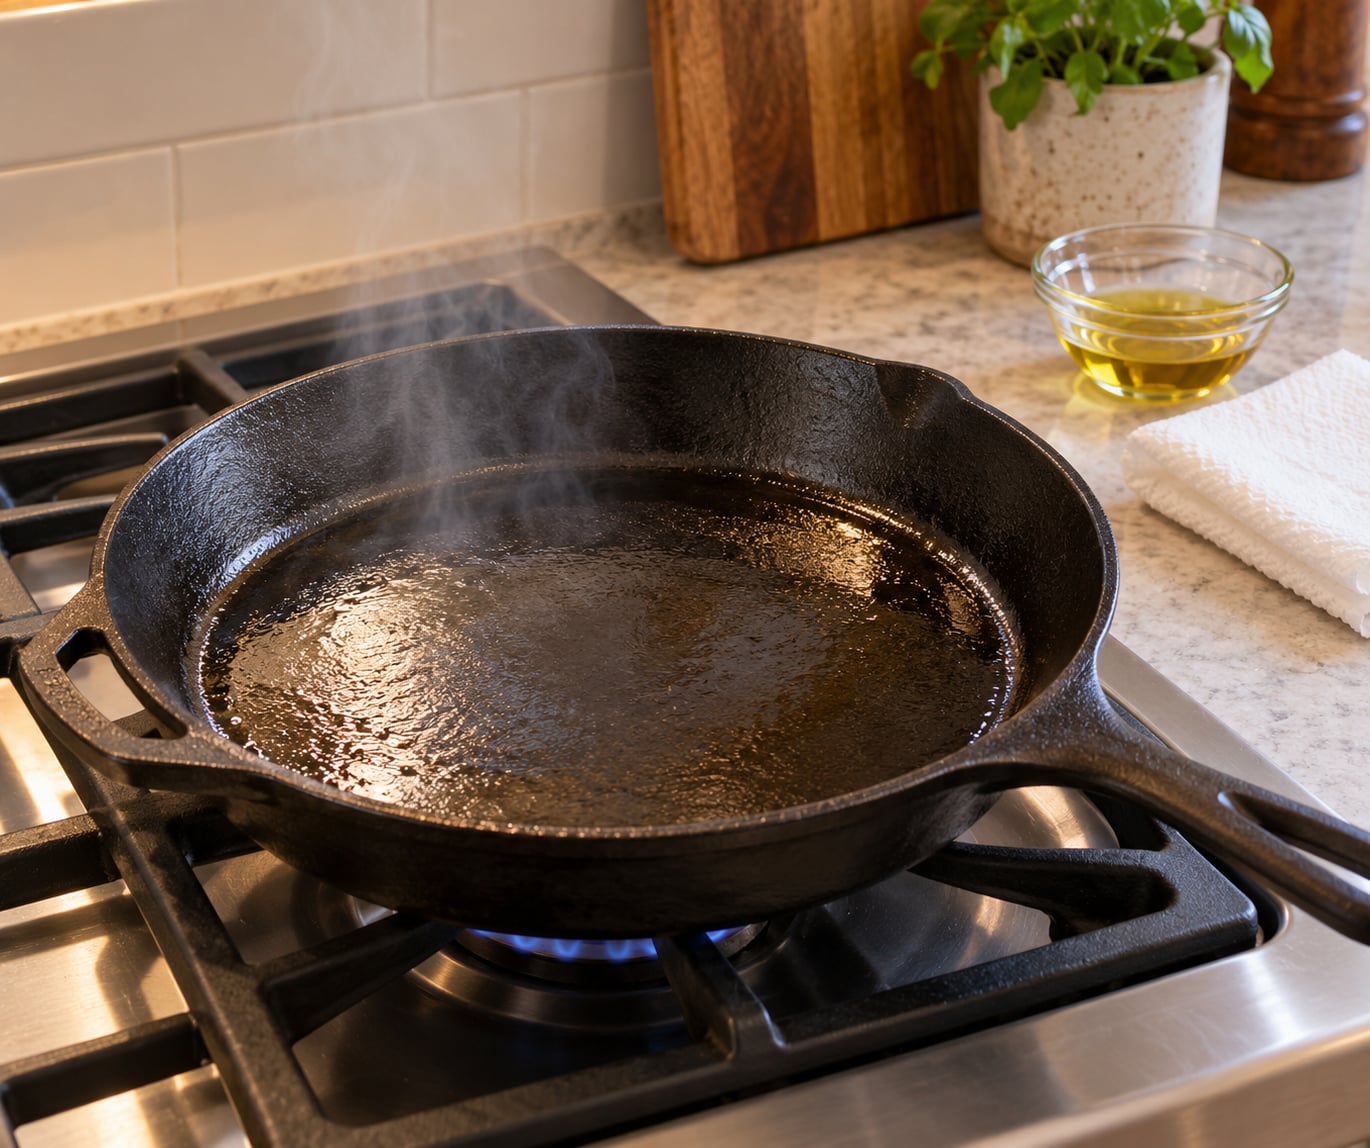
Put a small amount of oil in the pan, roughly a quarter teaspoon for a 12-inch skillet, then wipe it out with a folded paper towel until the towel comes back nearly dry. Turn the pan and do the handle, the rim, and the base the same way. Be thorough about the wiping and lazy about the pouring. That is the whole trick.
The finished pan should look like it has a faint sheen, like a window with a bit of haze on it. It should not look wet. If you can see a puddle, drag it around and wipe again, because oil that pools in the center of the pan runs down to the base, thickens there, and bakes into flakes and sticky patches.
You are building a film measured in molecules, not milliliters. The instinct to add more is the single biggest reason first-time seasoning goes wrong.
Step 4: Heat the Skillet and Let the Oil Smoke
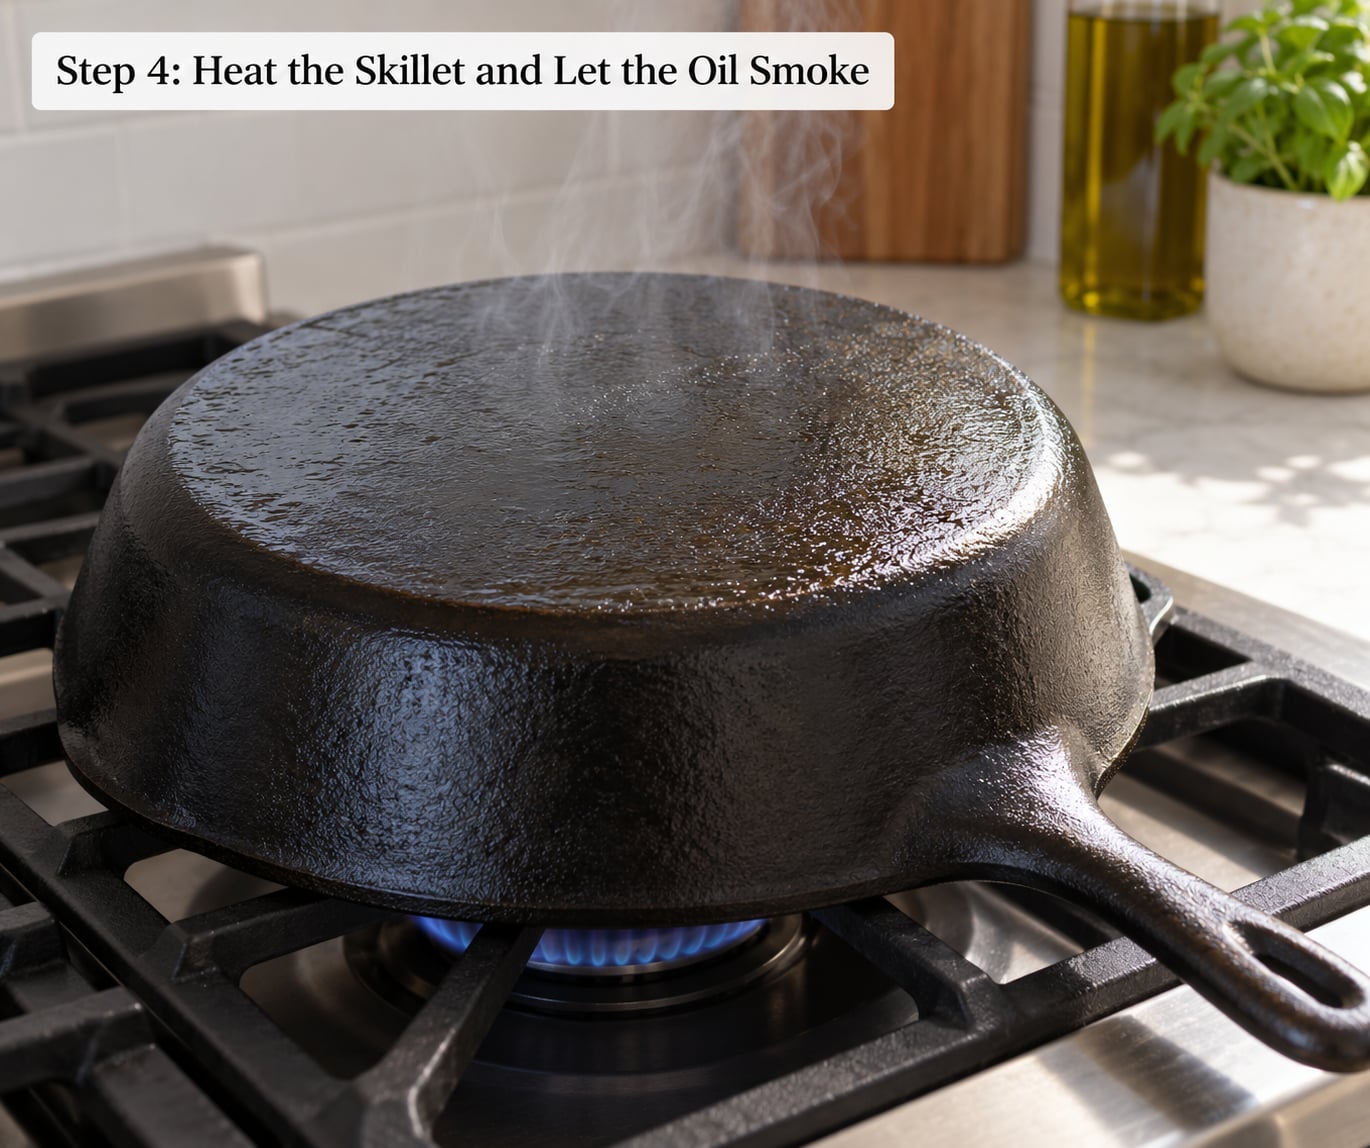
Place the skillet upside down on the center or lower rack of a 450-500F oven. The inverted position keeps oil from pooling in the cooking surface, and putting a sheet of foil on the rack below catches any drips so they do not smoke up your kitchen. A convection oven runs hotter and cooks faster, so drop the temperature about 25F or check the pan early.
After ten minutes or so, faint smoke will drift up from the pan. That is the oil shedding water and light compounds as it polymerizes, and a wisp of smoke is the signal that the temperature is right.
Watch the color. The iron will move from grey to a warm brown to a deeper chestnut. Hold the hour at the top of the range rather than rushing it, because seasoning is mostly a slow chemical reaction that needs time and heat to complete.
Then leave the door shut and let the skillet cool completely inside the oven, another hour or so. Pulling a hot pan into cool air shocks the layer you just built, and thermal shock is one of the things people blame when seasoning flakes off years later.
Step 5: Cool, Repeat, and Inspect the Seasoning
When the pan is cool to the touch, wipe the inside with a dry paper towel. The black residue that comes off on the towel is normal. It is carbon from the oil, not a sign the pan failed, and wiping it away is exactly what you are meant to do.
Add a fresh thin coat and run the cycle again. Three or four coats is the useful range. One thick coat would flake; six or more is not better, it is just six chances to leave too much oil behind, and the common belief that a minimum of six is required is one of the most repeated pieces of bad advice in this hobby.
Cured seasoning is matte, even, and dark brown to black. It should feel smooth and dry, not tacky, not glossy, not streaky with bare grey metal showing through in patches.
If the pan feels sticky, you have too much oil, and more heat will only bake it into gum. Scrub it back with salt and a paper towel, wipe it dry, and run one more light coat.
Step 6: Cook and Maintain the Seasoned Surface
Cooking is part of the seasoning process. The first few meals seal the surface and prove it works, and fatty foods do the most for it. Sear a burger or a batch of wings, shallow fry chicken, or bake cornbread in the pan at 450F.
From then on, the routine is small. Cook with a little fat rather than a bare pan, because cast iron is not Teflon and a truly dry surface is what food sticks to. Wash it hot with water and a brush or non-abrasive soap, since modern dish soap will not hurt seasoning and owners who have soaped their pans for decades report trouble-free cookware.
Dry it on the burner right after washing, while you finish the rest of cleanup. When the pan is cool, wipe on the barest film of oil and wipe it until it looks dry. That one minute is what keeps rust away.
For storage, set the pan on a flat surface or a paper towel inside a cabinet, and do not stack another pan on the seasoning. If you have several pans to do, season them all in the same oven session on the same cycle rather than making four separate afternoons of it.
Common Mistakes
Almost every bad cast iron pan I have seen was damaged by one of seven habits. Each has a simple fix.
Leaving oil on the surface
Too much oil gummy-up a pan and flake off in sheets. Fix: wipe the pan out with a dry paper towel after each coat until the towel comes back clean, and remember that the layer you want is invisible.
Skipping the dry
A damp pan seasons patchy and spots with rust. Fix: heat the pan before oiling, and touch it with a clean finger to confirm it feels dry rather than tacky.
Baking too cool
Below about 400F the oil never fully polymerizes and you get a greasy pan. Fix: run the oven at 450-500F and treat the first wisp of smoke as your cue.
Baking or cooling too fast
Rushing the hour or yanking a hot pan into cold air shocks the layer. Fix: give it the full hour at temperature and cool it inside the oven with the door shut.
Storing the pan damp, or stacked on its seasoned face
Trapped moisture makes orange freckles, and weight plus moisture makes flakes. Fix: dry on the burner, wipe on oil, store flat with a towel between any pieces.
Putting acid or wet food in the pan to store
Tomato sauce, brine, and long-storage leftovers strip seasoning and pit the iron. Fix: cook them, then clean and dry the pan right away rather than letting it sit.
Treating it like a Teflon pan, or treating it like enamel
Cooking with no fat invites sticking, and seasoning an enameled or nonstick-coated pan damages it for good. Fix: use cast iron with a little oil on a bare iron surface, and skip the whole procedure on enamel.
Frequently Asked Questions
How do I know if I seasoned my cast iron correctly?
A properly seasoned pan looks matte and even, dark brown to black, with no shiny wet look, no tackiness and no patches of bare grey metal. Run a clean finger across the surface; it should feel smooth and dry. Then cook something fatty, like eggs or a burger, with a small amount of oil. If it releases without scraping, the seasoning is working.
Why are there sticky spots on my cast iron after seasoning?
Sticky spots almost always mean too much oil was left on the pan before baking, and heat turned the surplus into a gummy film. Fix it by scrubbing the pan with coarse salt and a paper towel, wiping it dry, and running one more light coat at 450-500F. A thin film that looks matte when cool will never turn tacky.
Why is my cast iron seasoning flaking off?
Flaking happens when a thick coat of oil bakes on, usually after several heavy applications in one session, and it is worsened by cooling the hot pan too fast. Scrub the flakes away with a chainmail scrubber, wash, dry, and start again with three thin coats and a full cool-down inside the oven each time.
Can I wash a cast iron skillet with soap?
Yes. A small amount of modern dish soap is fine for washing cast iron, because seasoning is a bonded oil layer that does not dissolve in a short wash. What actually harms the pan is leaving it soaked, putting it in the dishwasher, or storing it wet. Scrub, rinse, dry on the burner, and wipe on a thin film of oil.
How do I season a cast iron skillet without an oven?
Heat the thinly oiled pan on a burner over medium-high until the oil smokes and darkens, usually three to five minutes. Move it to a cool burner or a heat-safe surface and let it cool completely, then wipe out the black residue and repeat several times. A propane torch or a campfire works the same way. It takes more patience and gives an even thinner layer than an oven bake.
Is flaxseed oil the best oil for seasoning cast iron?
Flaxseed oil works, but it is not the only correct answer and it is not clearly better than grapeseed, canola, or plain vegetable oil. It has a low smoke point, so it needs a lower oven temperature, and some owners report a harder finish that eventually flakes off. Any high-smoke-point oil will build solid seasoning, and for daily wipe-on care, plain vegetable oil or lard works well.
Start This Afternoon
If you have one skillet on the counter, the whole job is one afternoon: scrub, dry, four thin coats, four hours mostly waiting. Do not wait for a free evening, and do not wait until you are ready to cook something ambitious.
When you are done, cook something fatty and un-fussy in it, a batch of burgers or wings with the crust you were after, or a round of cornbread in the oven. That first meal tells you more about the seasoning than any finish on the pan, and from there it is one minute of care after each wash.