To keep sandwiches fresh for hours, you control three things at once: moisture, air, and temperature. Dry off wet fillings, add a barrier layer, wrap the sandwich airtight in the right material, and keep anything perishable at or below 40°F. Here is the short version.
- Pick a filling that travels well and pat any wet ingredient dry.
- Put a barrier between the bread and anything moist, like lettuce or a slice of cheese.
- Build the sandwich as late as you reasonably can, and put sauce in the middle rather than on the bread.
- Wrap it airtight in parchment or plastic wrap, then drop it in a rigid container.
- Chill anything with meat, mayo, egg, or seafood with a frozen ice pack.
- Unwrap it just before eating, and add crisp toppings at the last second.
That sequence takes about ten minutes of extra effort and covers a lunchbox, a picnic basket, a cooler at a party, or a stack of sandwiches for game day. The rest of this guide explains why each step matters and what to do when your plans change.
Table of Contents
- What You Need
- Step-by-Step: How to Keep Sandwiches Fresh for Hours
- 1. Choose Sandwich-Friendly Ingredients
- 2. Keep Wet Ingredients Separate
- 3. Wrap the Sandwich for the Storage Time
- 4. Chill Sandwiches When Appropriate
- 5. Transport with Cold Packs
- 6. Serve at the Right Time
- Common Mistakes
- Frequently Asked Questions
- How long can a sandwich stay fresh before eating?
- Should I wrap sandwiches in plastic wrap or foil?
- How do I keep sandwiches from getting soggy?
- Do sandwiches need to be refrigerated for a game day?
- Can I prepare sandwiches the night before?
- How should I transport cold sandwiches without ice melting?
- The Short Version: What to Do First
What You Need
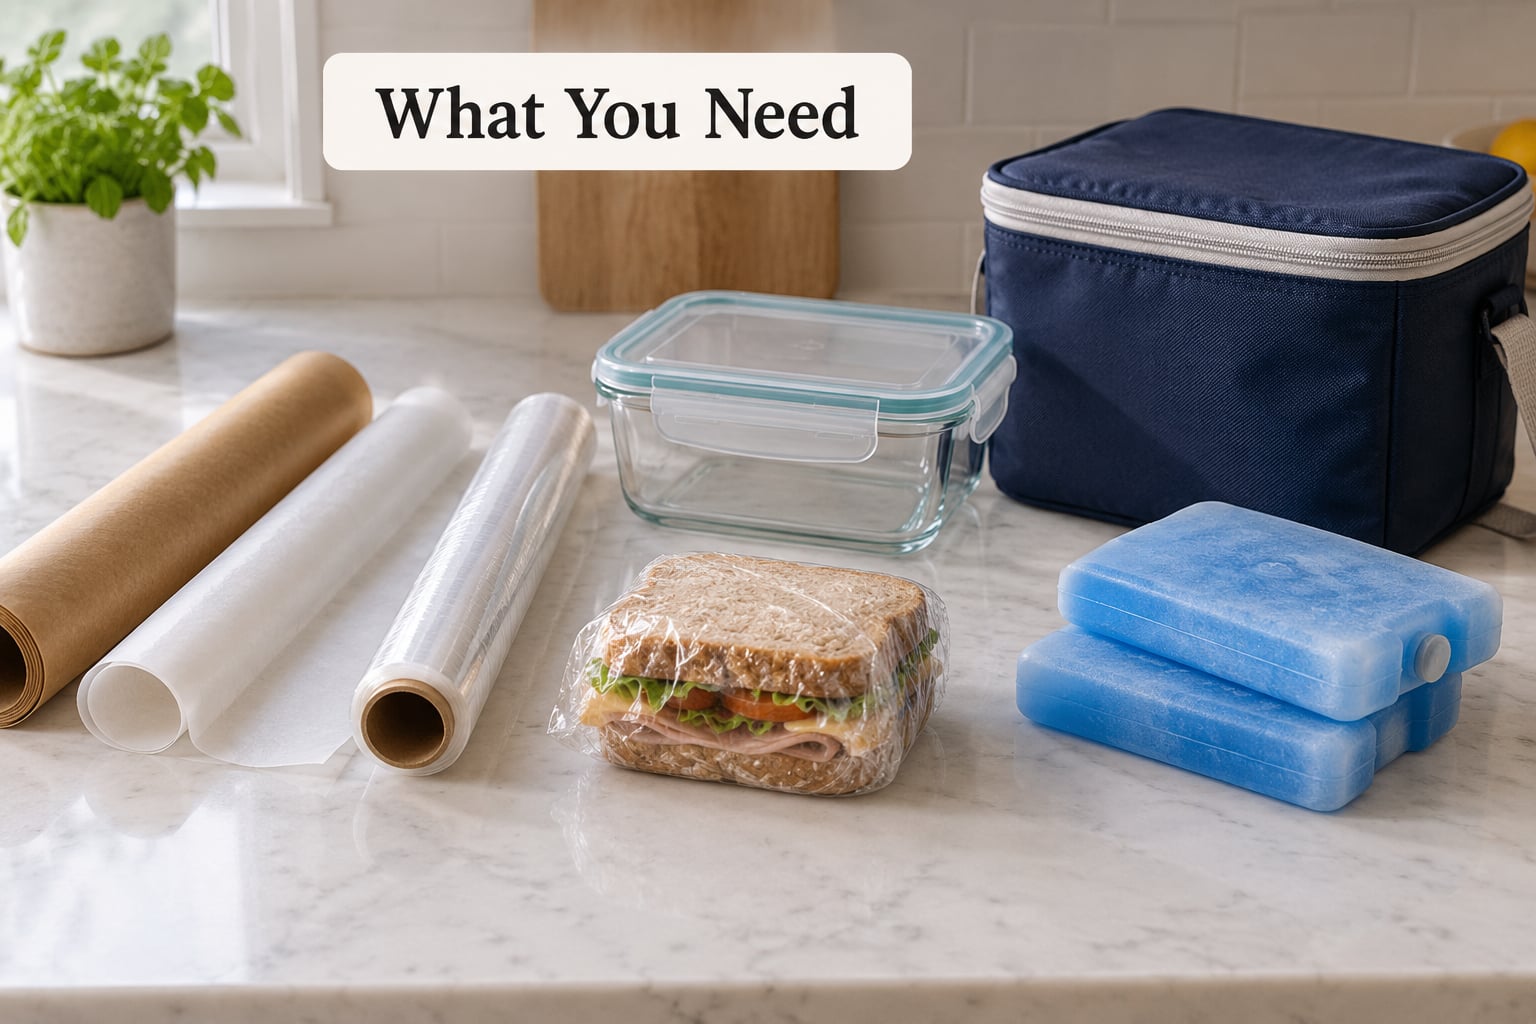
The right supplies do most of the work for you. Most people already own what they need.
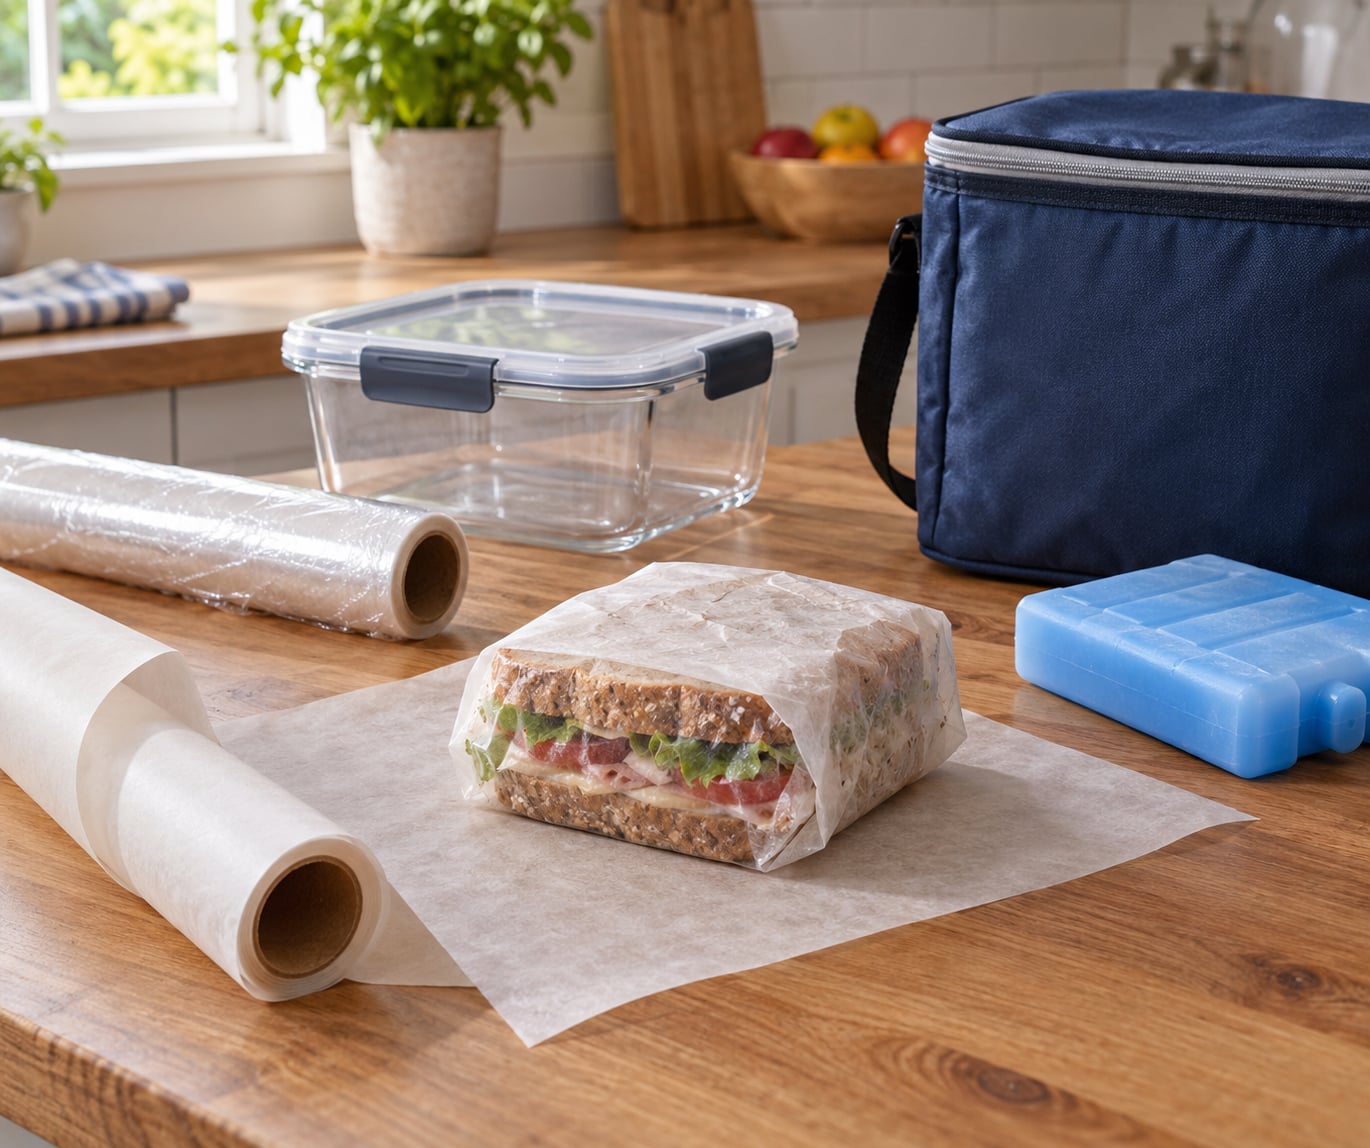
- Parchment or wax paper for wrapping sandwiches that you will eat within a few hours. It breathes slightly, so condensation does not build up against the bread.
- Plastic wrap or an airtight container for overnight storage and for anything with a moist filling. An airtight seal is what actually slows staling.
- Aluminum foil when you want warmth, or for wrapping sandwiches that go straight onto a grill or into an oven.
- A rigid lunch container so nothing crushes the sandwich. Soft bread in a floppy bag gets flattened by everything else in the bag.
- Paper towels for lining a container or blotting vegetables before they go in.
- An insulated lunch bag or cooler and frozen ice packs for anything with meat, egg, tuna, seafood, or mayonnaise.
- A refrigerator thermometer if you are serious about food safety. It is cheap and it settles arguments about whether the cooler is actually cold.
- Small leakproof containers for tomato, pickles, and sauces you would rather add at eat time.
- A sharp knife and cutting board so you are not tearing bread apart. Tearing opens more crumb, and open crumb dries faster.
Step-by-Step: How to Keep Sandwiches Fresh for Hours
1. Choose Sandwich-Friendly Ingredients
Freshness starts before assembly. Some fillings simply hold up better than others when a sandwich has to survive four to six hours.
Good travelers: sliced cheese, butter, peanut butter, cured meats like salami, roasted turkey that is properly chilled, tuna salad in an airtight container, and most nut butters. These fillings do not release a lot of water and they rarely turn rubbery.
Hard cases: raw sprouts, cut avocado, warm tomato, pickles in brine, and anything with a runny sauce. Egg salad and tuna salad are fine for a few hours, but they belong in a cooler, not on a warm counter.
2. Keep Wet Ingredients Separate
Soggy bread is a moisture problem, not a wrapping problem. Once you fix the wrapping, a wet filling will still push water into the crumb and turn the bottom slice to paste.
Four habits do most of the work here. First, pat tomato slices with a paper towel and let them sit for a few minutes. Second, spin lettuce in a salad spinner or roll it between two paper towels. Third, drain pickles and skip the pickle brine entirely. Fourth, use a barrier layer: a crisp lettuce leaf or a slice of cheese placed directly against the bread so the wet ingredient sits on something that can take the moisture.
Sauce placement matters too. Mayo and mustard belong in the middle of the sandwich, spread on the filling, not on the bread. A thin mayo layer on a slice of bread is a moisture magnet. Some home cooks butter the bread lightly for the same reason, and that genuinely works.
For anything wet you refuse to give up, pack it in a small container and let people add it themselves. It is the single biggest upgrade to a picnic sandwich.
3. Wrap the Sandwich for the Storage Time
Choose the wrap based on how long the sandwich will be out and what is inside it. There is no single best material, and anyone who says otherwise is selling you something.
| Material | Best for | Moisture control | Watch out for |
|---|---|---|---|
| Parchment or wax paper | Up to a few hours, room temperature | Semi-breathable, less condensation | Not airtight, so it will not keep a sandwich crisp all day |
| Plastic wrap | Overnight storage, moist fillings | Tight seal, best at slowing staling | Traps condensation if the filling is warm or damp |
| Aluminum foil | Keeping a sandwich warm, foil-wrapped subs | Seals well and holds heat | Condensation forms inside during transport, and it blocks airflow |
| Airtight container | Lunchboxes, picnics, buffet holding | Full seal plus rigid walls | Needs a rigid box so the sandwich is not crushed |
| Insulated bag with ice pack | Travel, game days, errands | Holds temperature rather than moisture | Only works with a frozen pack, not a warm one |
The seal is the part that matters. Wrap parchment snugly around the sandwich so it acts like a skin, then place it in a rigid container for the last hour. A paper towel sleeve, sealed in a container, is the trick several people in an AskReddit thread on storing sandwiches overnight swear by, and it costs nothing.
4. Chill Sandwiches When Appropriate
Refrigeration is not automatically better. It is required for safety with meat, poultry, seafood, eggs, and mayo-based salads, and it is optional for peanut butter and jelly or a plain cheese sandwich.
The catch, and it is the complaint I see most often, is that a refrigerator is the fastest place for bread to go stale. Starch in baked bread re-crystallizes into firm structures when it is chilled, a process called retrogradation, so the crumb firms up faster at refrigerator temperature than it does on a counter. A sandwich that spends twelve hours in the fridge can taste stale even though it never got warm.
You cannot have it both ways, so split the difference. Chill the filling, not the whole sandwich, when you can: refrigerate meat and cheese, wrap the bread separately, and assemble close to serving. When you do refrigerate the whole sandwich, wrap it tightly in plastic wrap, and let it rest out of the fridge for 15 to 30 minutes before eating so the bread relaxes.
The table below is a practical guide based on USDA guidance for refrigerated storage.
| Sandwich type | Room temperature | Refrigerator | Freezer | Notes |
|---|---|---|---|---|
| Peanut butter and jelly | Up to 6 hours | 3 to 4 days | 2 to 3 months | Freezing softens the bread noticeably |
| Plain cheese | Up to 4 hours | 3 to 4 days | 2 to 3 months | Works well frozen on white bread |
| Deli meat and cheese | 2 hours maximum | 3 to 5 days | 2 to 3 months | Meat firms up and gets rubbery when cold |
| Roast beef or turkey | 2 hours maximum | 3 to 4 days | 2 to 3 months | Keep below 40°F the whole time |
| Egg salad or tuna salad | 2 hours maximum | 3 to 4 days | Not recommended | Mayonnaise goes off once thawed |
| Grilled or toasted sandwich | 1 to 2 hours | 3 to 4 days | 2 to 3 months | Texture drops first, so re-crisp before eating |
| Wraps and burritos | 2 hours maximum | 3 to 4 days | 2 to 3 months | Tortillas crack when frozen; wrap tightly in foil |
These are safety windows, not freshness windows. For texture, a sandwich assembled and eaten the same day wins every time.
5. Transport with Cold Packs
Once a sandwich leaves your control, temperature control is up to the ice. A sandwich in a parked car on a warm afternoon can cross the safety threshold in well under an hour.
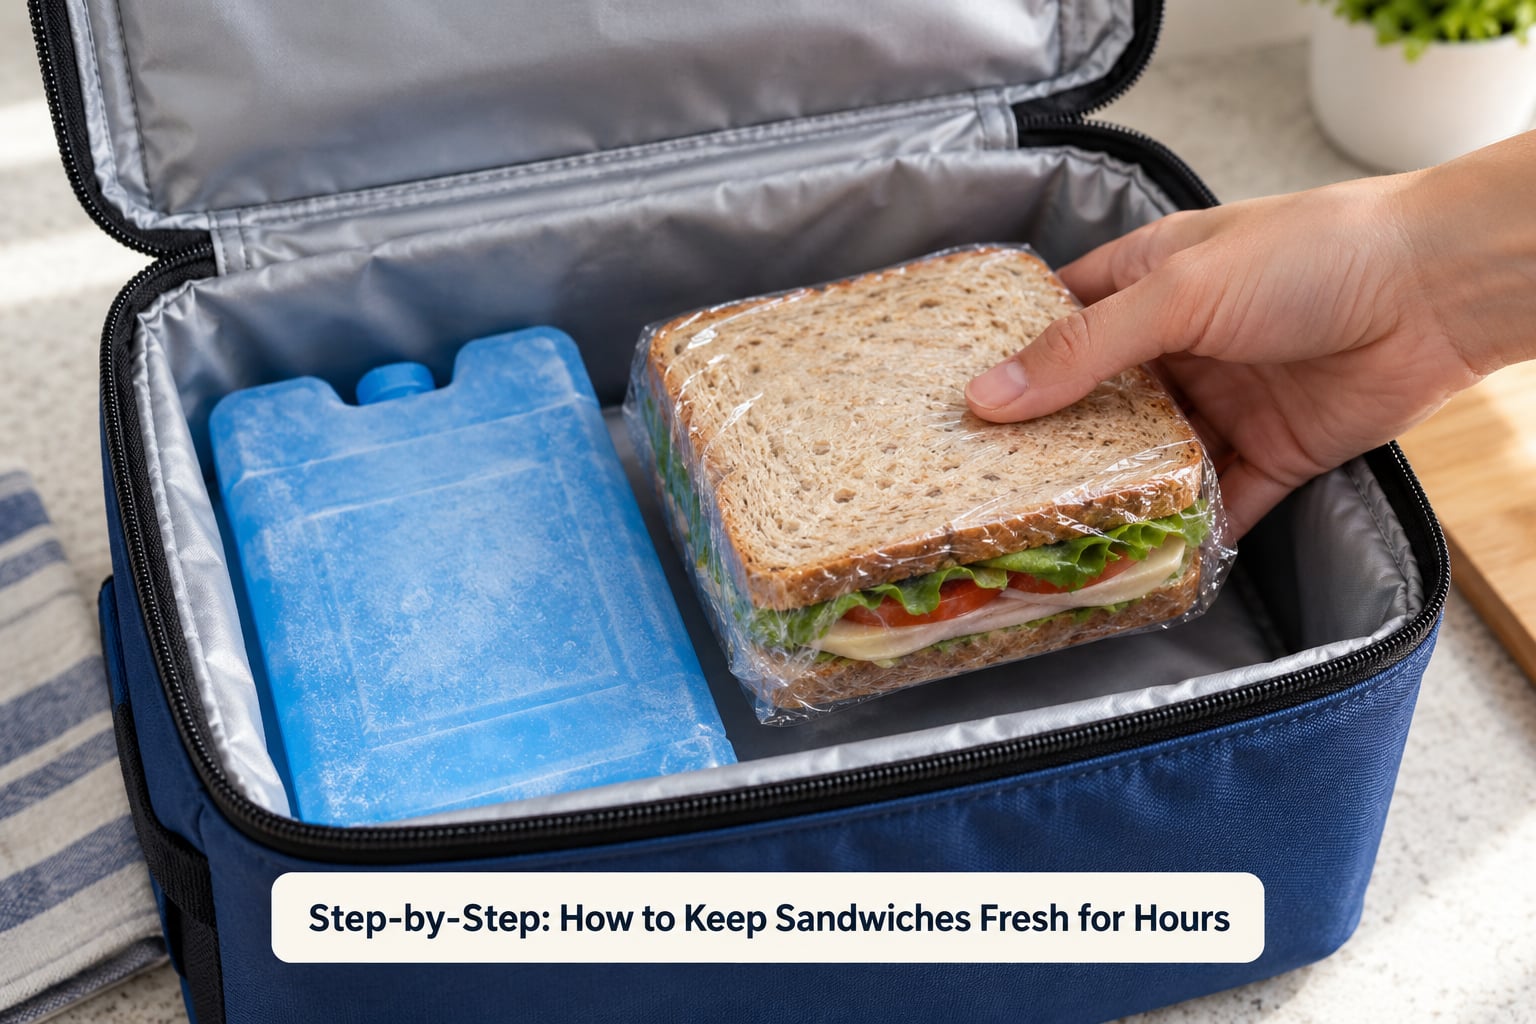
Put a frozen gel pack in an insulated bag or cooler, put the wrapped sandwich on top of it, and keep the lid closed. Add a second pack if you are packing for four people or more. Pack condiments separately in a small leakproof container so a leaking mayo cap does not ruin everything, and pack napkins where people can actually reach them.
Freeze the pack flat the night before rather than the morning of, and fill the space around the food with a towel or newspaper so a small cooler still holds temperature. If you want certainty, a refrigerator thermometer is the cheapest insurance you can buy. Aim to keep perishable food below 40°F, which is the upper edge of the temperature danger zone that runs from 40°F to 140°F, according to FoodSafety.gov and the USDA.
For a road trip, a foil-wrapped sandwich in a cooler with an ice pack beats a sandwich in a plastic bag every time.
6. Serve at the Right Time
Unwrap close to when people eat, not when you pack. Every minute a sandwich sits open is a minute the crust loses moisture and the cut edges dry.
Let a chilled sandwich sit out 15 to 30 minutes before eating so the bread softens and the cheese relaxes. Add lettuce, potato chips, and crackers at the table rather than in the sandwich. If a refrigerated sandwich tastes flat, a skillet or panini press for two minutes per side brings the crust back better than any microwave, and a microwave is what turns bread chewy.
If a sandwich has been sitting out with meat, poultry, seafood, eggs, or mayo longer than two hours at room temperature, discard it. One hour is the limit when the air temperature is above 90°F. Wrapping does not reset that clock.
Common Mistakes
Almost every disappointing packed sandwich comes down to one of these. Each one has a specific cause and a specific fix.
| Mistake | Why it happens | The fix |
|---|---|---|
| Sealing warm filling in plastic wrap | Trapped steam condenses inside and soaks the bread | Chill the filling first, blot vegetables, leave the wrap loose until cooled |
| Refrigerating the whole sandwich overnight | Retrogradation firms the bread starch faster when chilled | Chill the filling and wrap the bread separately, then assemble to order |
| Using a floppy bag with no container | The sandwich gets crushed and the bread dries out at the torn edges | Wrap first, then place in a rigid airtight container |
| Putting lettuce or tomato straight on the bread | Moisture migrates into the crumb within an hour | Add a barrier layer and dry the vegetables thoroughly |
| Spreading mayo on the bread | Oil and water soak into the crumb fast | Put condiments on the filling, in the center of the sandwich |
| Leaving a warm ice pack in the cooler | A room-temperature pack cools nothing | Freeze packs flat overnight and keep the cooler closed |
| Making deli meat sandwiches a full day early | Cold meat loses flavor and turns rubbery after hours of chilling | Slice and assemble within a few hours of serving, chill the meat separately |
| Ignoring the two-hour window on a warm day | Bacteria multiply fast between 40°F and 140°F | Use a cooler with a thermometer, and discard anything past the limit |
Two more habits close most of the remaining gap. Cut bread with a sharp knife instead of tearing it, because torn crumb exposes far more surface area to air. And keep a stack of sandwiches on a rigid sheet pan in the cooler rather than on a serving platter, so nothing gets squashed once the crowd starts.
Frequently Asked Questions
How long can a sandwich stay fresh before eating?
A sandwich with meat, poultry, seafood, egg, or mayonnaise is safe at room temperature for no more than two hours, and one hour when it is above 90°F. A peanut butter and jelly or plain cheese sandwich holds its quality far longer, roughly six hours at room temperature. For the best texture, assemble as late as you can and refrigerate overnight only when safety requires it.
Should I wrap sandwiches in plastic wrap or foil?
Use plastic wrap when you want an airtight seal to slow staling, especially for overnight storage or moist fillings. Use foil when you are keeping a sandwich warm or grilling it later, since foil holds heat well. Parchment or wax paper works for a few hours at room temperature because it breathes and traps less condensation. For transport, wrap first and then add a rigid container.
How do I keep sandwiches from getting soggy?
Dry your wet ingredients. Pat tomato slices with a paper towel, spin lettuce in a salad spinner, drain pickles, and skip the brine. Put a barrier layer of crisp lettuce or a slice of cheese between the bread and the moist filling, and spread condiments on the filling in the center rather than on the bread. Assemble the sandwich as late as you reasonably can.
Do sandwiches need to be refrigerated for a game day?
Yes, if they contain deli meat, poultry, seafood, eggs, or mayonnaise-based salads. Keep them at or below 40°F in a cooler with frozen ice packs, and use a thermometer if you want certainty. Bread-only and plain cheese sandwiches do not require refrigeration for a few hours. Remember that a chilled sandwich tastes better after resting at room temperature for 15 to 30 minutes before serving.
Can I prepare sandwiches the night before?
You can, but expect a trade. Refrigerating overnight makes bread stale faster because starch re-crystallizes when chilled, and deli meat gets rubbery. A better approach is to chill the fillings and prep the vegetables overnight, then wrap the bread and assemble in the morning. Fully assembled sandwiches still keep safely for one to three days in an airtight container at or below 40°F.
How should I transport cold sandwiches without ice melting?
Freeze gel packs flat the night before and place them under the wrapped sandwiches in an insulated cooler, then keep the lid closed. Pack at least one pack per four sandwiches, and fill empty space with a towel so the cooler holds its temperature. Pack sauces and pickles in small separate containers, and use a cooler thermometer to confirm the food stays below 40°F.
The Short Version: What to Do First
Dry the filling, add a barrier, seal the sandwich airtight, and keep anything perishable cold. That is the whole method, and it works whether the sandwiches are going in a lunchbox, a cooler, or a platter at your next gathering.
If you only change one thing, change the timing. Building the sandwich closer to serving, chilling only the fillings, and slicing the bread at the table will do more for freshness than any wrap you can buy.